
How to Use a Portable External SSD on Your iPad Pro M5.
I just got my new iPad Pro M5 13-inch, and I want to show you one of the most useful things you can do with it: using an external SSD. This is a great way to save space on your iPad. You can copy photos, videos, and other files directly to the drive and even use it with apps that support external storage. This means you might not need to pay extra for the 1TB or 2TB iPad model.
Amazon links
As an Amazon Associate I earn from qualifying purchases:
- iPad Pro M5 13 inch
- Apple Pencil Pro
- iPad Pro M5 Folio Case
- iPad Pro M5 Screen Protector
- iPhone Accessories
- iPhone Charger
- iPhone Cases
- iPhone Screen protector
- iPhone Magsafe
- iPhone Wallet
- iPhone Usb c cable
I’ll show you how to plug in the drive and move your files. I’m using a Samsung T7 Shield 2TB SSD with my 256GB iPad Pro M5. This is the standard glass model, not the nano-texture version.
What You Need to Get Started
Here’s the basic gear you’ll need:
- Your iPad Pro (This works on many iPad models, not just the M5).
- A portable external SSD (like a Samsung T7, SanDisk Extreme, etc.).
- A USB-C cable. The SSD usually comes with one.
A quick note on charging: I’m using a third-party 45W USB-C charger and cable from a reputable brand to charge my iPad. If you use third-party chargers for your Apple devices, you do so at your own risk. It’s always best to use a charger from a well-known brand for safety.
The Steps to Copy Files to Your External SSD
It’s really straightforward. Here are the steps.
Step 1: Connect Your SSD
Plug your external SSD into your iPad using the USB-C cable. You should hear a chime and see a notification that says “USB Drive” or the name of your drive.
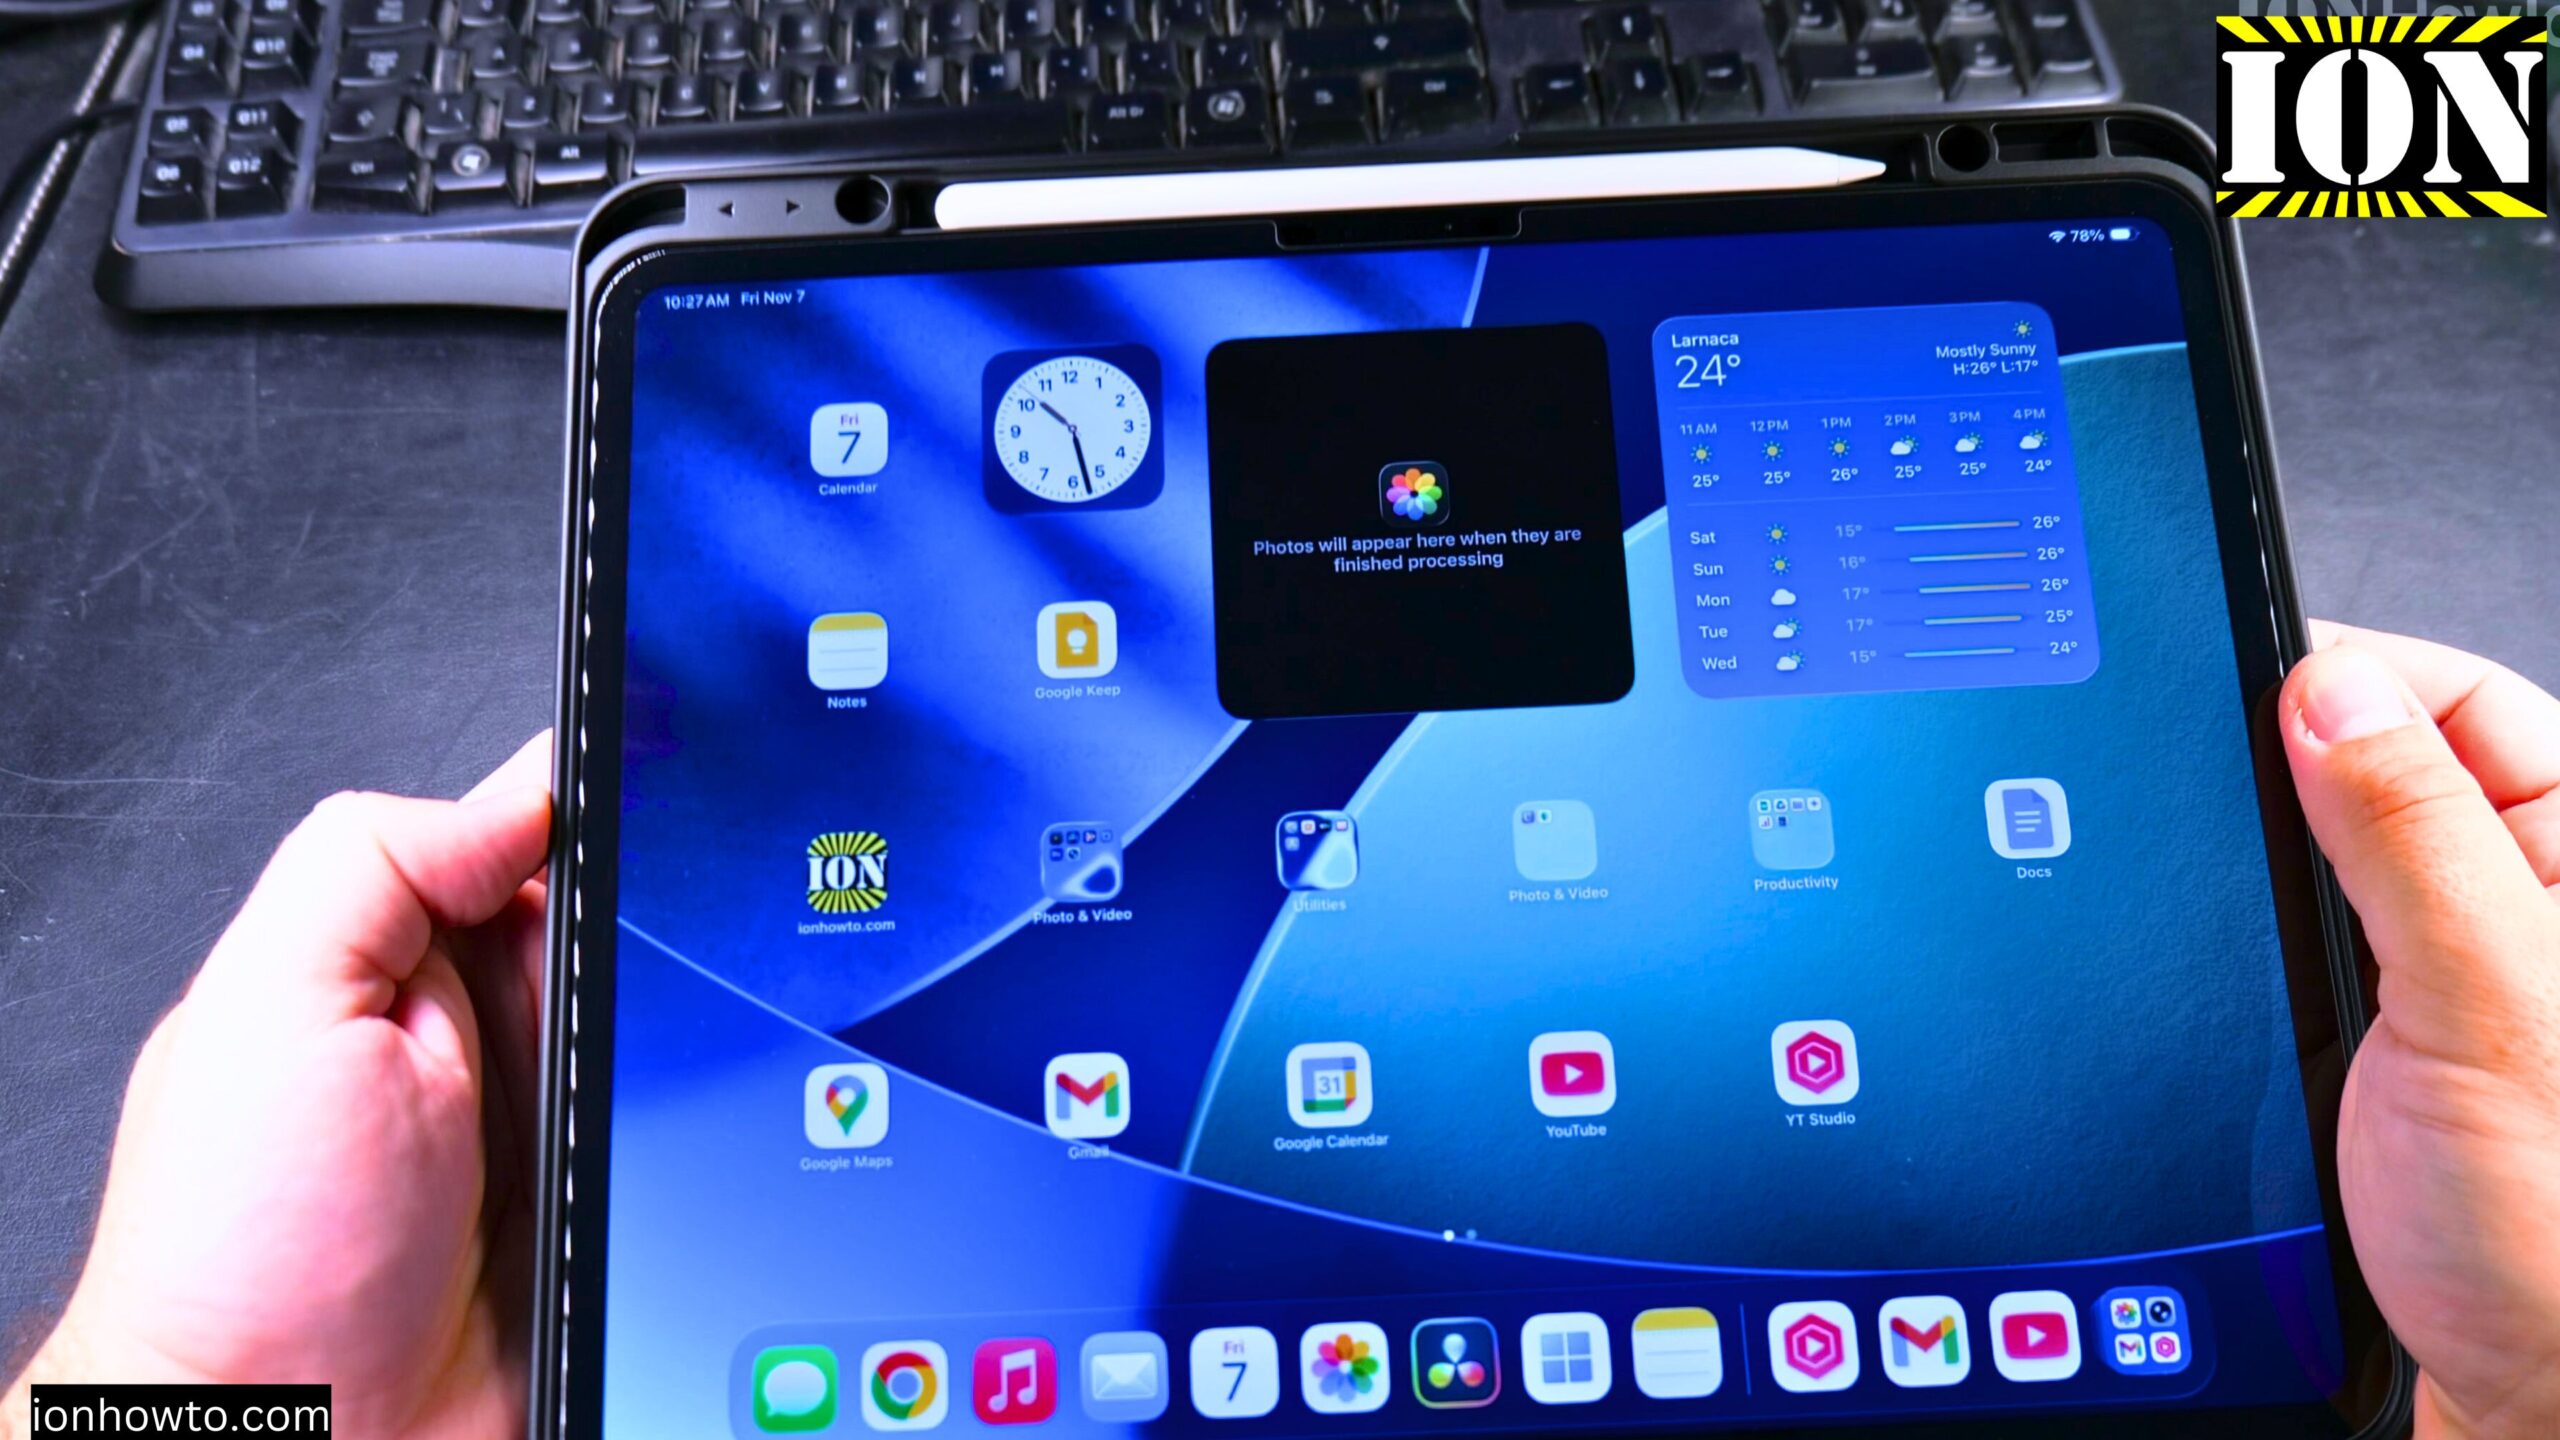
Step 2: Open the Files App
Find and open the Files app on your iPad. It’s the blue folder icon. In the sidebar, under “Locations,” you should see your external drive listed. Tap on it to see its contents (it will probably be empty at first).
Step 3: Find the Files You Want to Move
Now, go find the files you want to copy. In the Files app sidebar, tap “On My iPad” or “iCloud Drive,” then navigate to the folder where your photos or videos are stored. For example, your photos are usually in the “Photos” folder.
Step 4: Select and Copy the Files
Tap “Select” in the top-right corner, then tap on all the photos and videos you want to move. Once they’re selected, tap the three dots (…) or the copy icon in the bottom menu and choose “Copy.”
Step 5: Paste to the SSD
Go back to your external SSD’s folder in the sidebar. Tap anywhere in the open area, then tap “Paste.” Your files will start copying over. A progress bar will show you how it’s going.
And that’s it! You’ve just freed up space on your iPad. You can now safely eject the drive by going back to the Files app sidebar, tapping the eject icon next to the drive’s name, and then unplugging it.
Why I Chose the iPad Pro M5 13-Inch
I wanted to explain my choice quickly, as it relates to storage. I didn’t want to spend a huge amount on a 1TB or 2TB iPad. I was ready to get an iPad Air M3, but then I saw the new iPad Pro M5 base models (256GB and 512GB) come with 12GB of RAM. This is more than the 8GB in the equivalent iPad Pro M4 and iPad Air M3 models.
For me, that extra RAM is great for future-proofing and running more apps smoothly, especially with the new windowed mode in iPadOS. Since I can use an external SSD for big files like videos and photo libraries, the 256GB internal storage is plenty. I also got the Apple Pencil Pro for notes and editing, but I skipped the expensive Magic Keyboard for now.
Using an external SSD is a simple trick that makes a big difference. It lets you get the iPad configuration you want without worrying as much about running out of space.


Leave a Reply