
DIY VW Polo 9N Taillight Repair Fix Water & Rust
Learn how to fix a common problem where water gets into your car’s taillight. If you have a Volkswagen Polo 9N (or a similar car) with a damp or rusty taillight, I’ll show you two quick fixes: one to let trapped water escape and another to clean up corroded bulb sockets so your lights work again.
This is a great temporary repair if you can’t replace the taillight assembly right away. We’ll tackle the water issue first, then clean up any rust.
Why Water Gets Inside and Why It’s a Problem
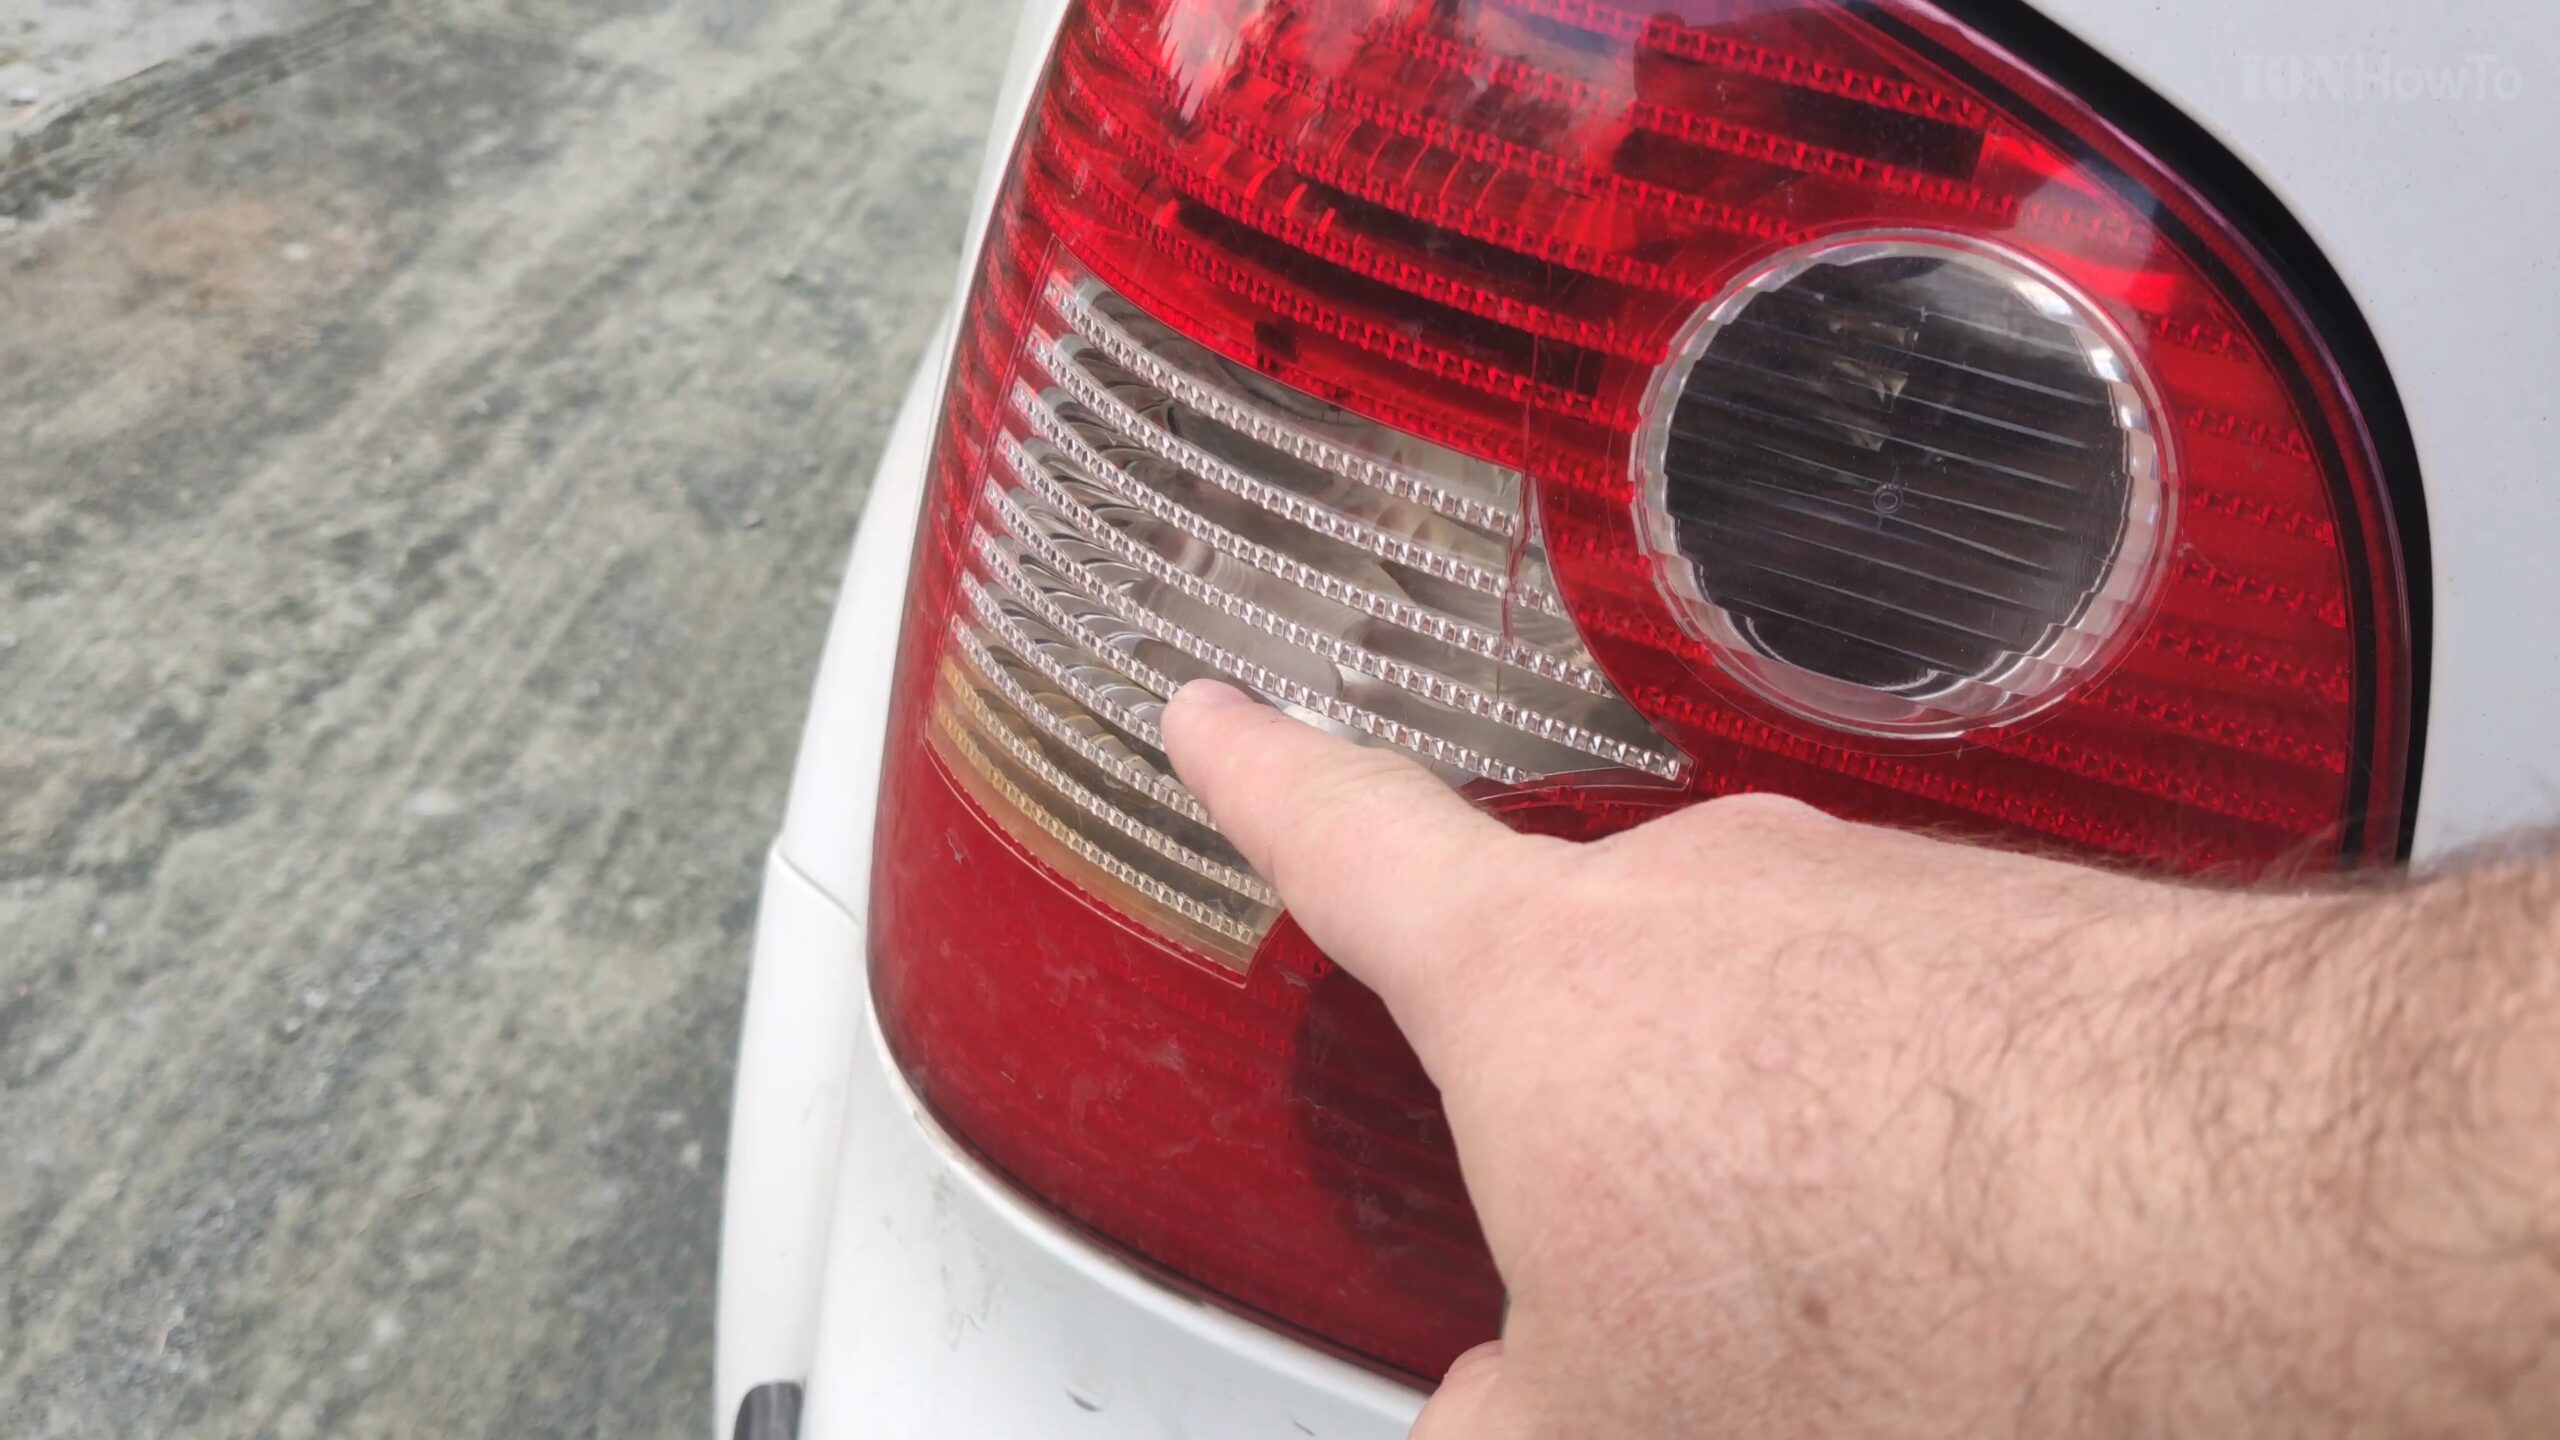
Water usually gets in because the seal around the taillight is broken. In my case, one of the plastic clips that holds the light unit tight against the car was broken. This let the taillight wiggle just enough to break the seal and let rainwater seep in.
When water sits inside the housing, it causes two big issues:
- It creates condensation and fog, making your lights dim.
- It causes the metal bulb sockets to rust, which can stop your brake lights or turn signals from working. This is a real safety problem.
Part 1: The Simple Drainage Fix
The goal here is to give trapped water a way to get out. You’re not trying to let more water in. You just need to make a small escape route at the very bottom.
What you’ll need:
- A power drill with a small drill bit (about 3-4mm), or a sharp knife/awl if you don’t have a drill.
- A cloth to clean up.
The steps:
- Open the trunk and remove the plastic trim panel to access the back of the taillight assembly.
- Remove the taillight unit. You’ll usually find a few nuts holding it in place from behind. Unscrew them, then gently push the light unit outward to pop it free from the car’s body.
- Find the perfect spot. With the light unit in your hands, look at the bottom wall of the lowest compartment. This is the section that sits lowest when the light is installed on the car. Any water will pool here.
- Drill the drain hole. Using your drill or a knife, carefully make a small hole in this bottom wall. The hole must be on a downward-facing surface so water can drip out, but rain can’t splash upward into it.
- Clean and reinstall. Shake out any existing water, wipe the unit clean, and screw it back onto the car. The new hole will let any future condensation or small leaks drain away safely.
Part 2: Cleaning Rusty Bulb Sockets with WD-40
If your bulbs aren’t working, the socket contacts are probably rusty. Here’s how to clean them up.
What you’ll need:
- WD-40 or a similar water-displacing spray.
- Paper towels or a clean cloth.
- A small piece of coarse paper, like from a grocery bag (optional).
The steps:
- Remove the bulbs. Twist and pull the bulb holders out from the back of the taillight unit.
- Inspect and spray. Look inside the metal sockets. If you see green or white crusty corrosion, spray a little WD-40 directly into each socket.
- Scrub the contacts. Take a small piece of paper towel, fold it, and push it into the socket. Twist it around to scrub the inside. For tough rust, a small piece of coarse brown paper (like from a bag) works wonders as a gentle abrasive.
- Clean the bulb contacts. Also wipe the metal contacts on the base of the light bulbs themselves.
- Wipe away excess. This is important. Use a dry paper towel to wipe out all the leftover WD-40 from the socket. You want the metal clean and dry, not oily.
- Test and reassemble. Put the bulbs back in, reinstall the taillight unit on the car, and test all your lights (brake lights, turn signals, running lights).
Important Safety Notes and Final Thoughts
- This is a temporary fix. The real problem is the broken seal. Drilling a drain hole prevents water buildup, but it doesn’t stop water from getting in and potentially causing more rust over time. The proper repair is to replace the taillight unit, especially if the mounting tabs are broken.
- Be careful with WD-40. It’s great for cleaning rust and displacing moisture, but it is not a conductor. Make sure you wipe it away thoroughly so it doesn’t prevent a good electrical connection.
- Check your ground wire. Often, the rust problem is worst on the socket that’s used for the ground connection. If cleaning doesn’t work, adding a temporary extra ground wire (as seen in the video) can help.
These two fixes can get your lights working safely again and buy you time until you’re ready to install a new taillight assembly. It’s a satisfying bit of DIY that solves a real problem.


Leave a Reply