
If your Kenwood KIV-700 head unit skips AUX completely when you press the Source button, both the rear jack and a hidden menu toggle need attention. I’ll show you how to route a 3.5mm cable cleanly in a VW Polo 9N and switch AUX Input on in under ten minutes.
What You Need Before Starting
- Kenwood 1-DIN car stereo release keys (or flat removal blades)
- 3.5mm male-to-male stereo AUX audio cable with braided shield
- Phone adapter (USB-C or Lightning to 3.5mm headphone jack)
- LED work light for checking wiring clearance inside the dash
Step-by-Step Guide
- Release and Slide Out the Kenwood KIV-700 Stereo
- Plug Your 3.5mm Cable into the Rear AUX Input
- Route the Cable Down to the Center Console Tray
- Turn On AUX Input Inside the Kenwood Setup Menu
- Test Left/Right Stereo Balance and Ground Noise
Helpful Tools and Supplies
As an Amazon Associate I earn from qualifying purchases:
- 3.5mm AUX Audio Cable
- Car Radio Removal Tool Keys
- USB-C to 3.5mm Audio Adapter
- Car Stereo Head Unit Single DIN
- Soldering Iron Kit
- Precision Screwdriver Set
- LED Work Light
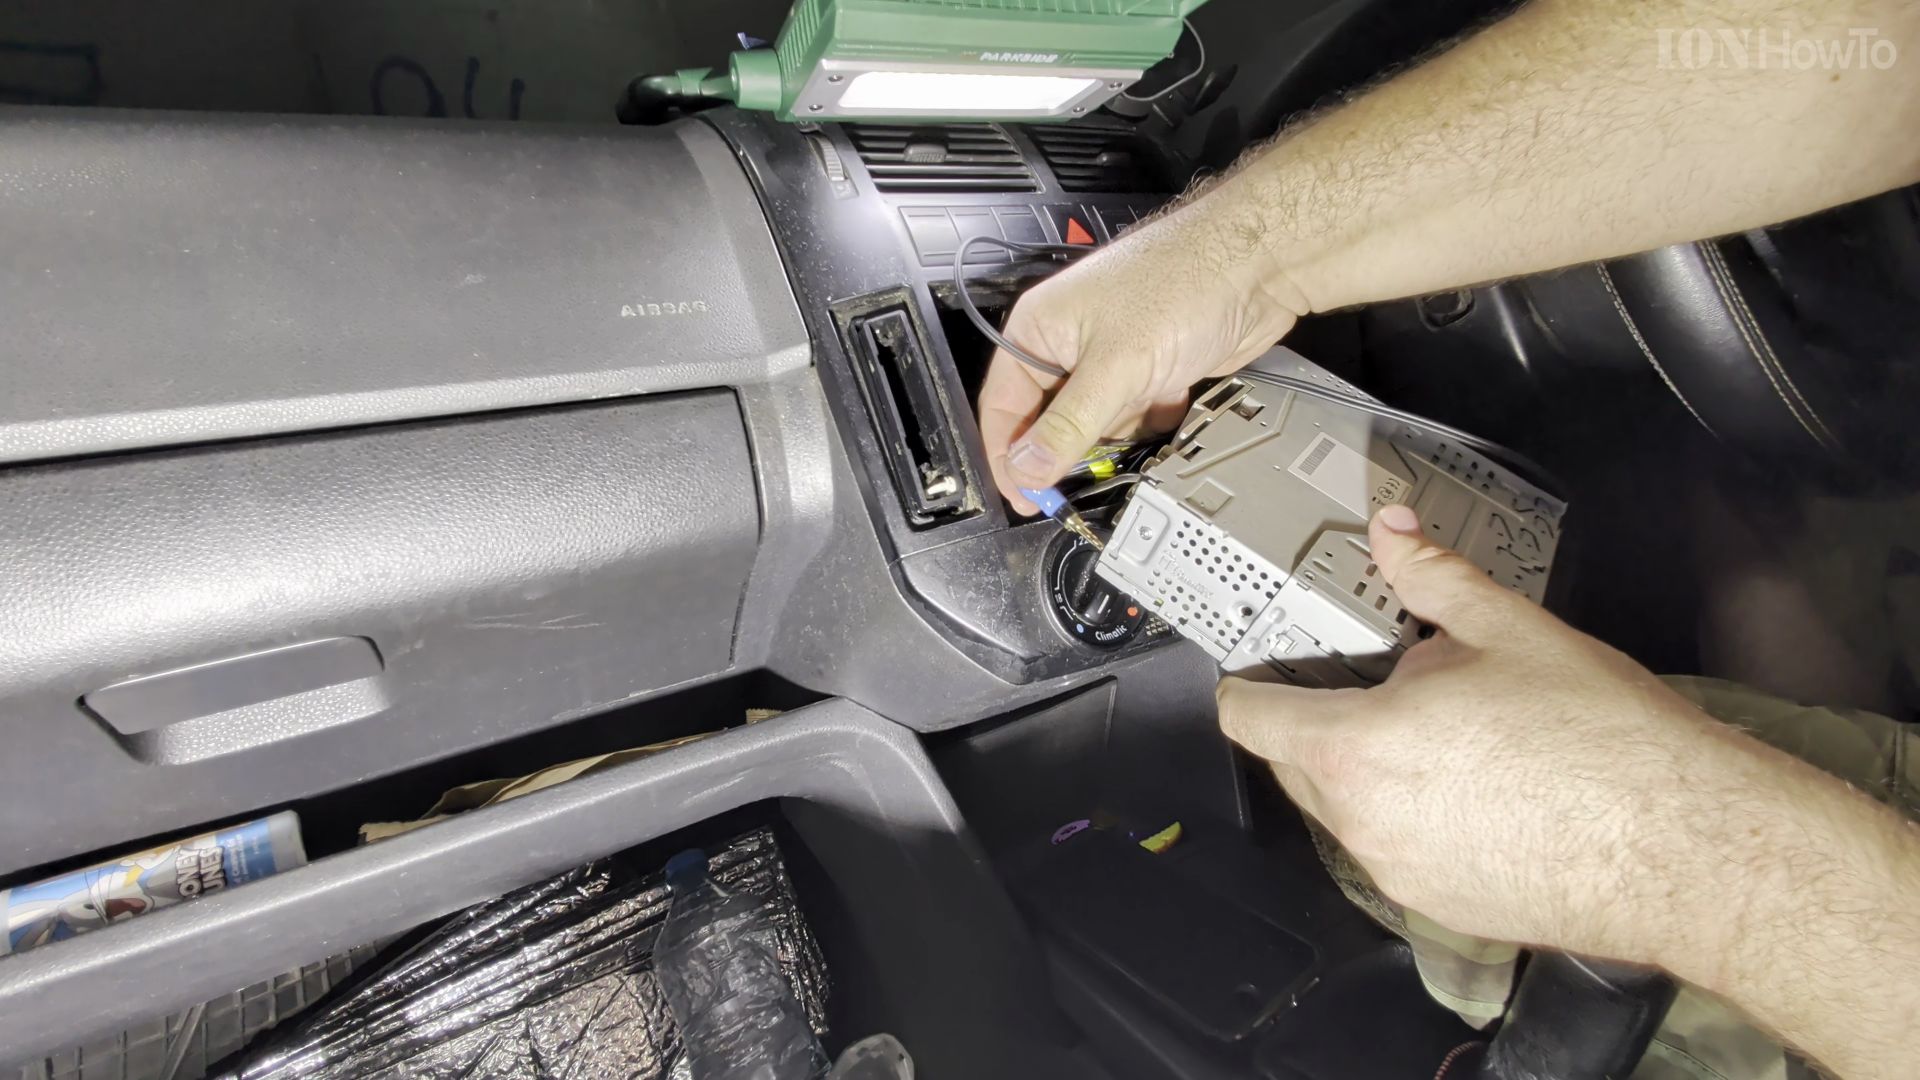
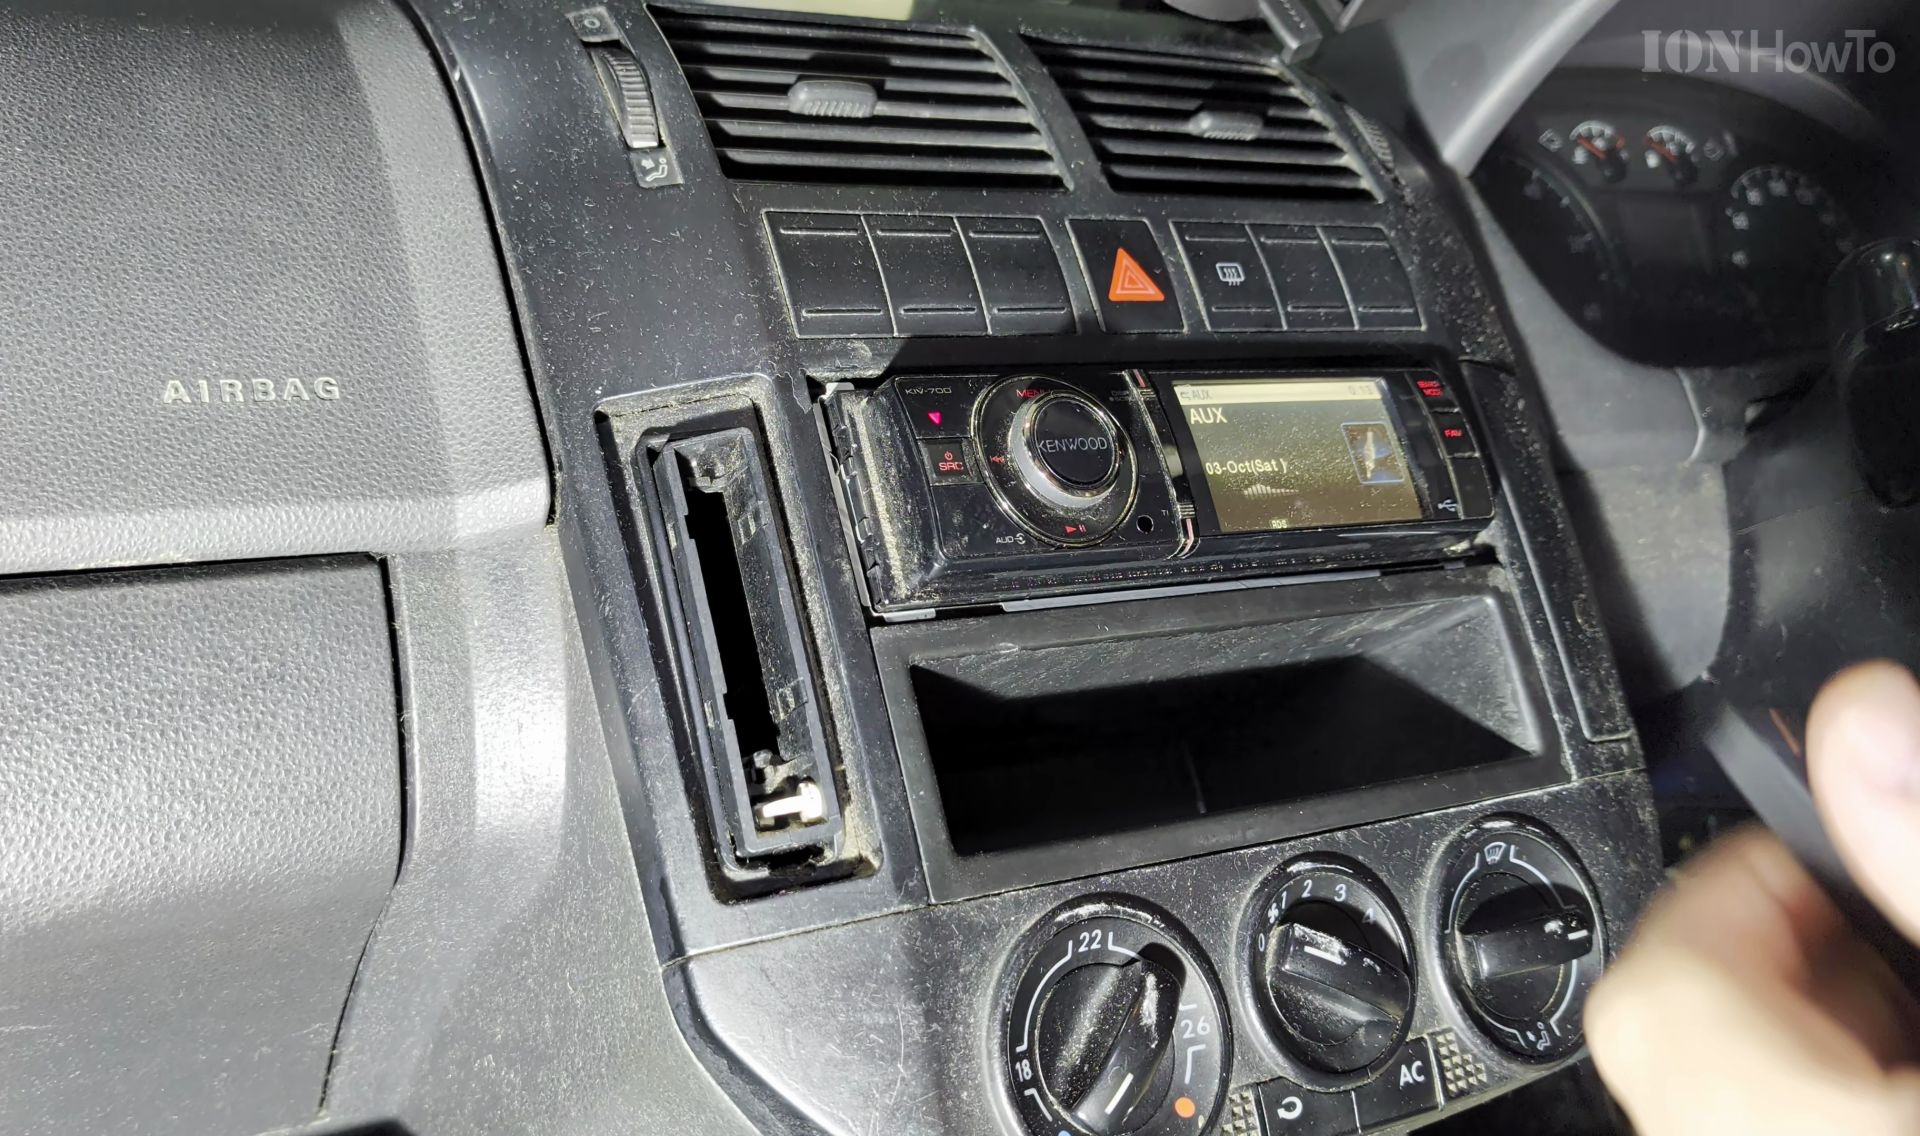
1. Release and Slide Out the Kenwood KIV-700 Stereo
Slide your radio removal keys into the left and right slots beside the Kenwood faceplate until the metal retention tabs release.
Pull the head unit straight toward you out of the single-DIN metal sleeve while supporting the back with your hand.
2. Plug Your 3.5mm Cable into the Rear AUX Input
Find the dedicated female 3.5mm AUX jack on the rear heatsink body next to the power harness and USB leads.
Push the gold-plated 3.5mm AUX connector firmly into the rear socket until it clicks flush.
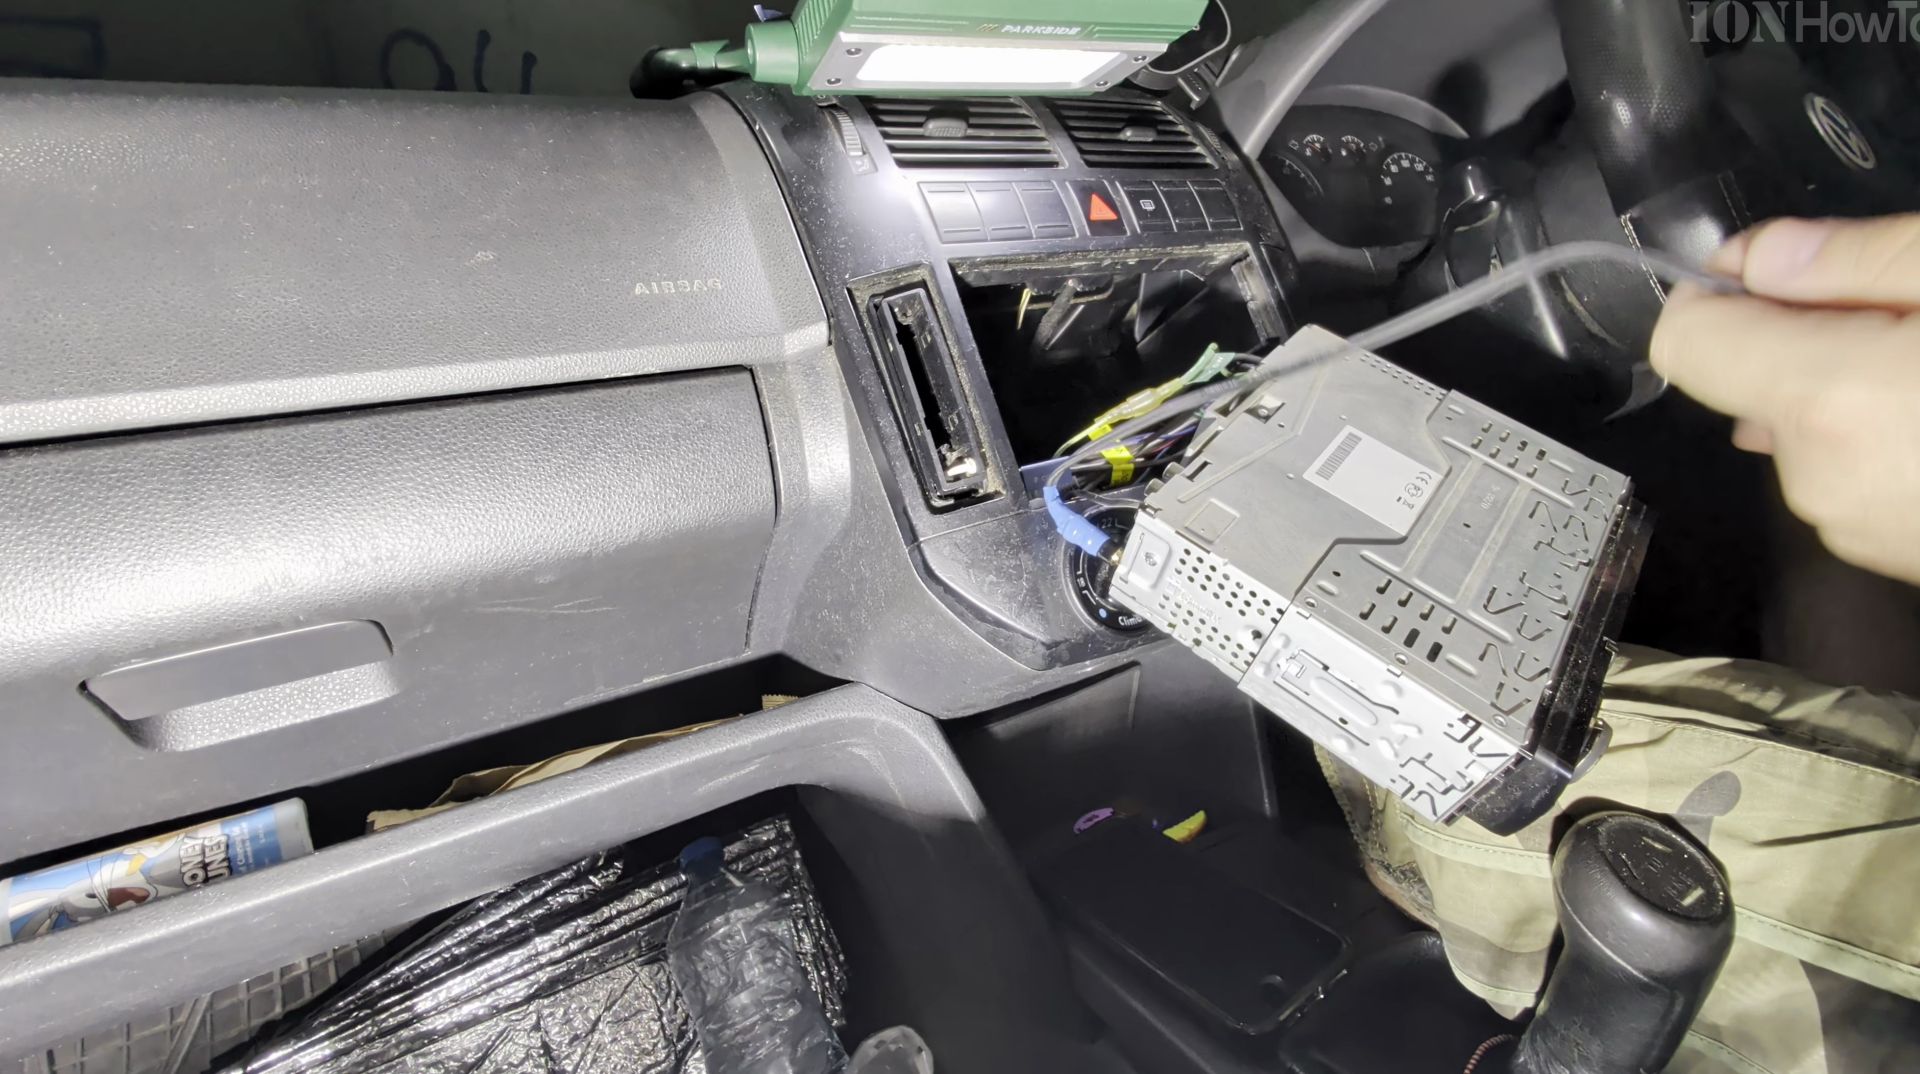
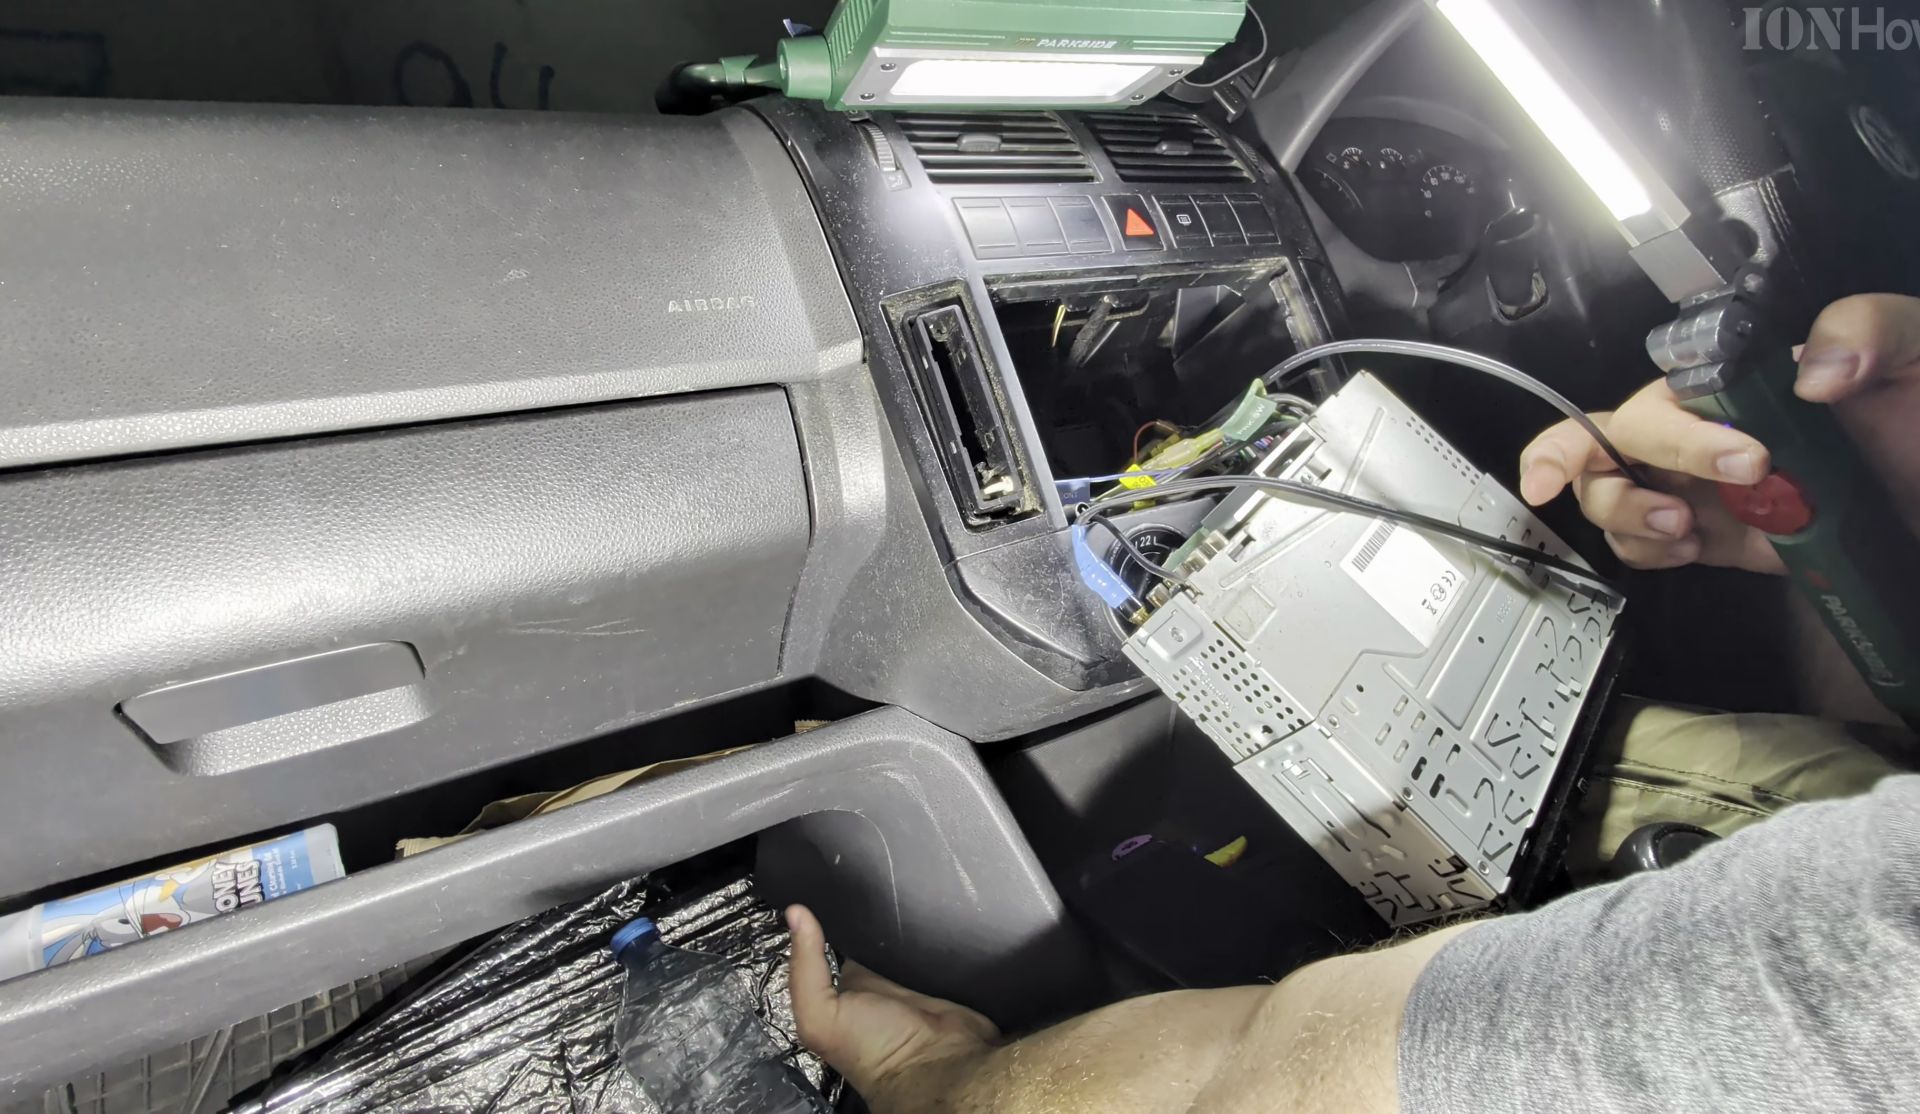
3. Route the Cable Down to the Center Console Tray
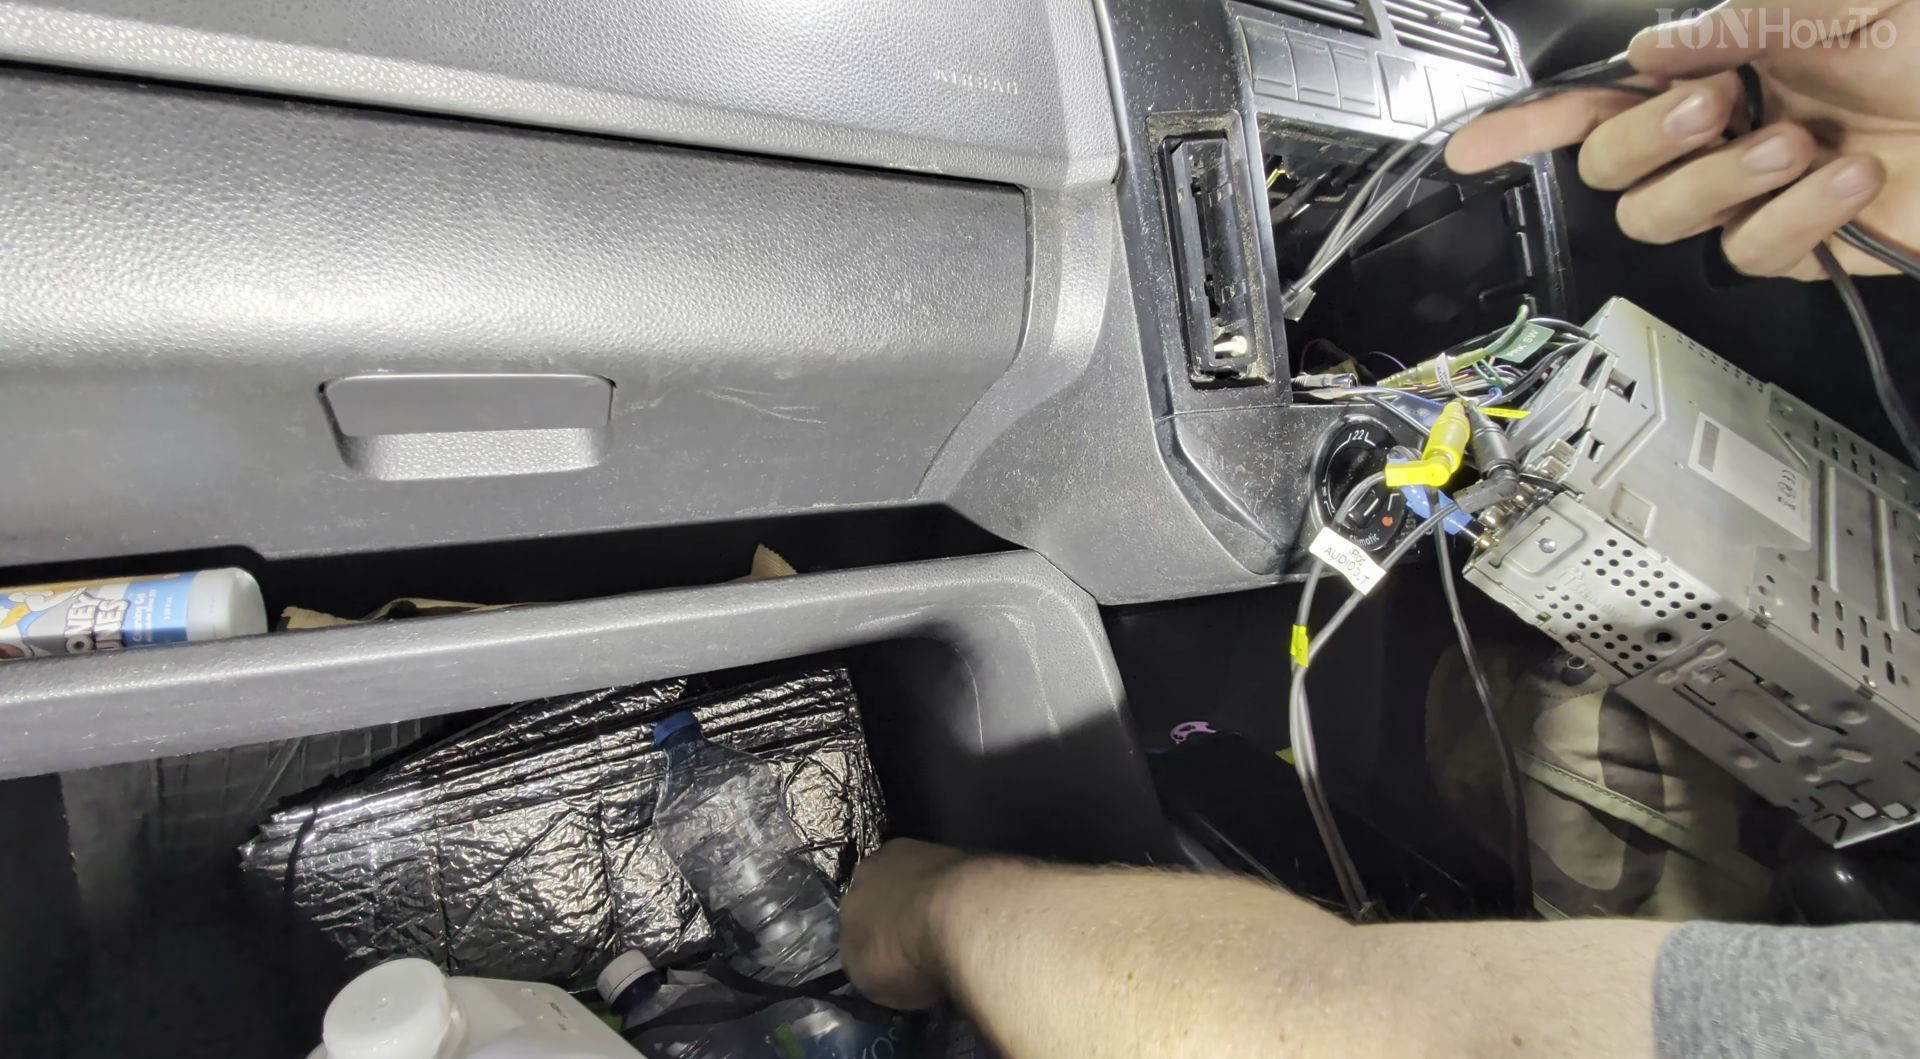
Feed the free end of the audio lead downward behind the climate control knobs inside the dash cavity.
Pull the plug out into the lower center tray near the shifter and slide the Kenwood chassis smoothly back until both side latches lock.
4. Turn On AUX Input Inside the Kenwood Setup Menu
Switch the car ignition on, then press and hold the main rotary volume knob on the stereo until the system menu opens.
Scroll down to Initial Settings, highlight AUX Input, press the knob to change it from OFF to ON, and press Source to see AUX appear on screen.
5. Test Left/Right Stereo Balance and Ground Noise
Connect your phone with a 3.5mm adapter, play a track on AUX, and pan the stereo balance all the way left and right to check every door speaker.
Pause the music at high volume to confirm there is zero alternator whine or buzzing from the shielded wire.
Why Check Behind the Stereo First
Kenwood shipped the KIV-700 digital media receiver with the rear AUX source switched off from the factory so drivers do not cycle through empty inputs. Until you flip Initial Settings to ON, plugging a phone into the rear 3.5mm jack produces no sound option on screen.
Helpful Tips
- Tuck the thick OEM ISO harness low inside the dashboard recess before pushing the radio back so no wires get pinched.
- Choose a shielded 3.5mm cable with a heavy-duty strain relief spring to stop the rear dashboard wall from bending the plug.
- If the volume sounds quiet on AUX compared to radio, increase the AUX Volume Offset inside the Kenwood audio menu.
Related Guides
- Connect Lightning Cable to USB C iPhone and iPad with Adapter – If you upgraded to a new iPhone or iPad with USB-C, you do not need to throw away your older Lightning cables.
- How to Connect iPad to Ethernet Cable Using USB-C Hub – If your home Wi-Fi is spotty or drops out during video calls, plugging your iPad into a wired internet cable gives you…
- Step-by-Step Replace Ethernet Cable Pull New Cable with Old Cable in Conduit Upgrade Cat5E to Cat6A – If your home network needs 10-gigabit speeds, pulling new wiring through existing wall pipes is much easier than opening drywall.
- Apple Music & Audio – Browse more tutorials and practical guides in this section.


Leave a Reply