
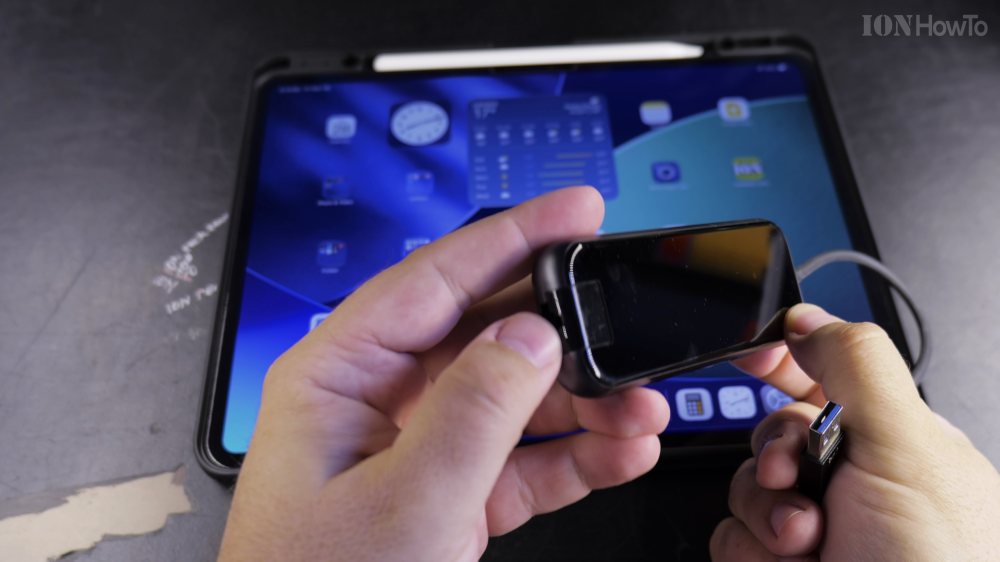
If your home Wi-Fi is spotty or drops out during video calls, plugging your iPad into a wired internet cable gives you rock-solid speed. I’ll show you how to connect an Ethernet cable to your USB-C iPad using an adapter.
1. Inspect Your USB-C Ethernet Adapter
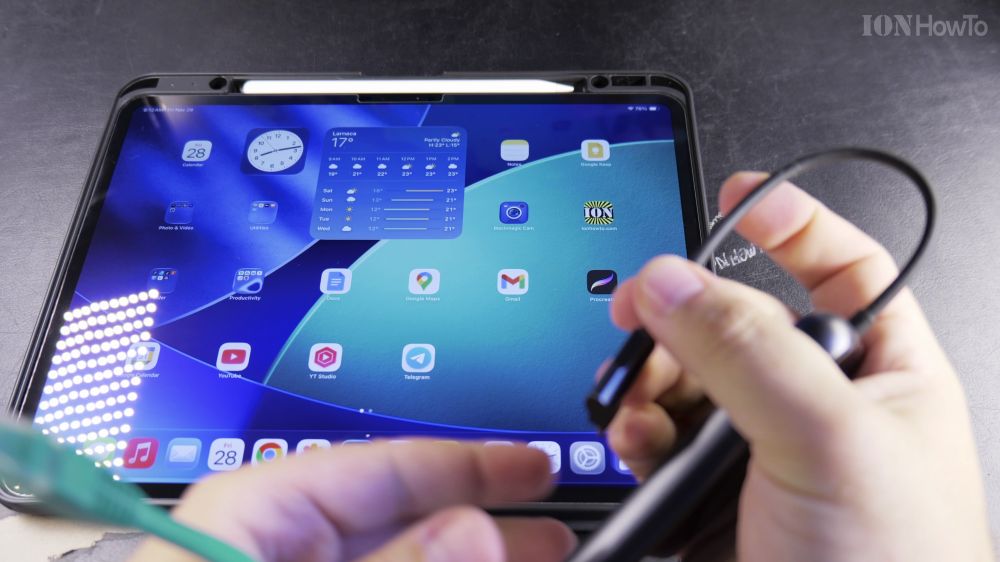
Get a standard USB-C hub or adapter that features an RJ-45 Ethernet network port.
2. Plug Adapter into Your iPad
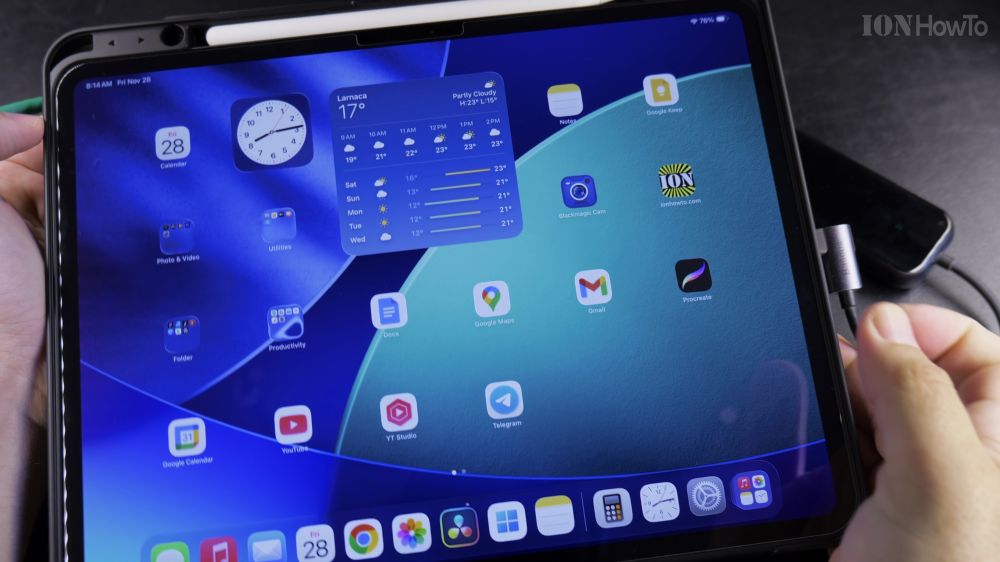
Slide the adapter’s USB-C connector into the charging port on the bottom edge of your iPad.
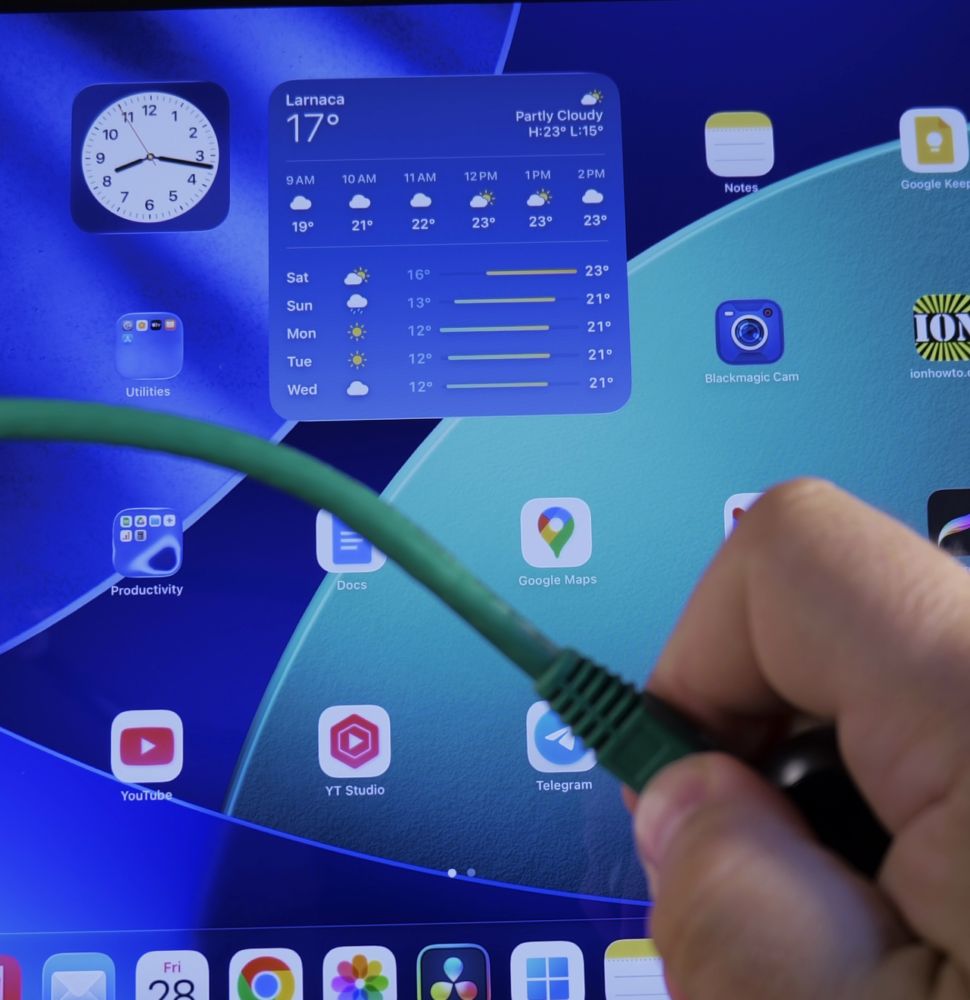
3. Insert Your Ethernet Cable
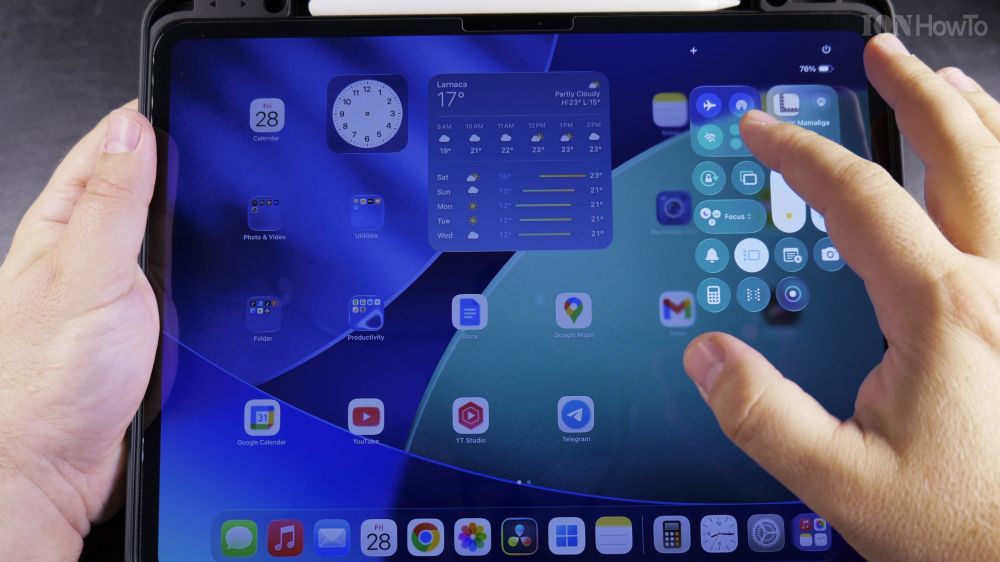
Plug your Ethernet network cable into the adapter’s port until you hear a soft mechanical click.
4. Confirm Connection in Settings
Open **Settings** on your iPad. A new row labeled **Ethernet** will appear right below Wi-Fi showing your IP address and connection speed.
Helpful Tips
For the fastest speeds and simultaneous charging, choose a USB-C hub with Power Delivery (PD) pass-through so your iPad charges while connected. Explore more tablet connectivity guides in our Apple iPad hub.


Leave a Reply