
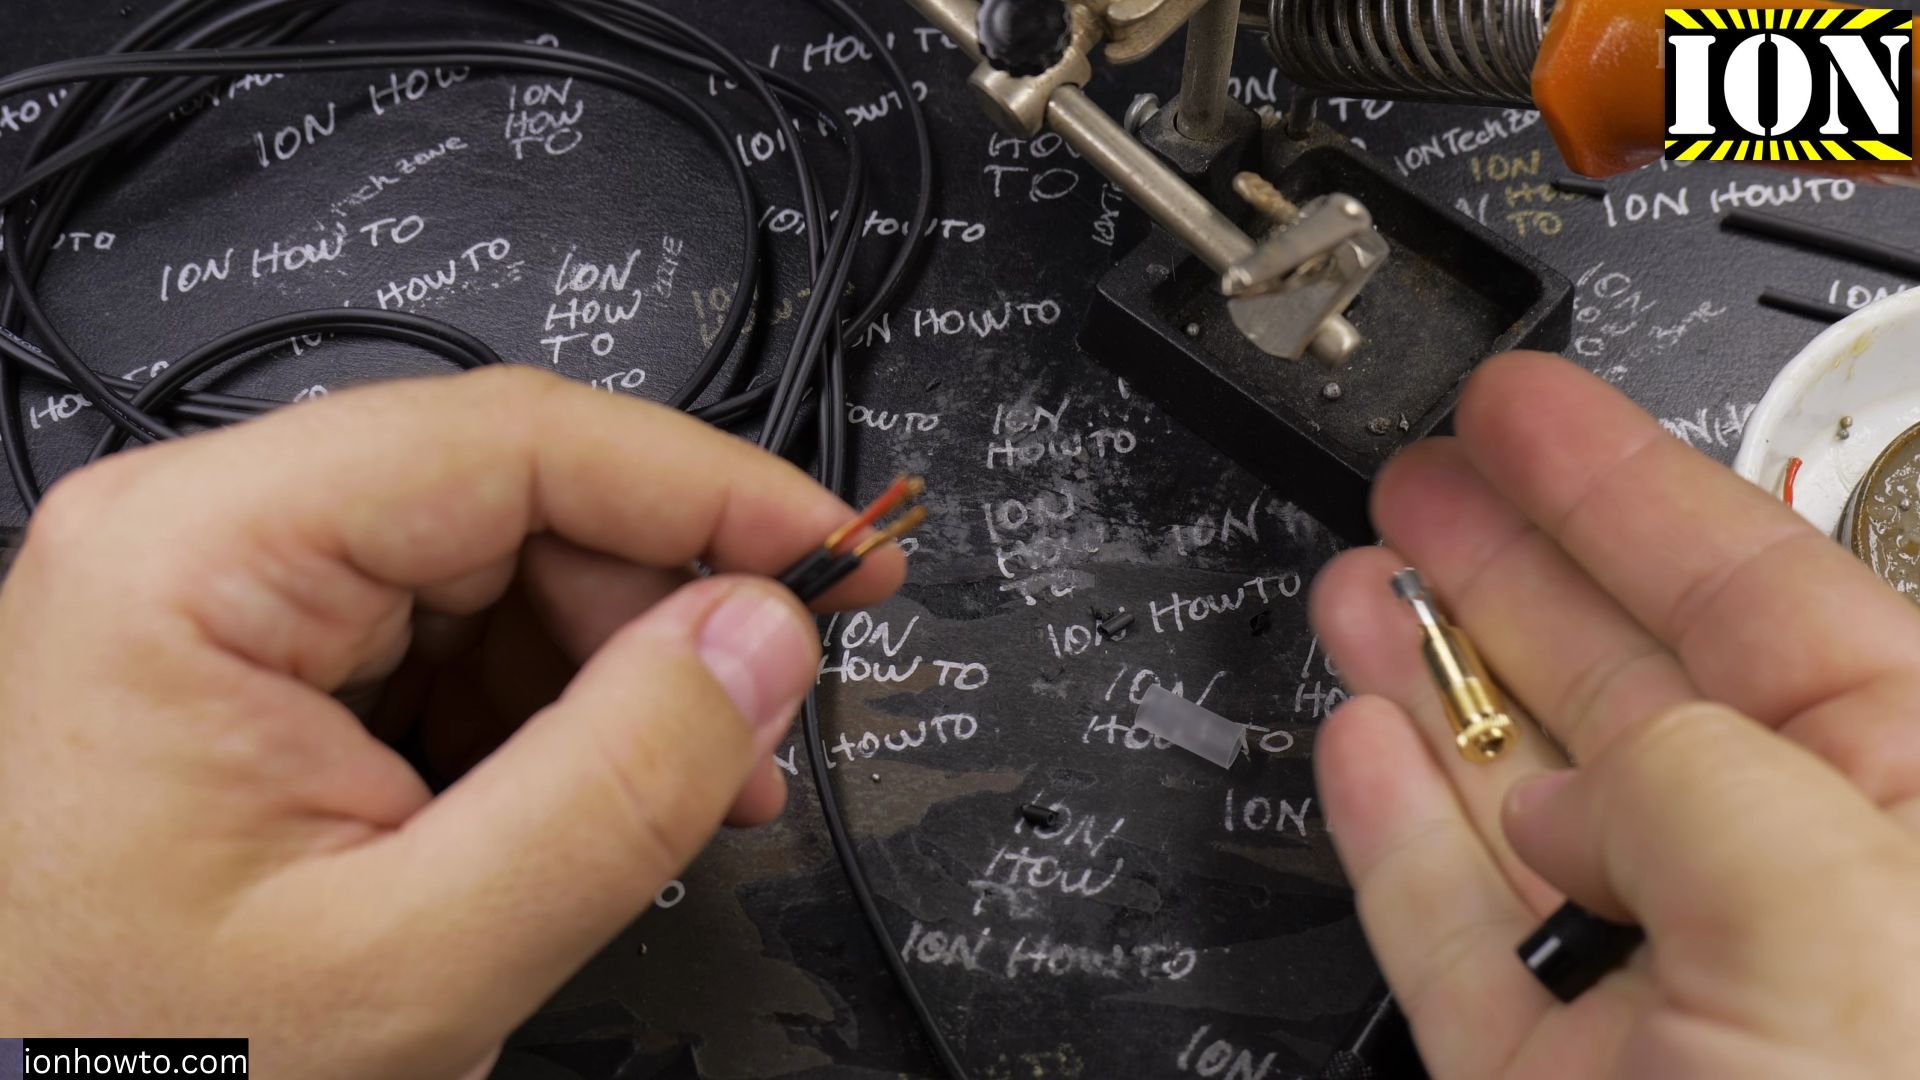
If your 3.5mm AUX cable crackles, drops one audio channel, or stops playing near the plug, the inner wires have broken from bending. This guide shows you step by step how to solder a rugged replacement 3.5mm TRS metal plug in clear bench stages.
Your roadmap
- Score and Remove the Outer Cable Jacket
- Unbraid and Twist the Copper Ground Shield
- Slide the Metal Shell On Before Soldering and Strip the Wires
- Apply Rosin Flux and Pre-Tin Every Copper Lead
- Solder the White Left-Channel Wire to the Center Tip Lug
- Solder the Red Right-Channel Wire to the Middle Ring Lug
- Solder the Ground Shield and Crimp the Strain Relief Wings
- Add Heat Shrink Insulation and Thread the Metal Barrel
1. Score and Remove the Outer Cable Jacket
Measure about 25 millimeters back from the cut cable end. Lightly score the black rubber jacket with your flush cutters without cutting the copper shield underneath. Bend the wire gently with your fingers so the outer sleeve splits and slides right off.
2. Unbraid and Twist the Copper Ground Shield
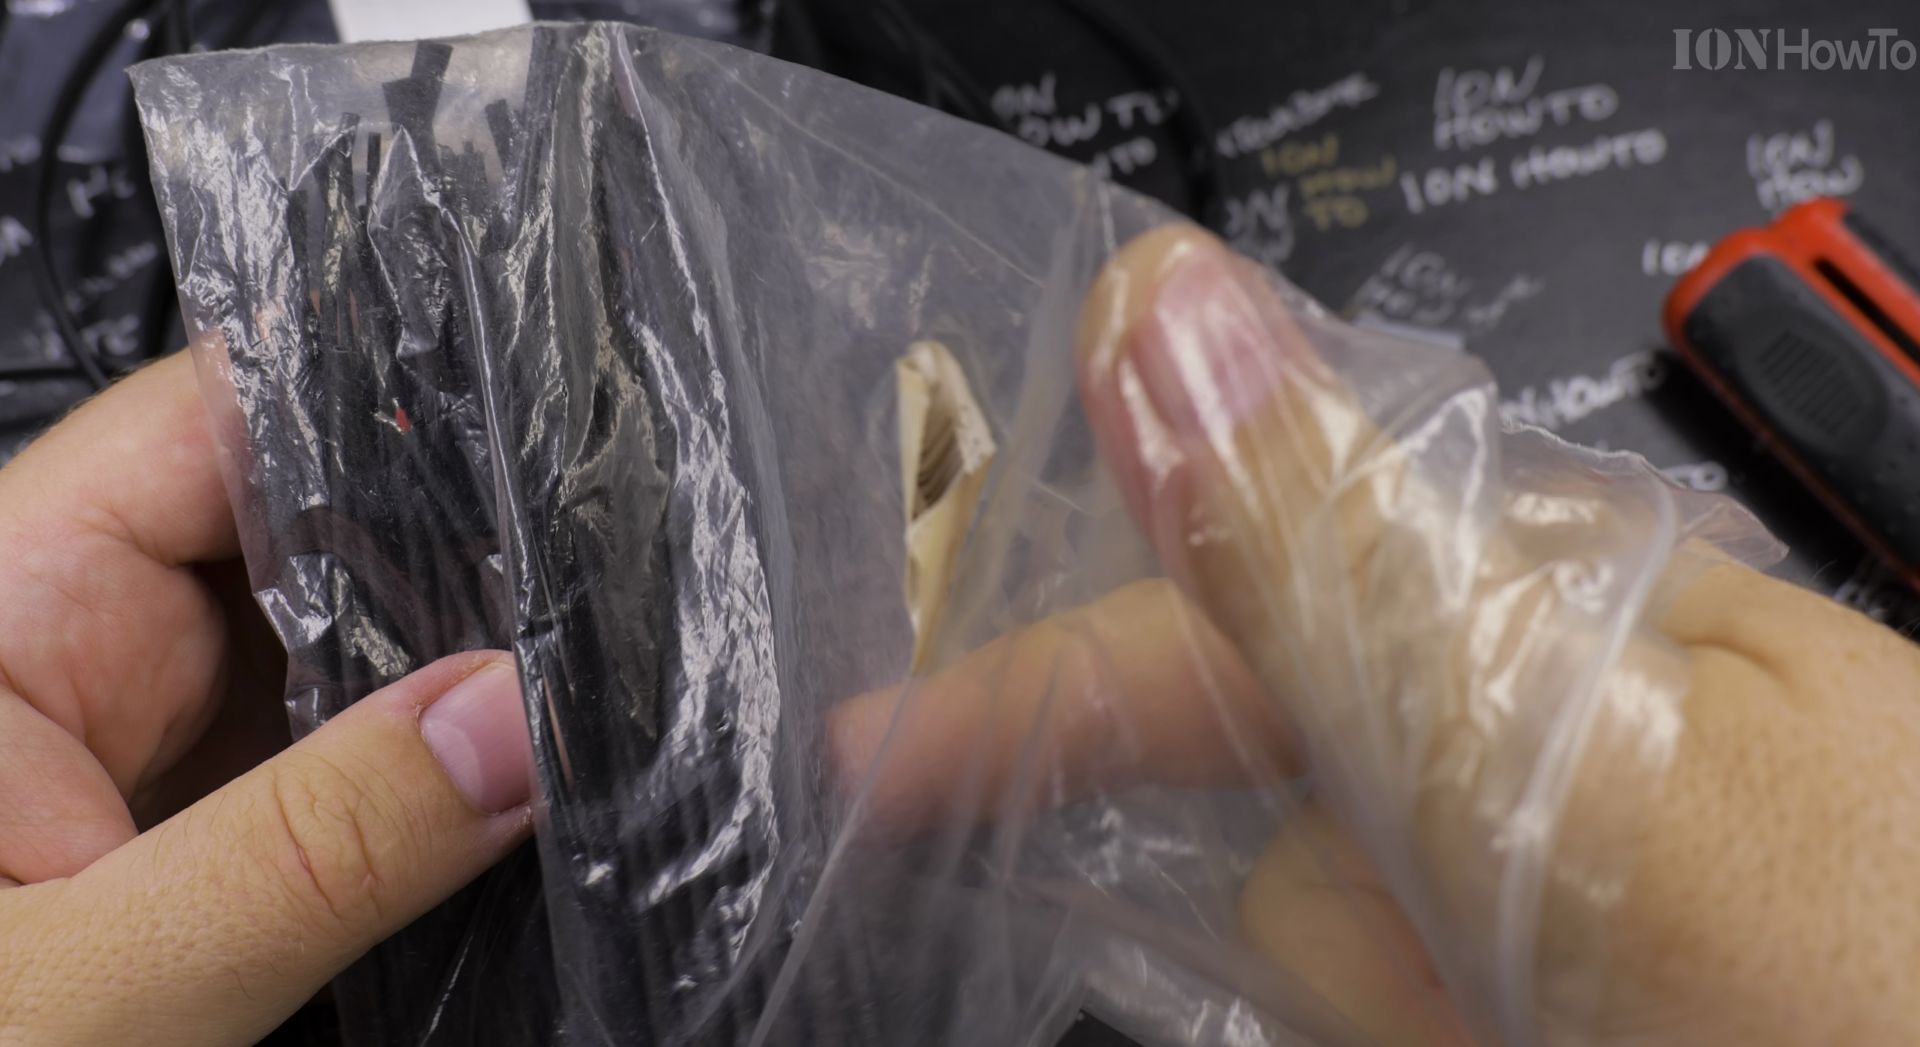
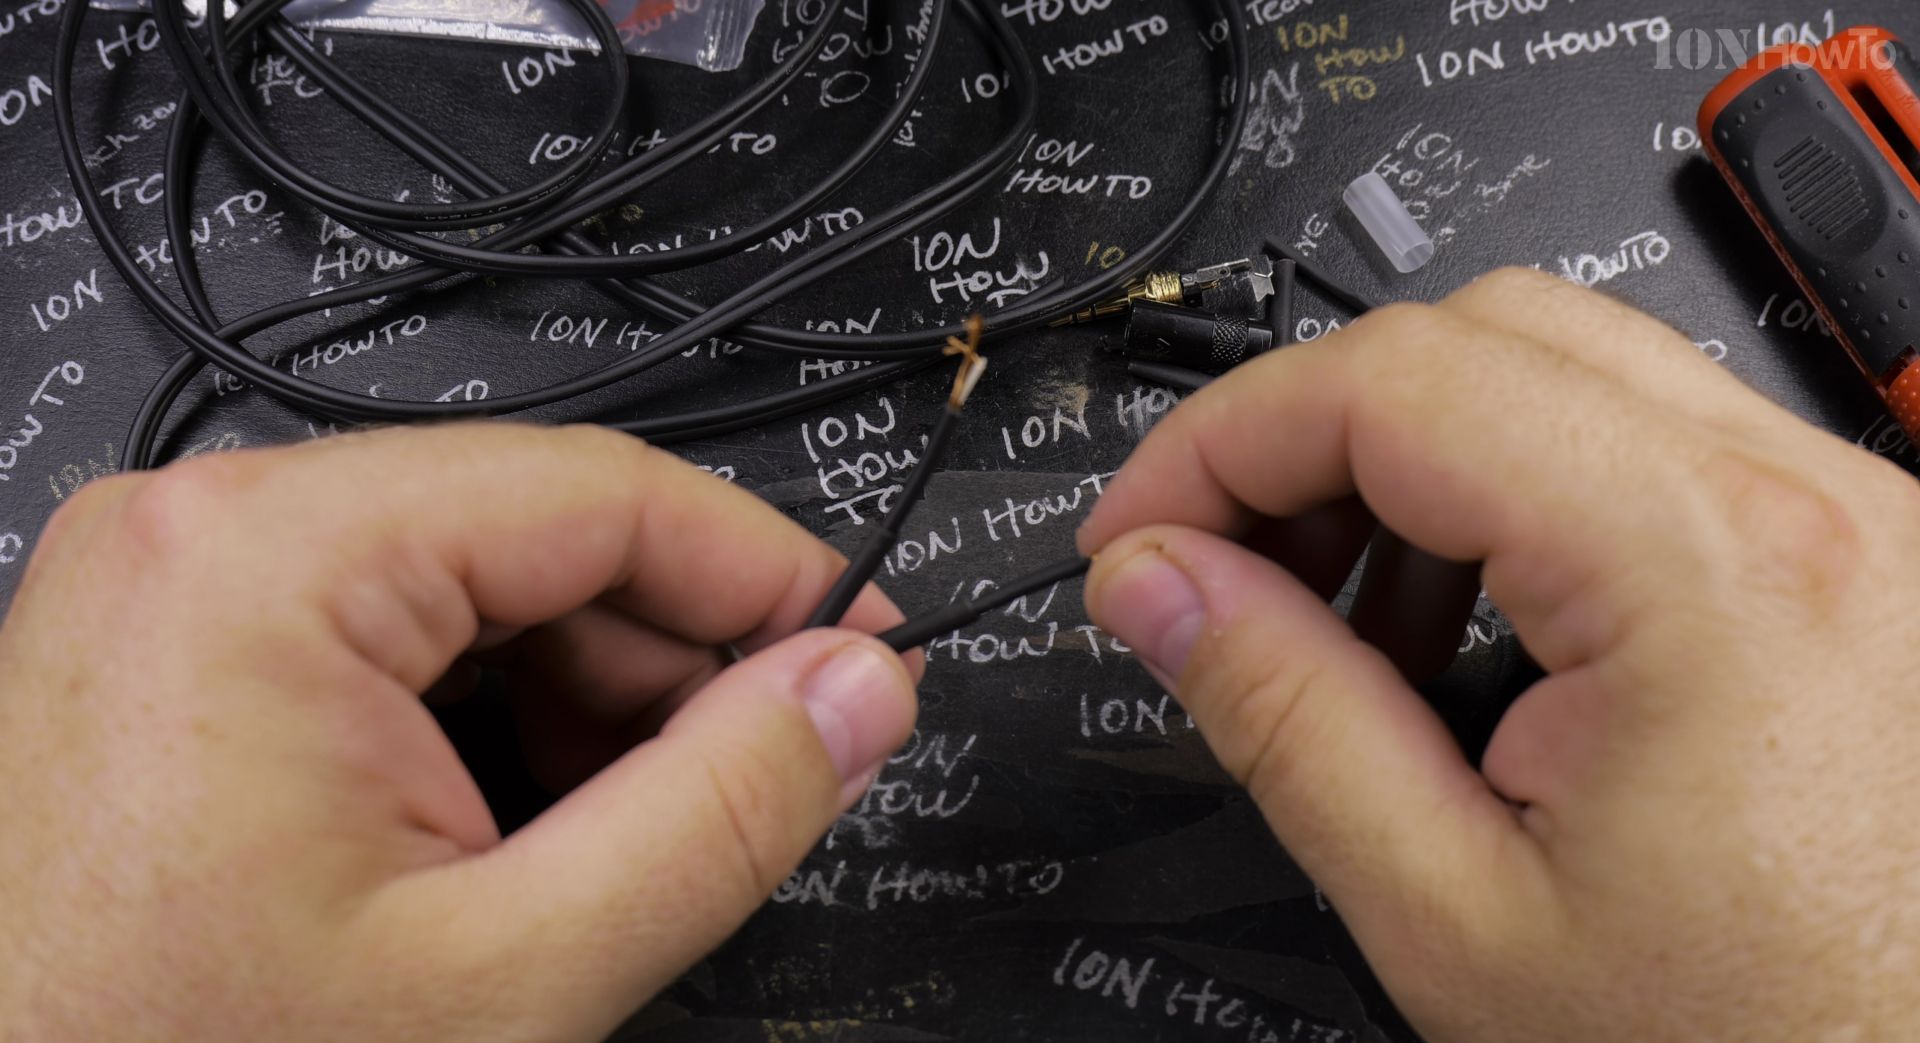
Use fine tweezers or a pick to gently untangle the woven copper shield strands. Pull all the loose copper fibers to one side and twist them clockwise into one neat ground wire. Two inner wires now stay exposed: a white wire for the left channel and a red wire for the right channel.
3. Slide the Metal Shell On Before Soldering and Strip the Wires
Slide the knurled metal plug barrel and spring strain relief onto the cable right now before touching any solder. Next, strip roughly 3 millimeters of colored plastic off both the red and white copper cores. Keeping bare wire tips short stops neighboring metal tabs from shorting together inside the plug.
4. Apply Rosin Flux and Pre-Tin Every Copper Lead
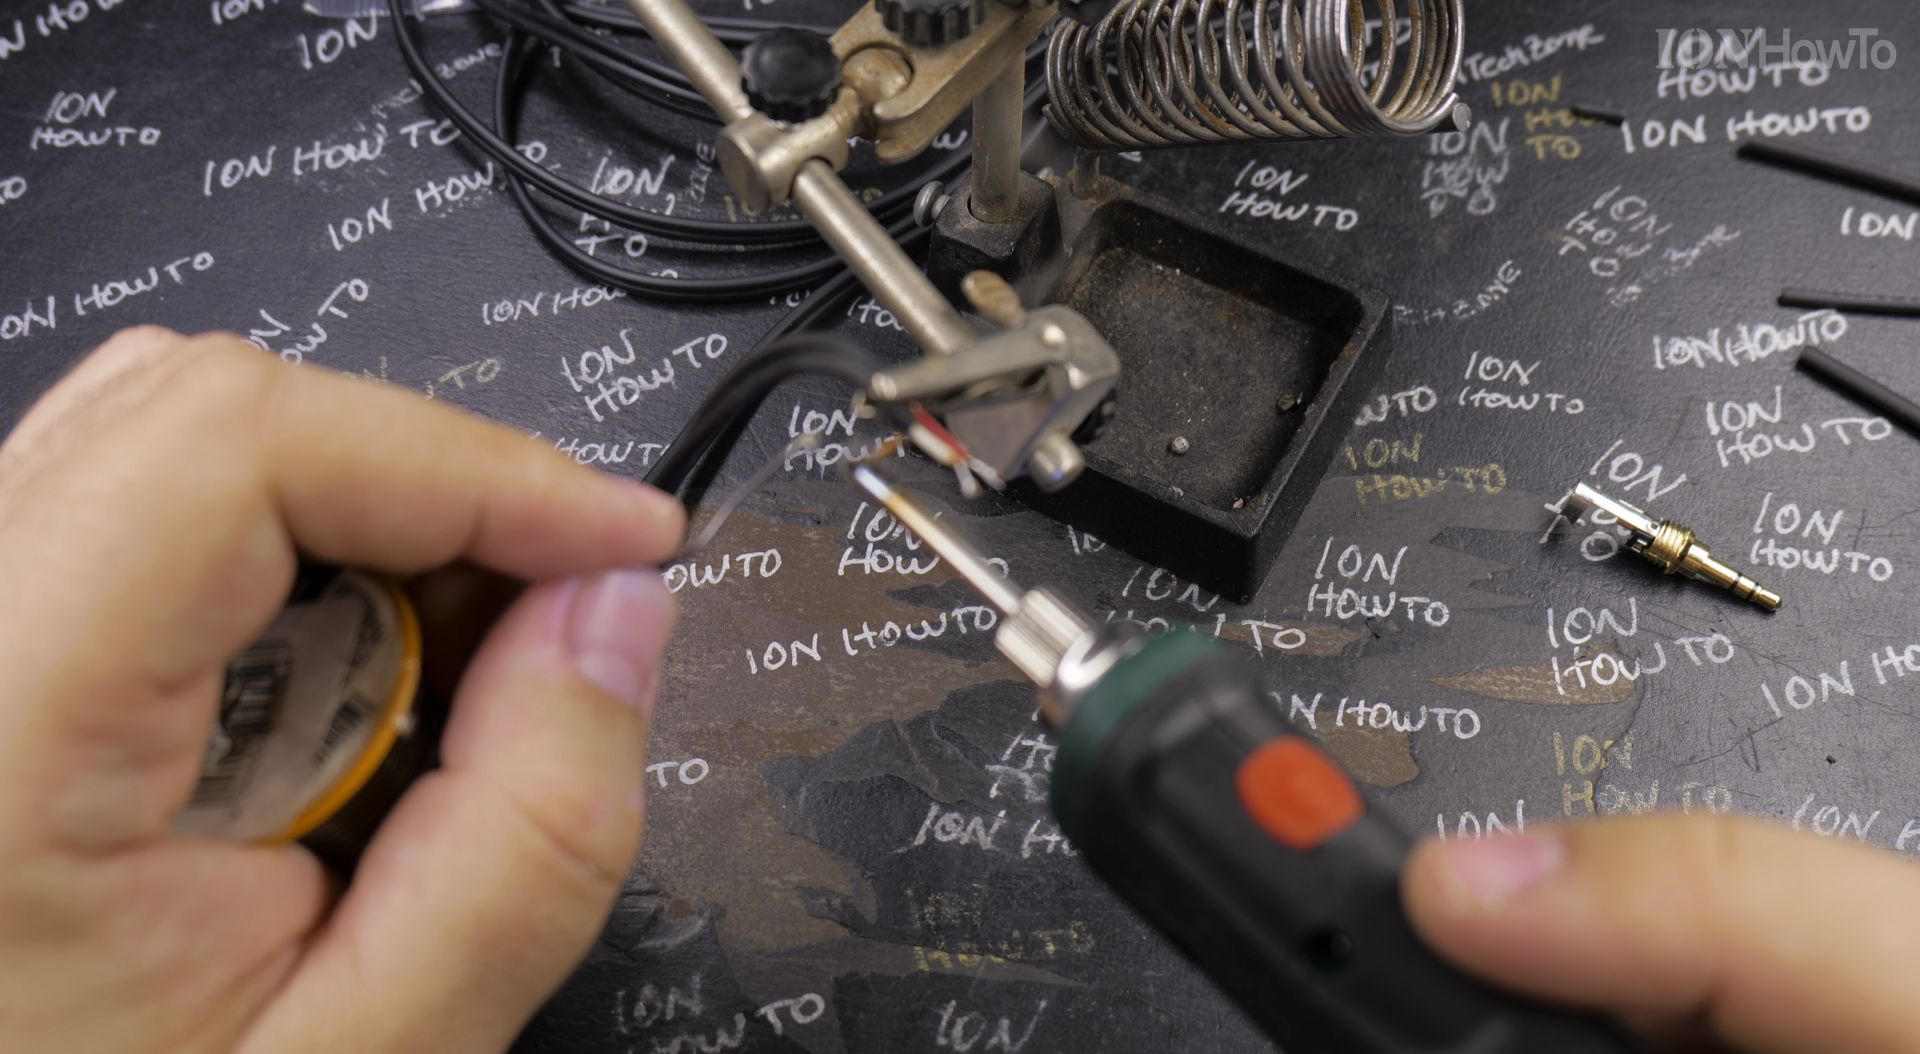
Dip each stripped wire tip into a small dab of rosin soldering flux paste. Clean your hot soldering iron tip on a brass sponge, add a tiny dot of solder, and touch each wire until silver solder wicks smoothly into the copper strands. Pre-tinned wires lock onto brass lugs in about one second.
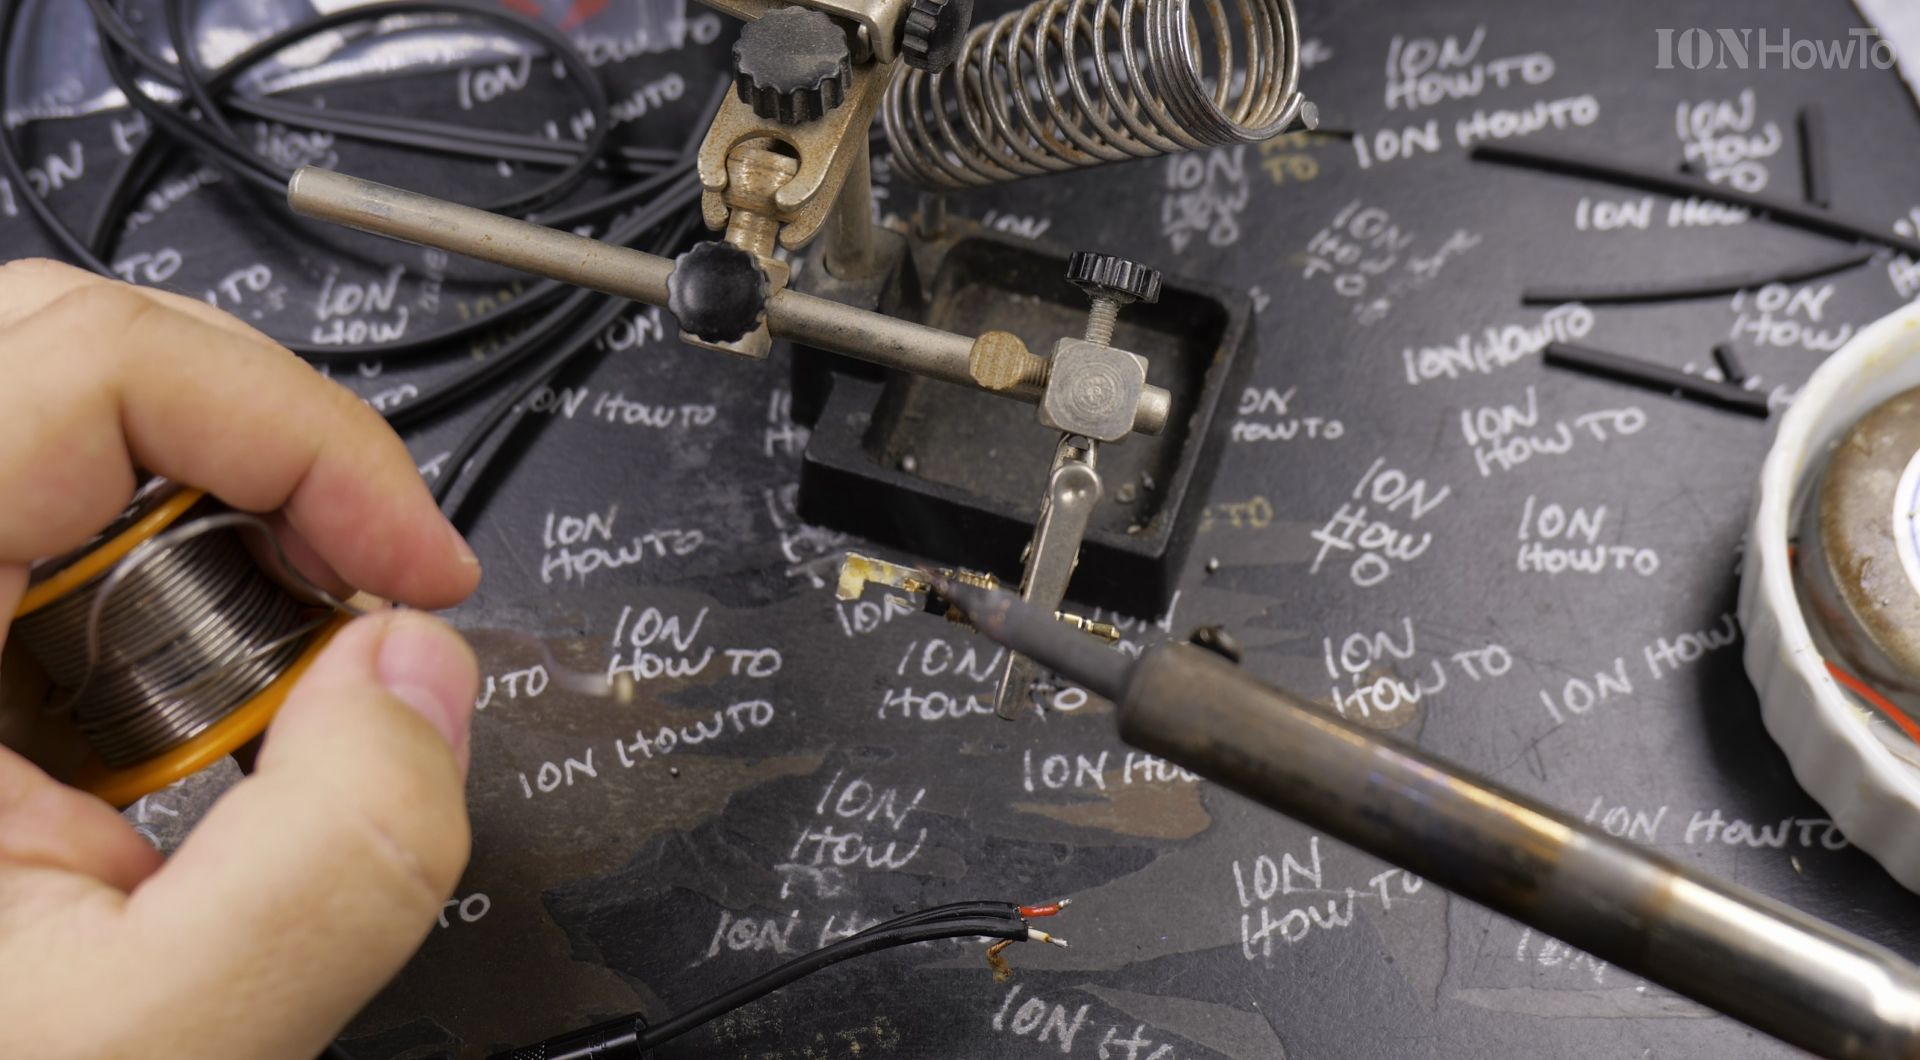
5. Solder the White Left-Channel Wire to the Center Tip Lug
Clamp the gold 3.5mm TRS plug upright in your helping hands stand and pre-tin the shortest center tab. Hold the tinned white wire steady against that center Tip terminal and touch the iron briefly until the solder flows shiny and smooth. Keep your hand completely still for two seconds until the joint cools solid.
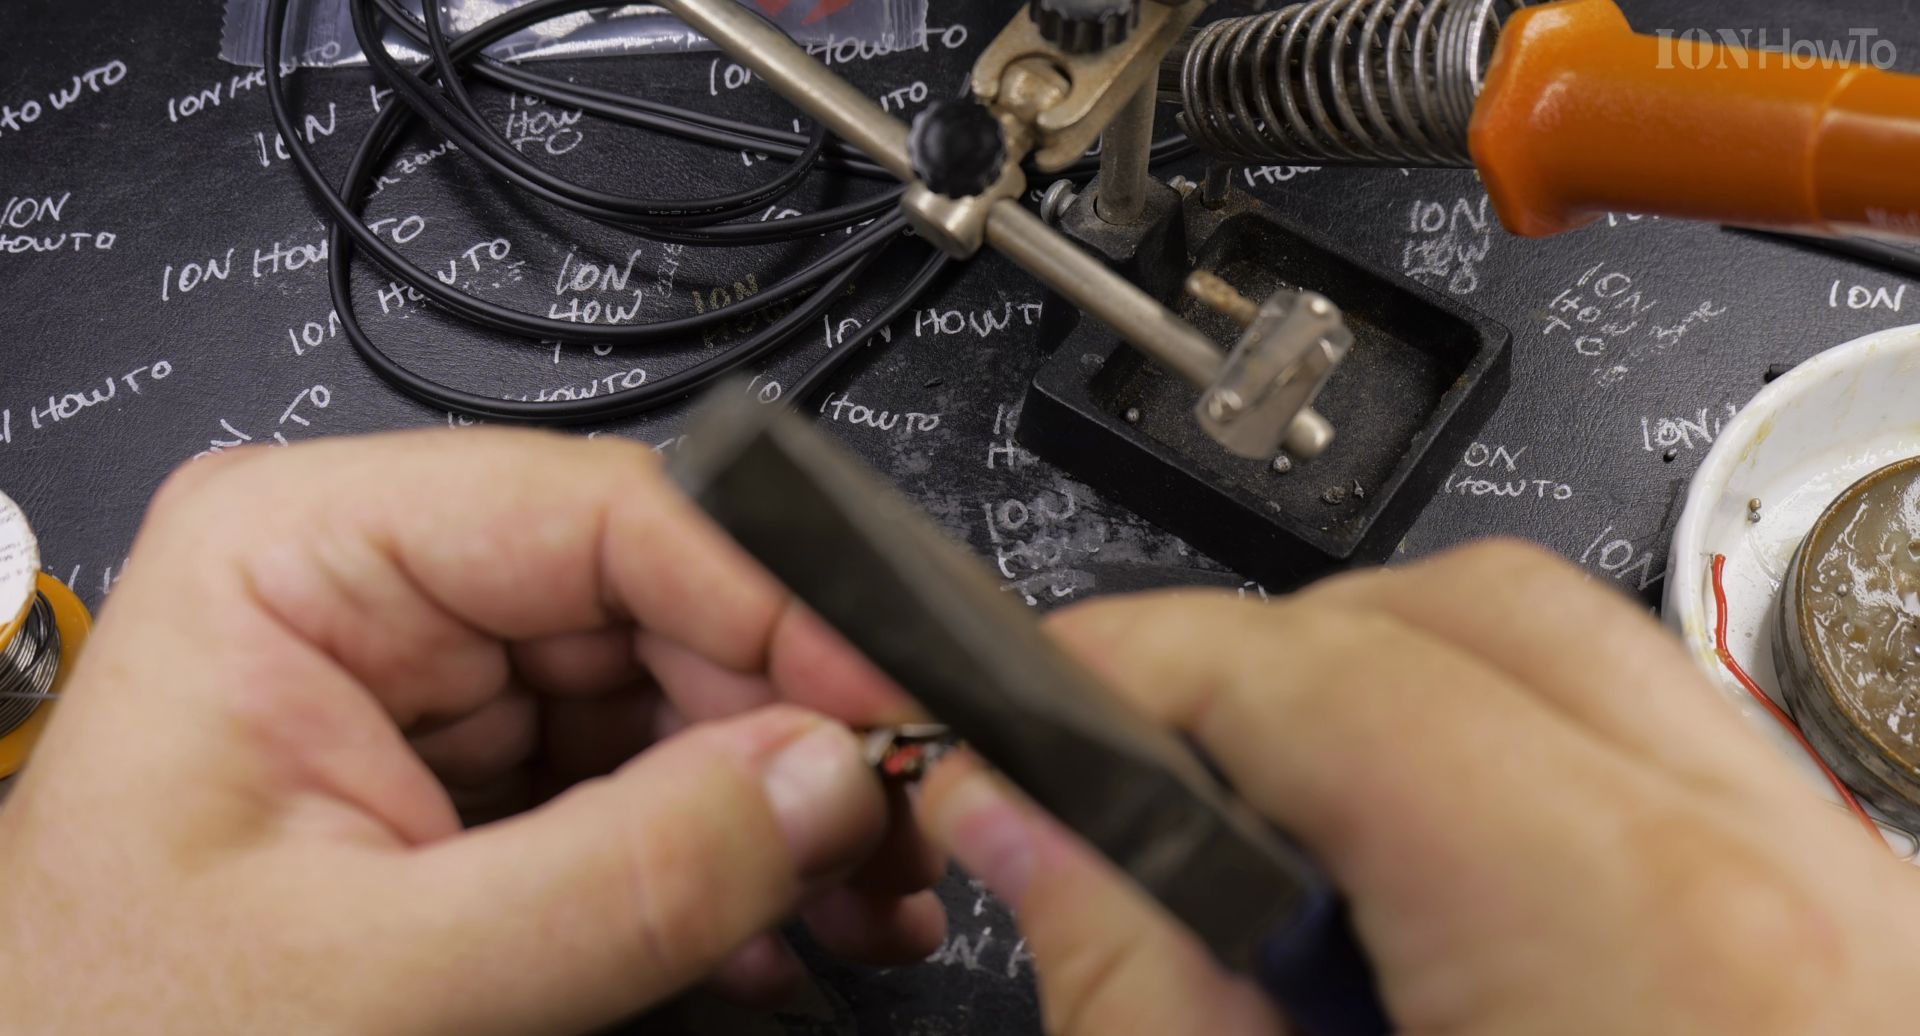
6. Solder the Red Right-Channel Wire to the Middle Ring Lug
Turn the clamp slightly so the middle Ring lug faces up clearly. Touch the tinned red right-audio wire onto that middle tab with a brief dab of flux and flow a clean, small bead of solder. Look closely afterward to make sure zero solder or loose copper bridges between the center and middle tabs.
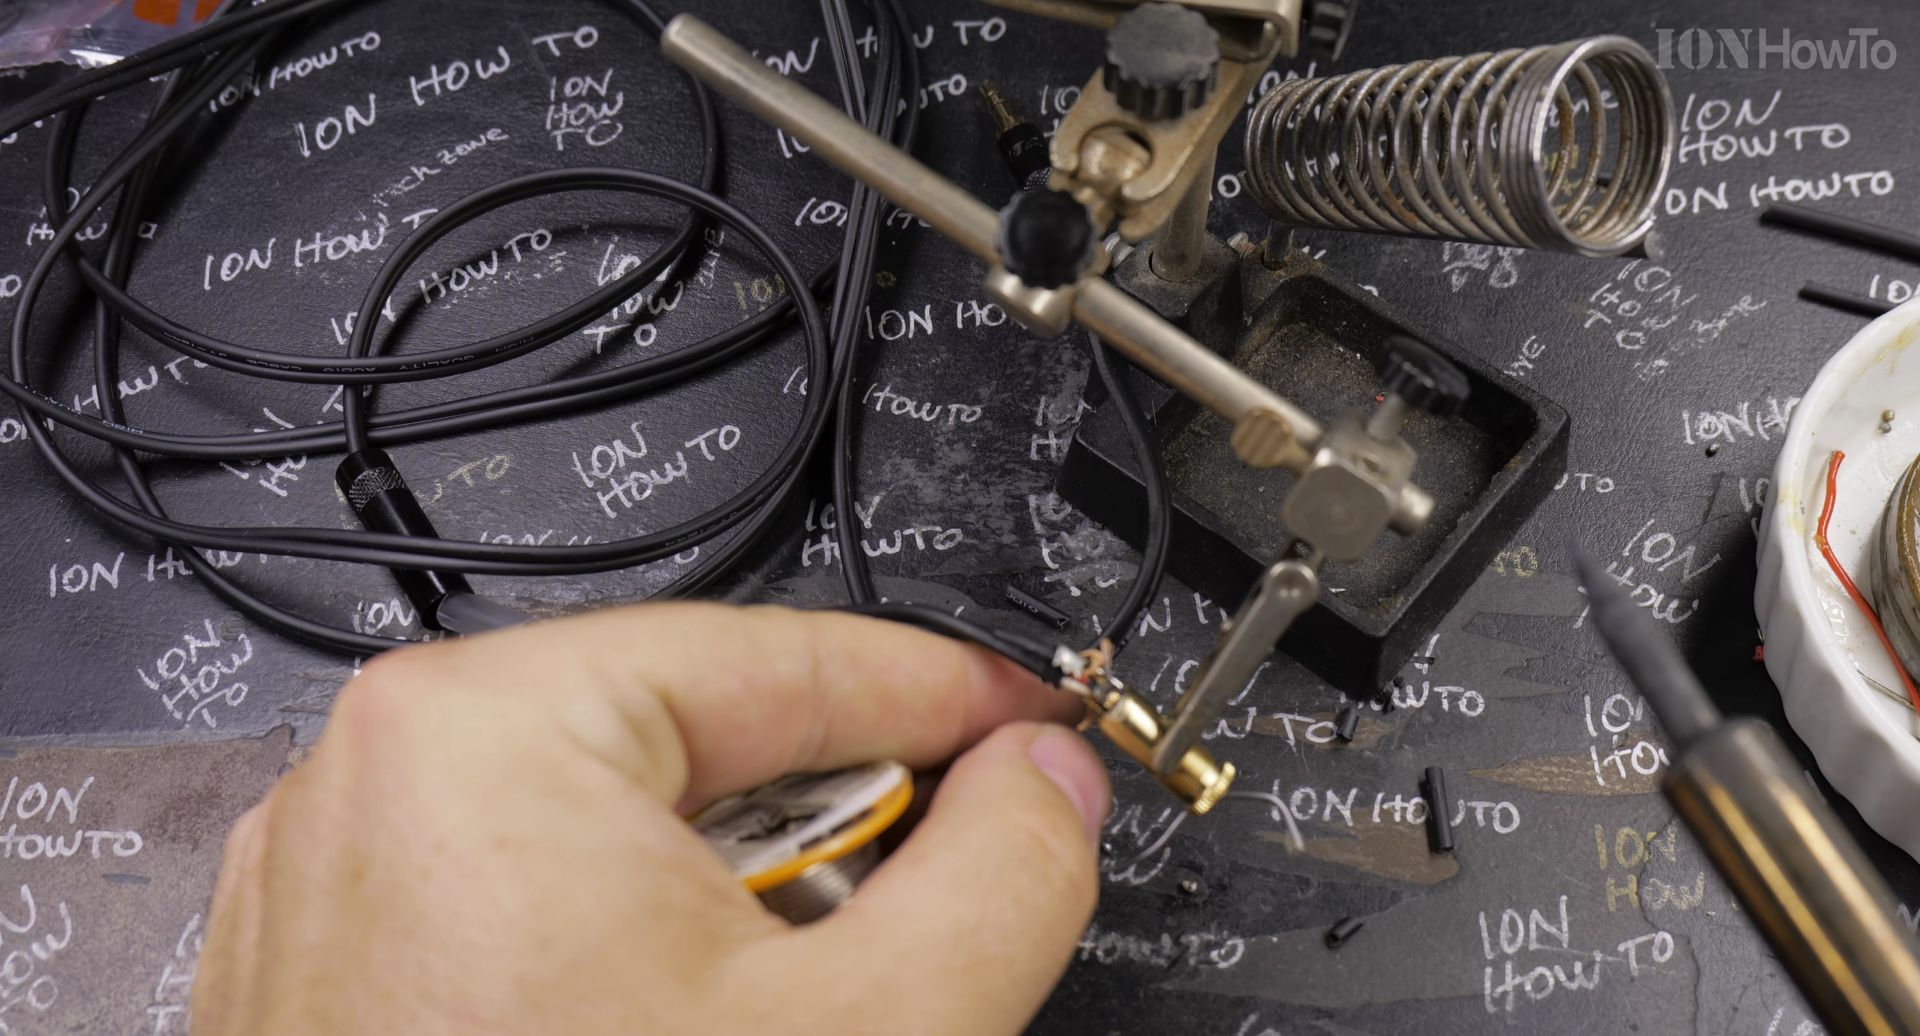
7. Solder the Ground Shield and Crimp the Strain Relief Wings
Hold your soldering iron on the long outer Sleeve chassis tab for two seconds because the thicker metal needs extra heat. Feed rosin-core solder until the twisted copper ground wire bonds solidly to the sleeve tab. Finally, squeeze the bottom metal wings tightly around the black outer jacket with needle-nose pliers.
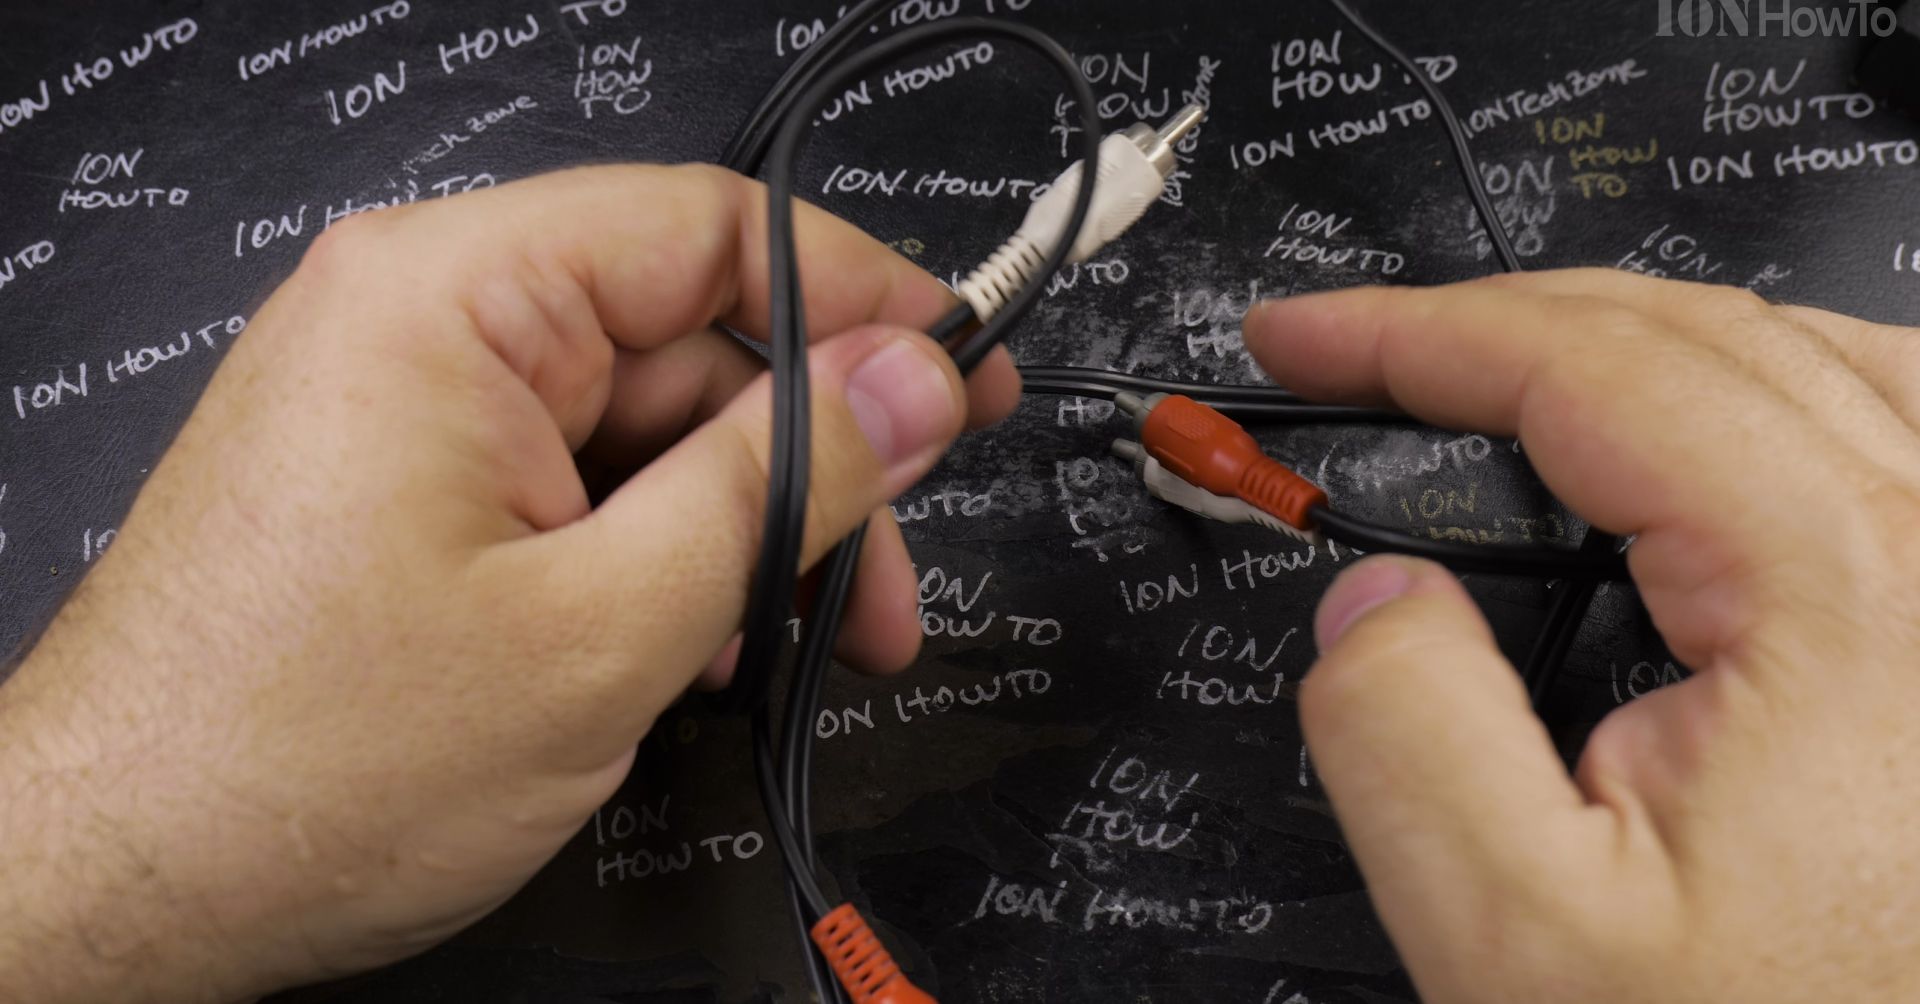
8. Add Heat Shrink Insulation and Thread the Metal Barrel
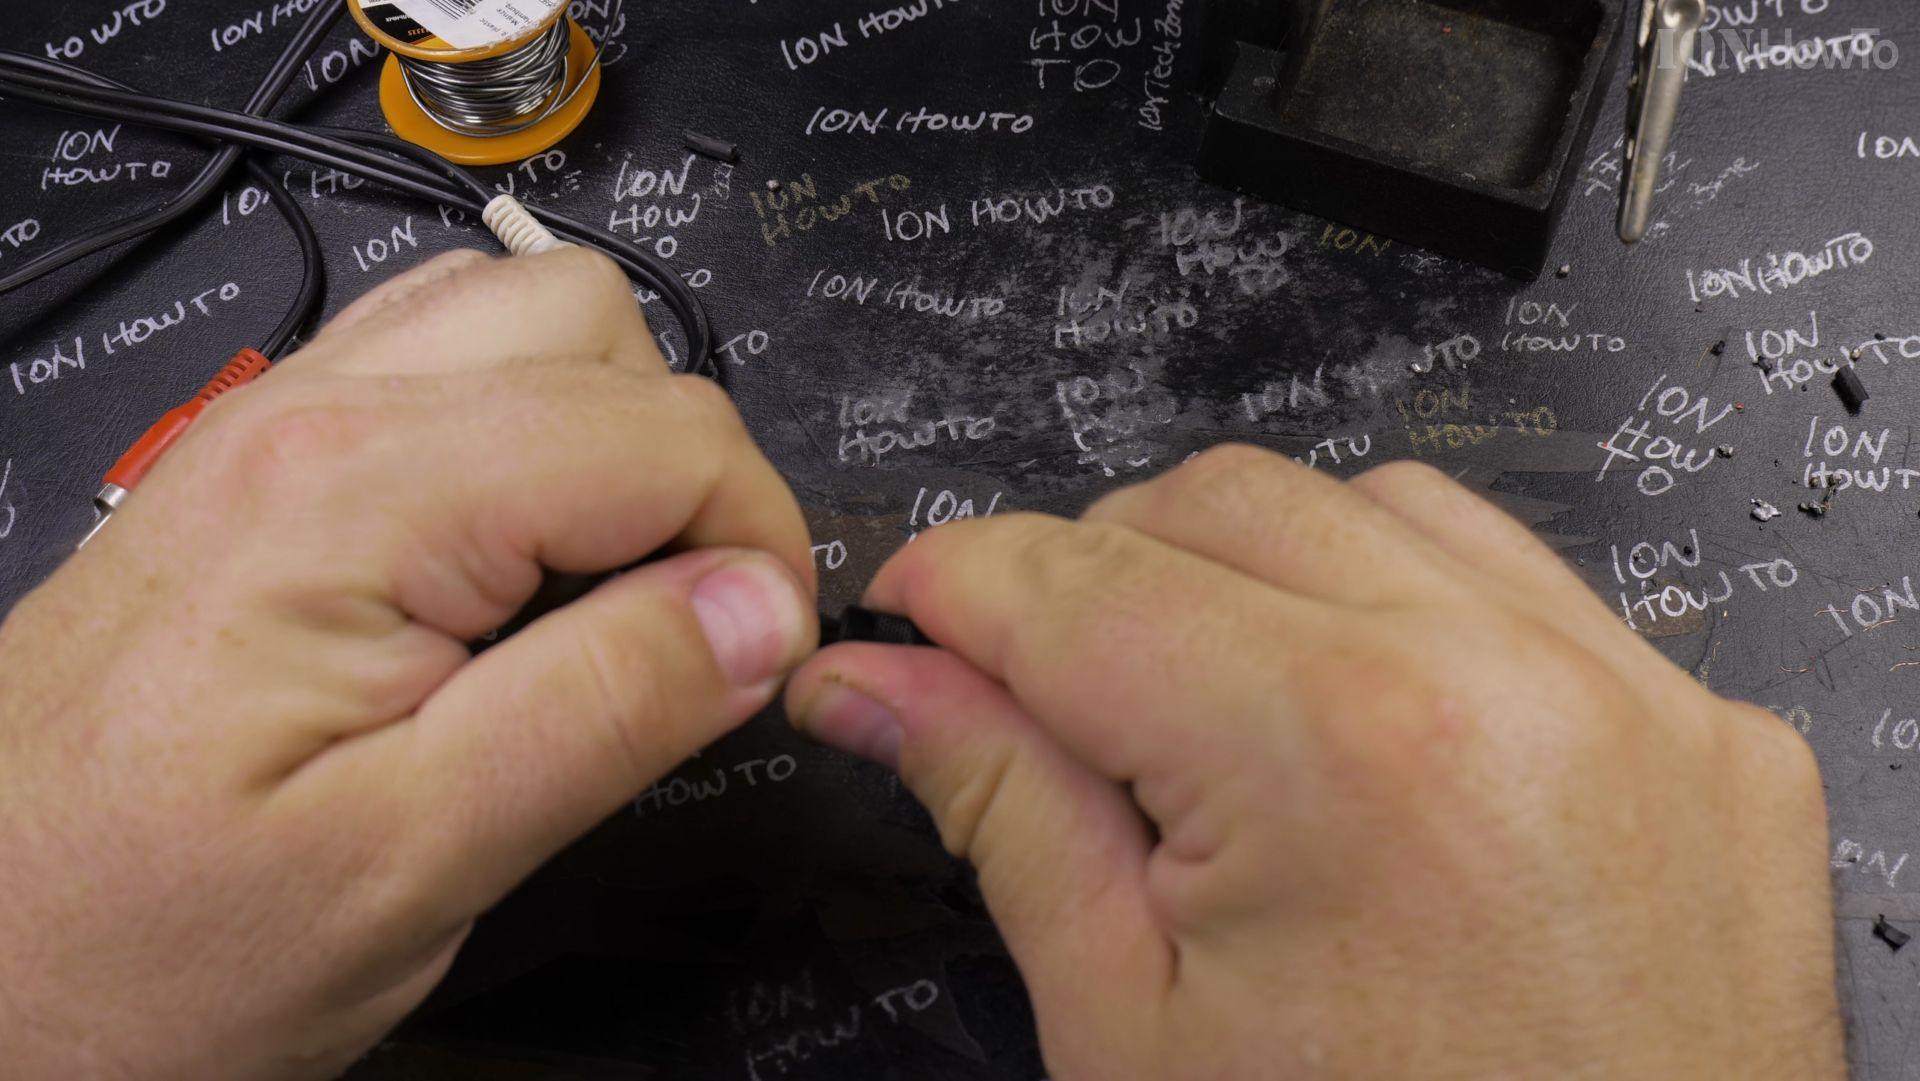
Inspect every joint around the plug to confirm clean gaps and zero bridges. Slide heat shrink tubing over the inner terminals and shrink it snug with warm air so nothing can touch the outer casing. Pull up the spring strain relief and screw the black metal sleeve clockwise until it sits flush against the jack.
Helpful Tips
- Always test Left, Right, and Ground pins for shorts with a multimeter before plugging the cable into your car stereo or amplifier.
- Remember the standard stereo pinout: Tip (center shortest tab) is White Left Audio, Ring (middle tab) is Red Right Audio, and Sleeve is Ground.
- See our companion guide on how to install and enable a rear AUX audio cable on a Kenwood car stereo once your repaired cable is ready to plug in.
Related Guides
- How to Connect iPad to Ethernet Cable Using USB-C Hub – If your home Wi-Fi is spotty or drops out during video calls, plugging your iPad into a wired internet cable gives you…
- Connect Lightning Cable to USB C iPhone and iPad with Adapter – If you upgraded to a new iPhone or iPad with USB-C, you do not need to throw away your older Lightning cables.
- Step-by-Step Replace Ethernet Cable Pull New Cable with Old Cable in Conduit Upgrade Cat5E to Cat6A – If your home network needs 10-gigabit speeds, pulling new wiring through existing wall pipes is much easier than opening drywall.
- Apple Music & Audio – Browse more tutorials and practical guides in this section.


Leave a Reply