
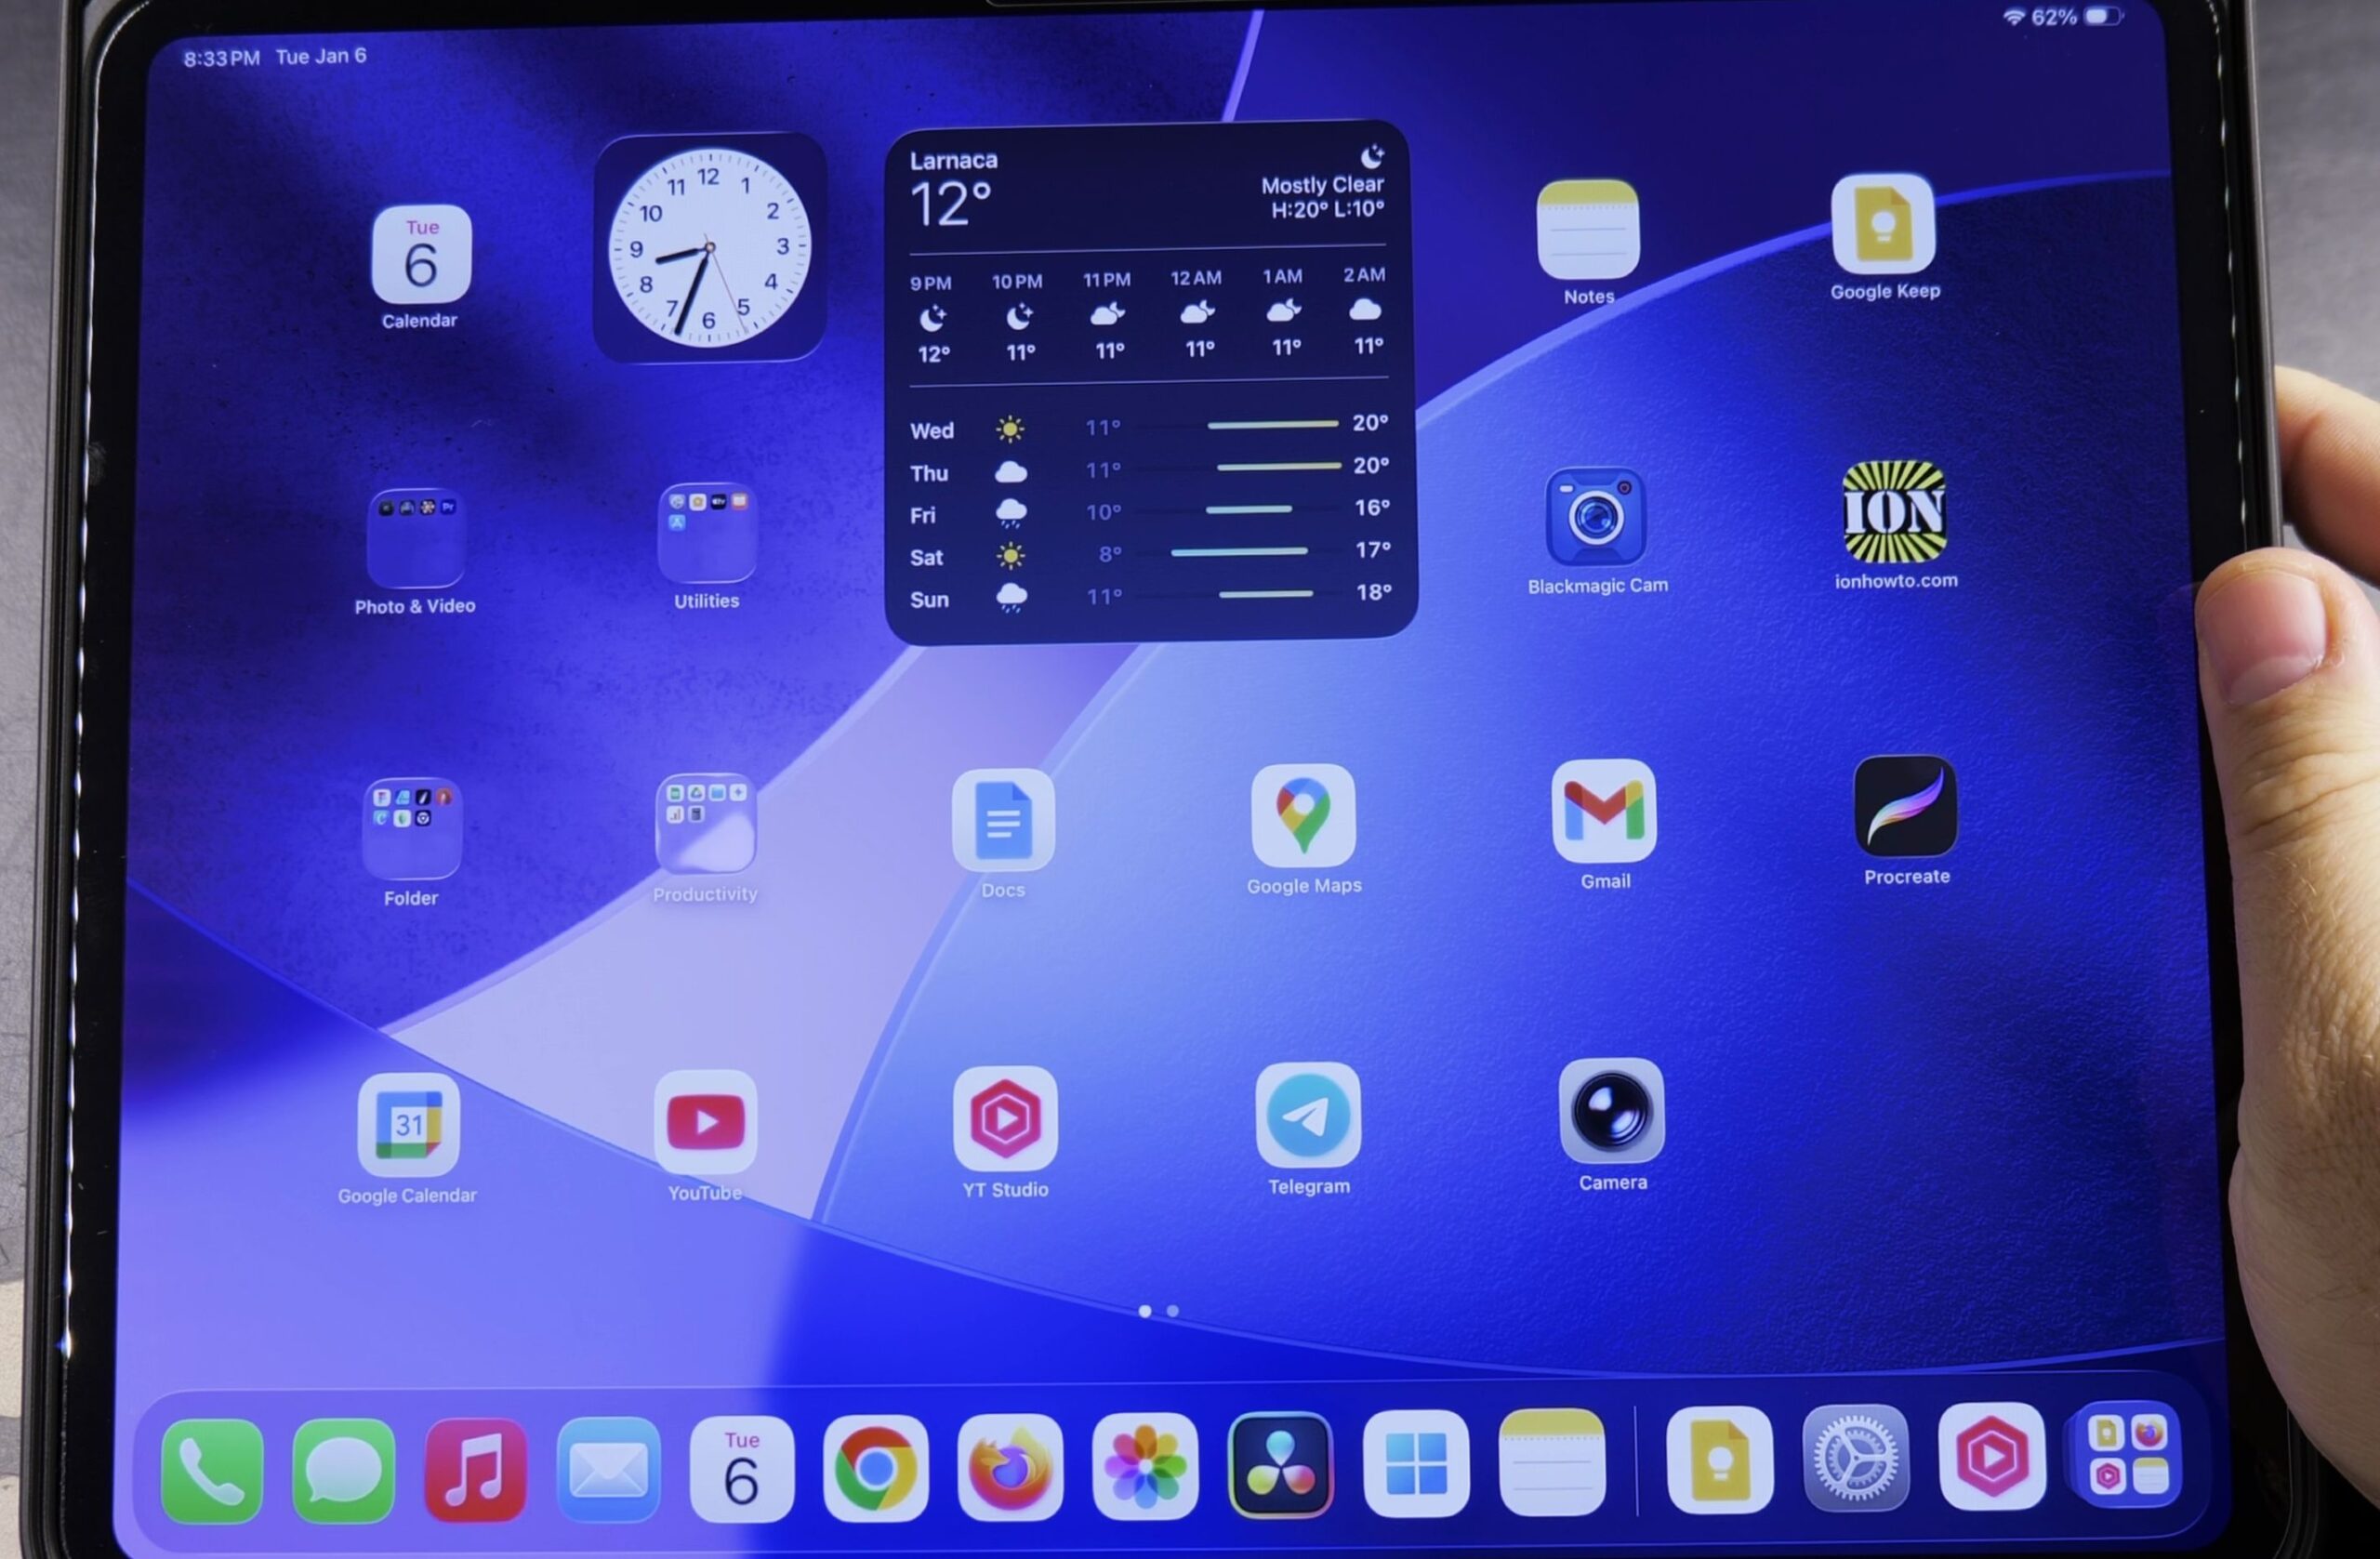
If you need a quick light in a dark room, your iPad Pro has a powerful LED camera flash that works just like an iPhone flashlight. I’ll show you how to add the flashlight button to your iPad Control Center in just a few taps.
1. Swipe Down from the Top-Right Corner
Look at the top-right corner of your iPad screen where the battery icon sits.
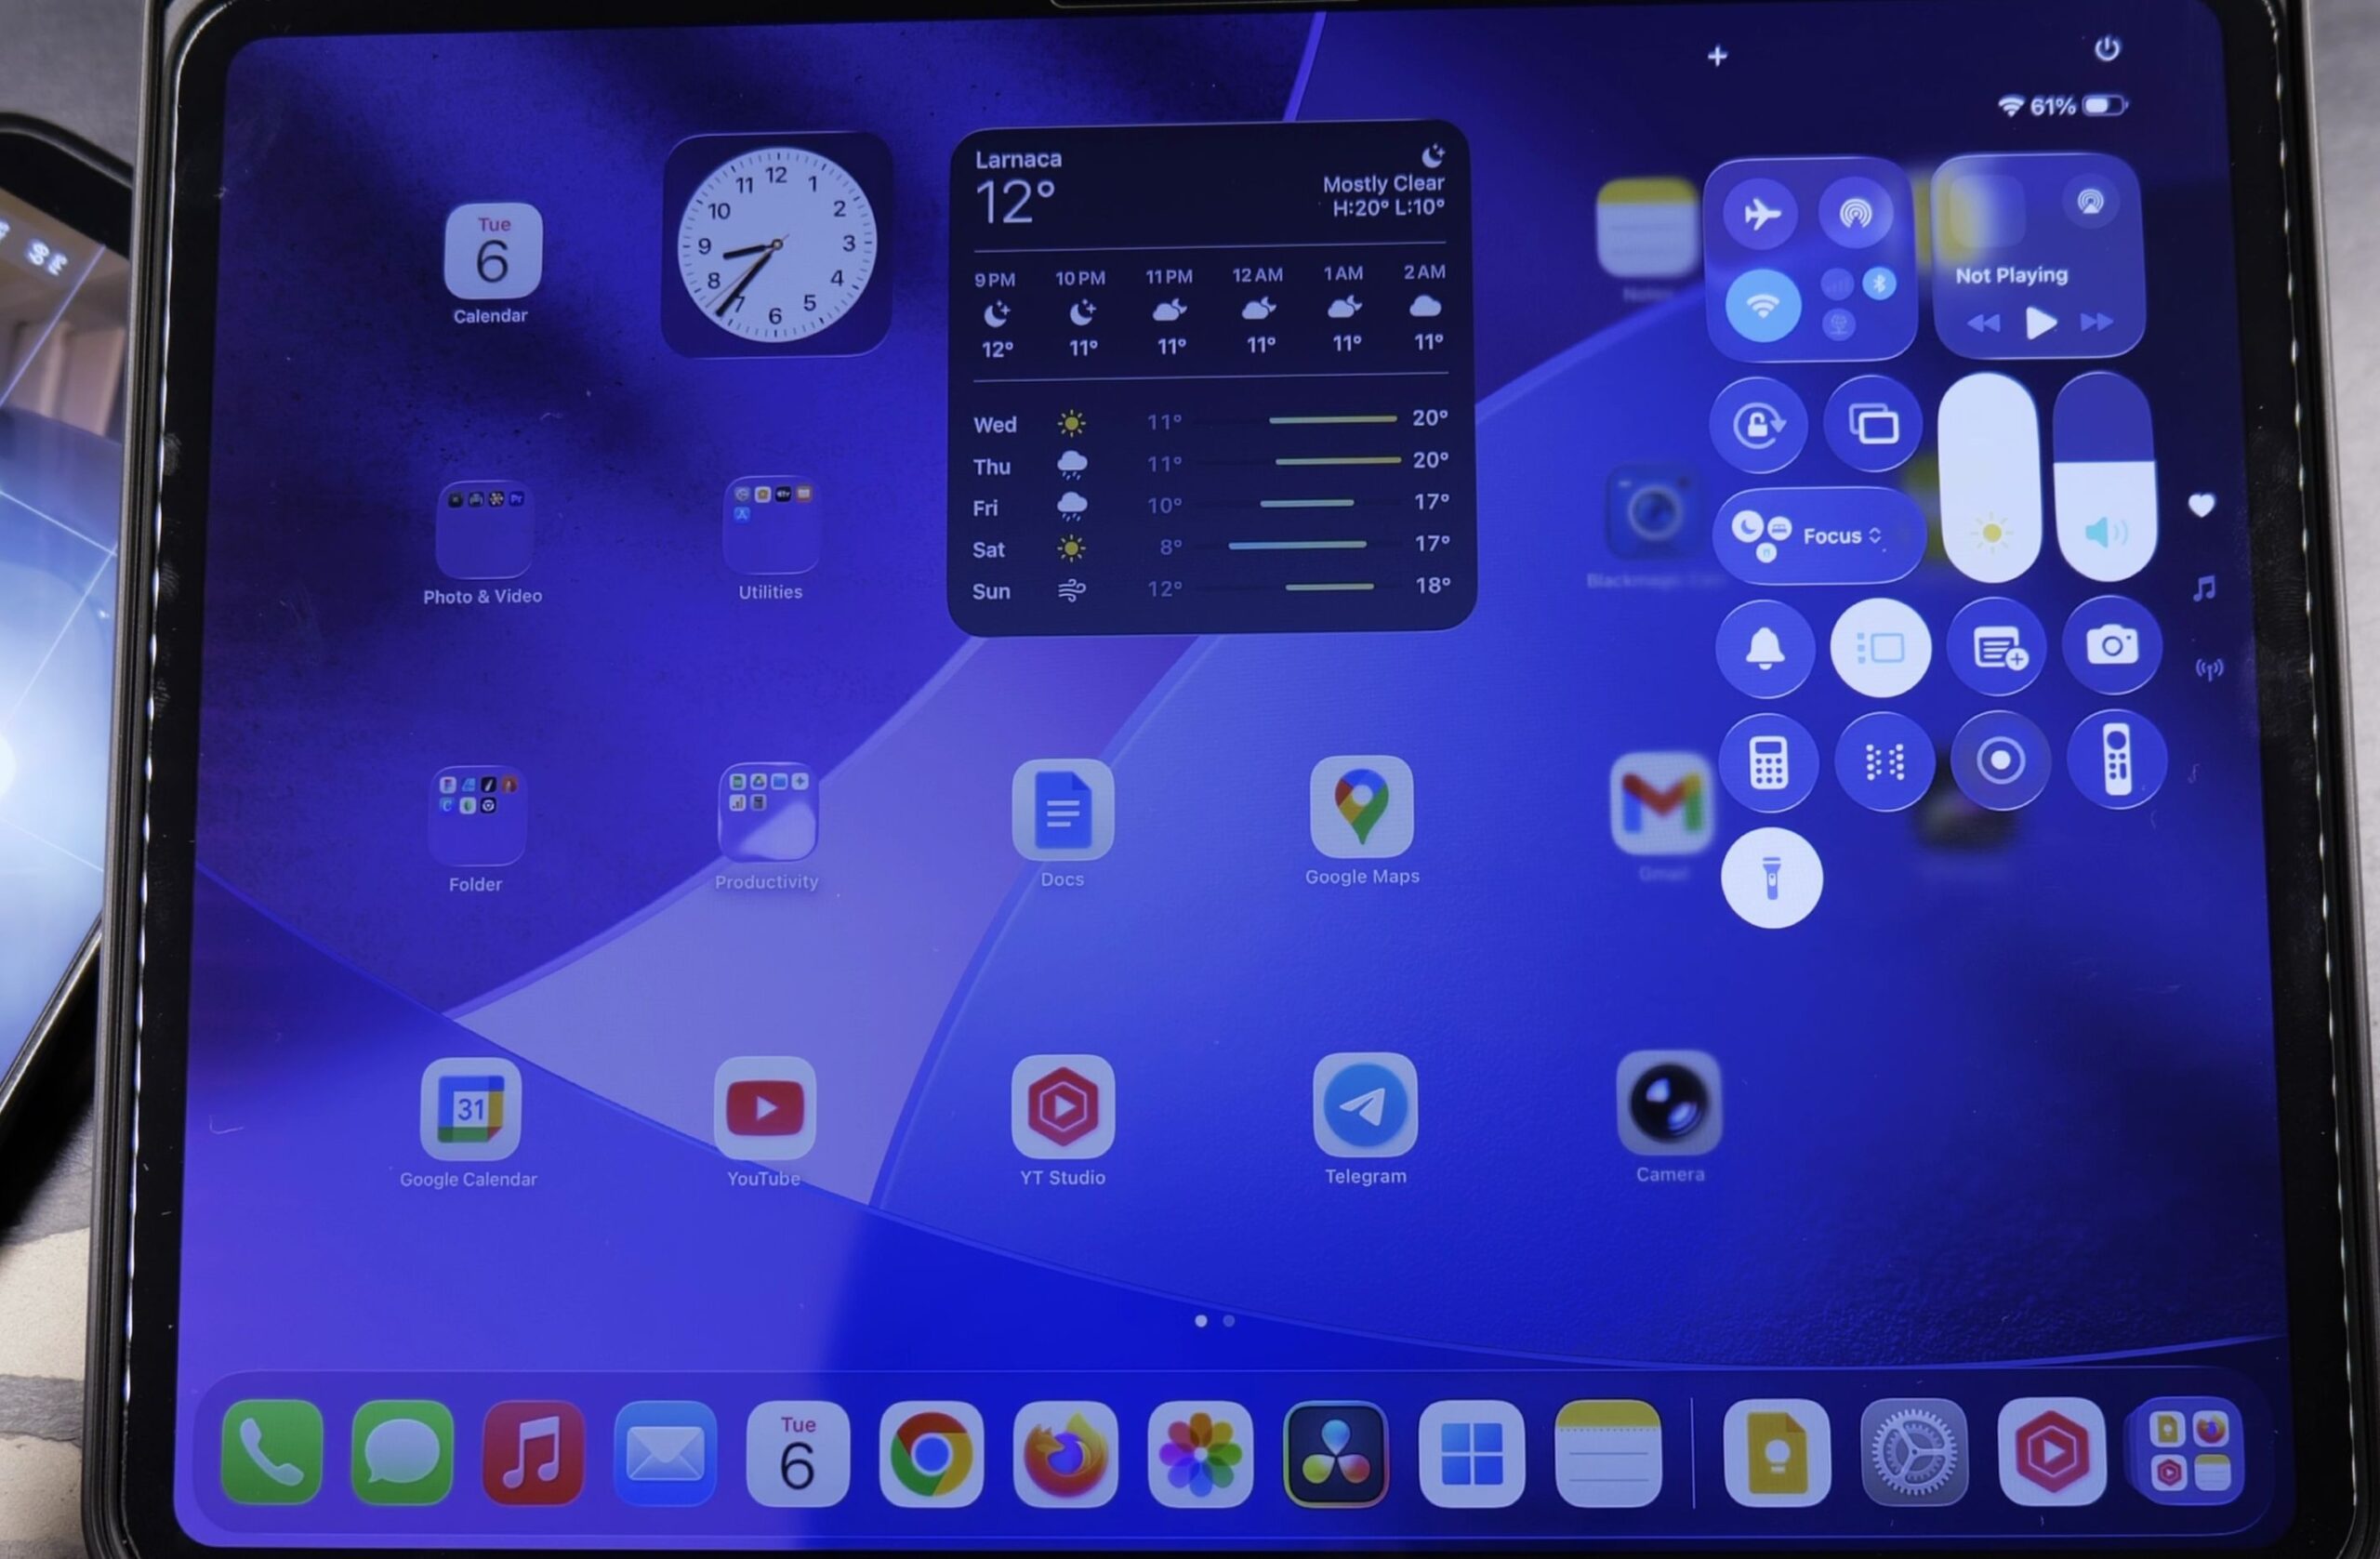
Swipe down with one finger to open Control Center.
Check the active control tiles to see if the flashlight icon is currently present.
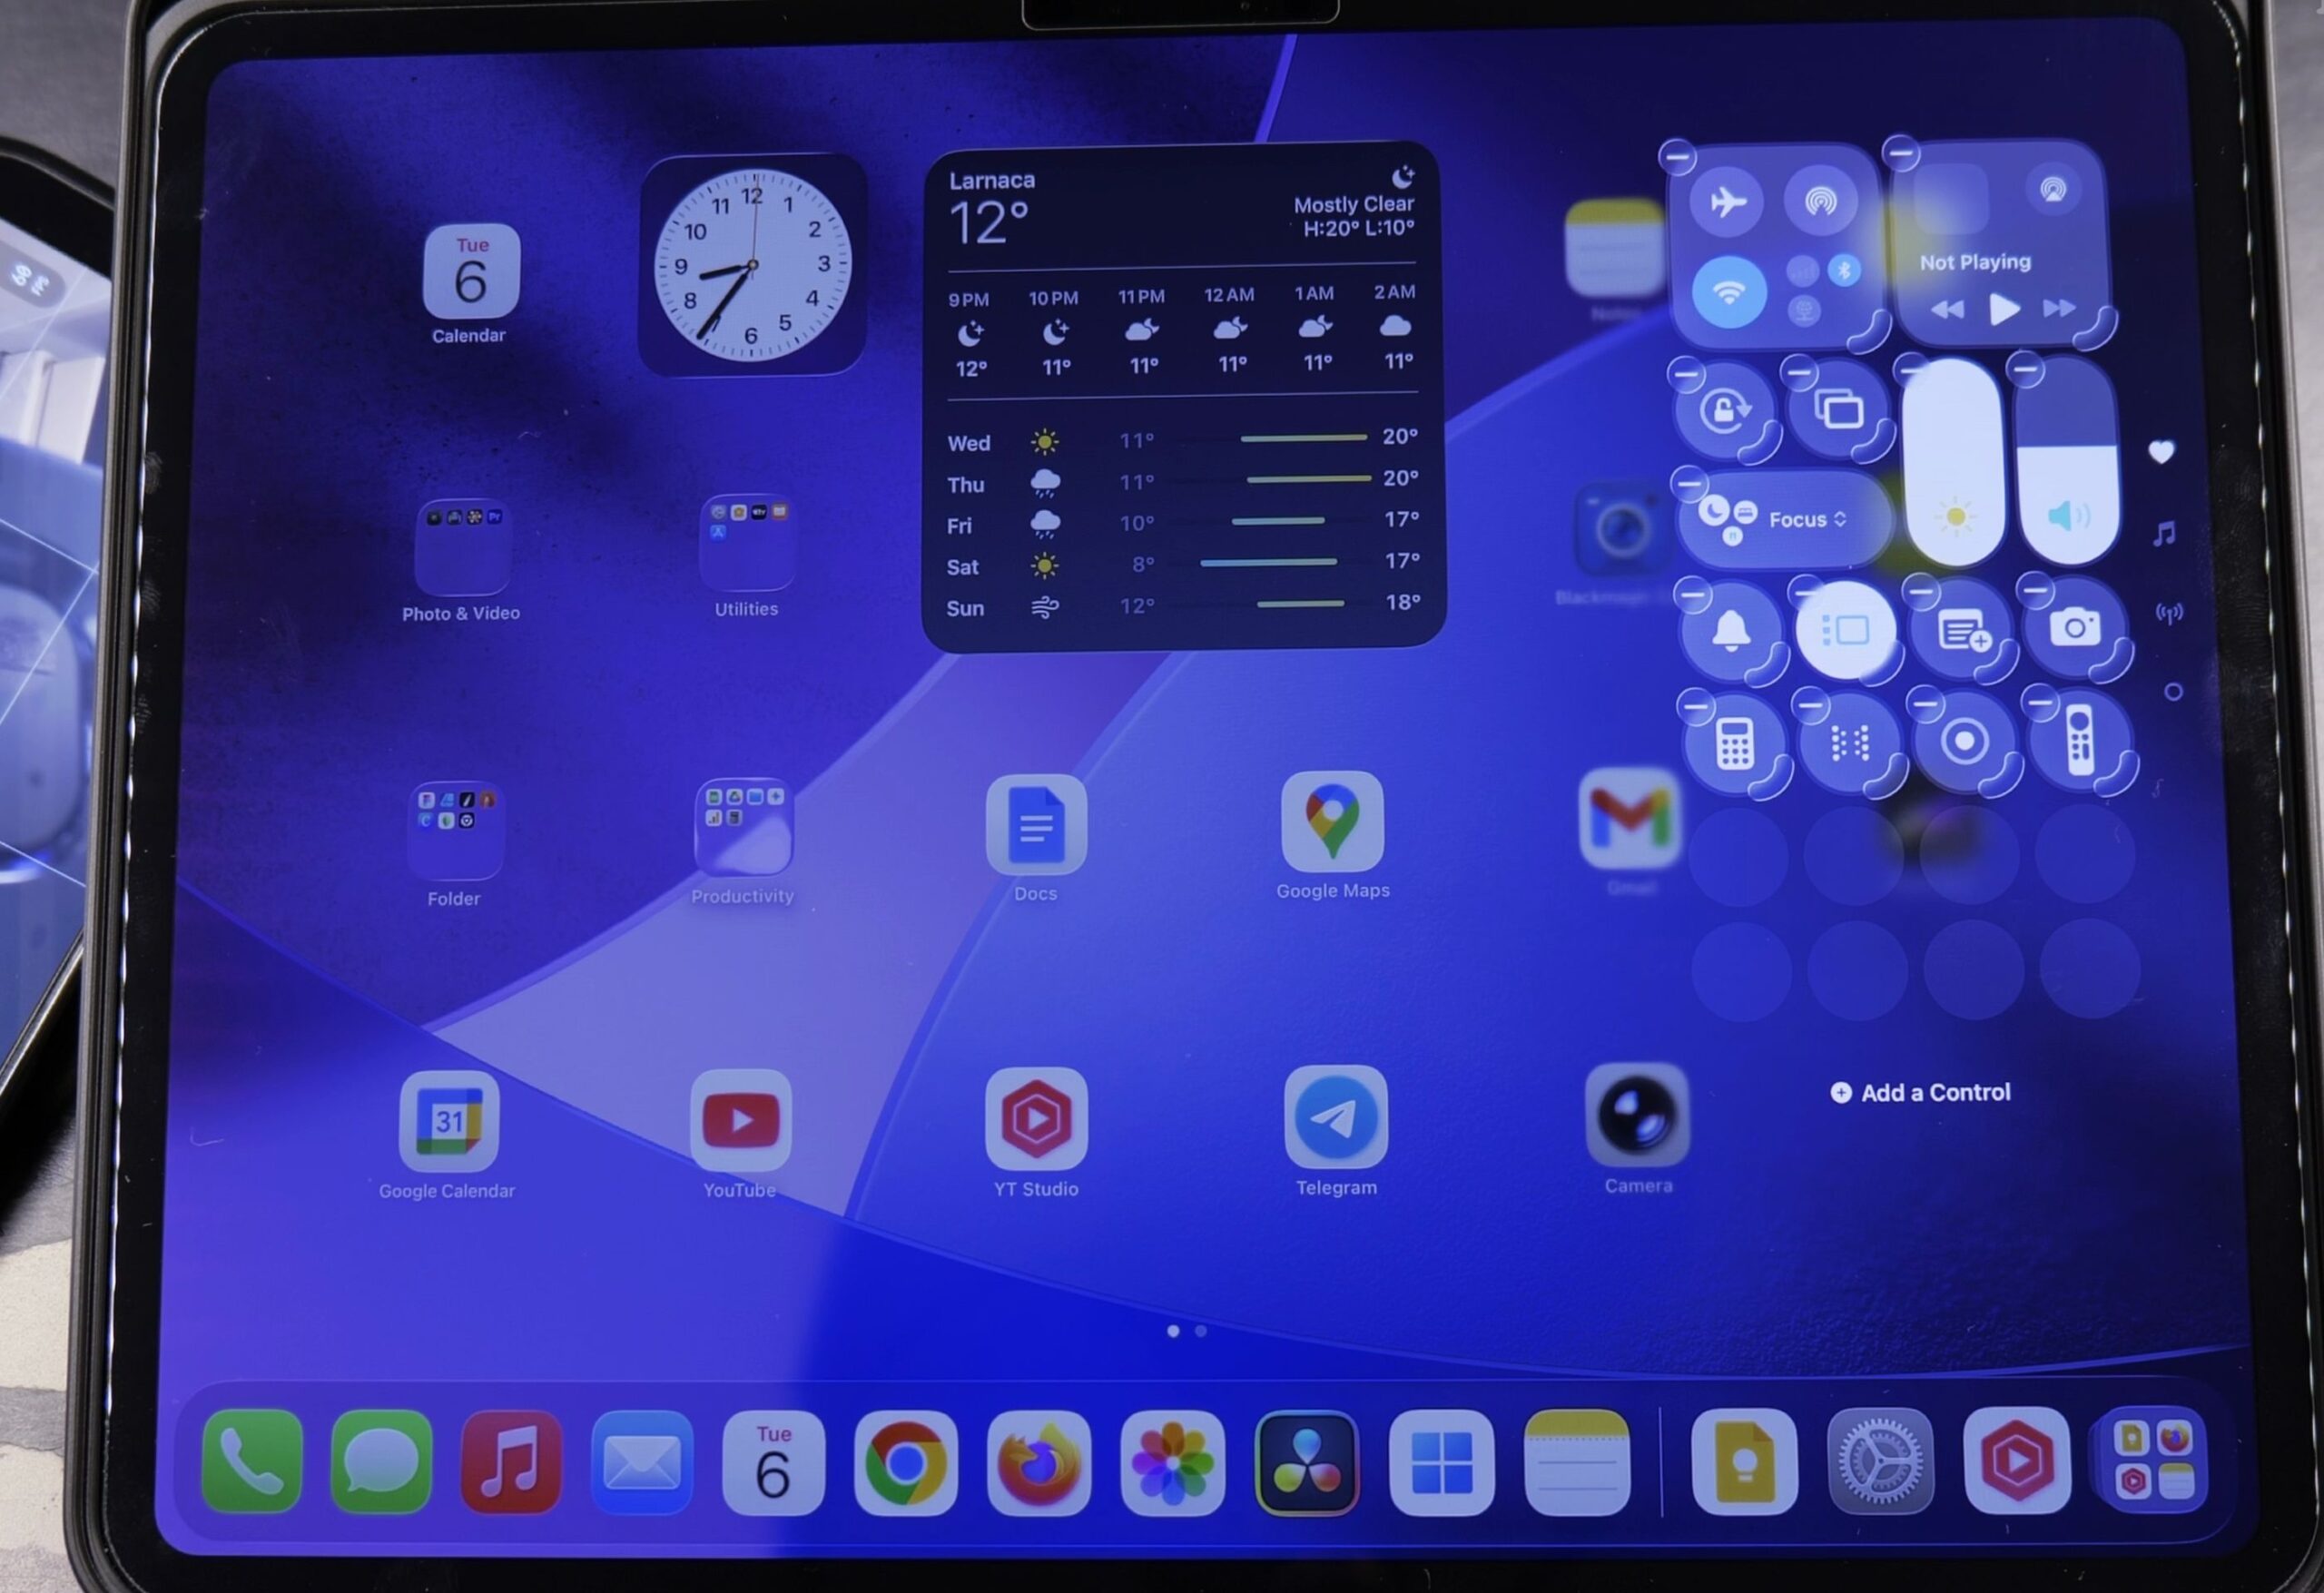
2. Enter Edit Mode and Tap Add a Control
Touch and hold any empty dark space inside Control Center until the tiles start jiggling.
You will see a small plus icon appear next to each widget.
Look at the very bottom of the screen and tap the wide button labeled Add a Control.
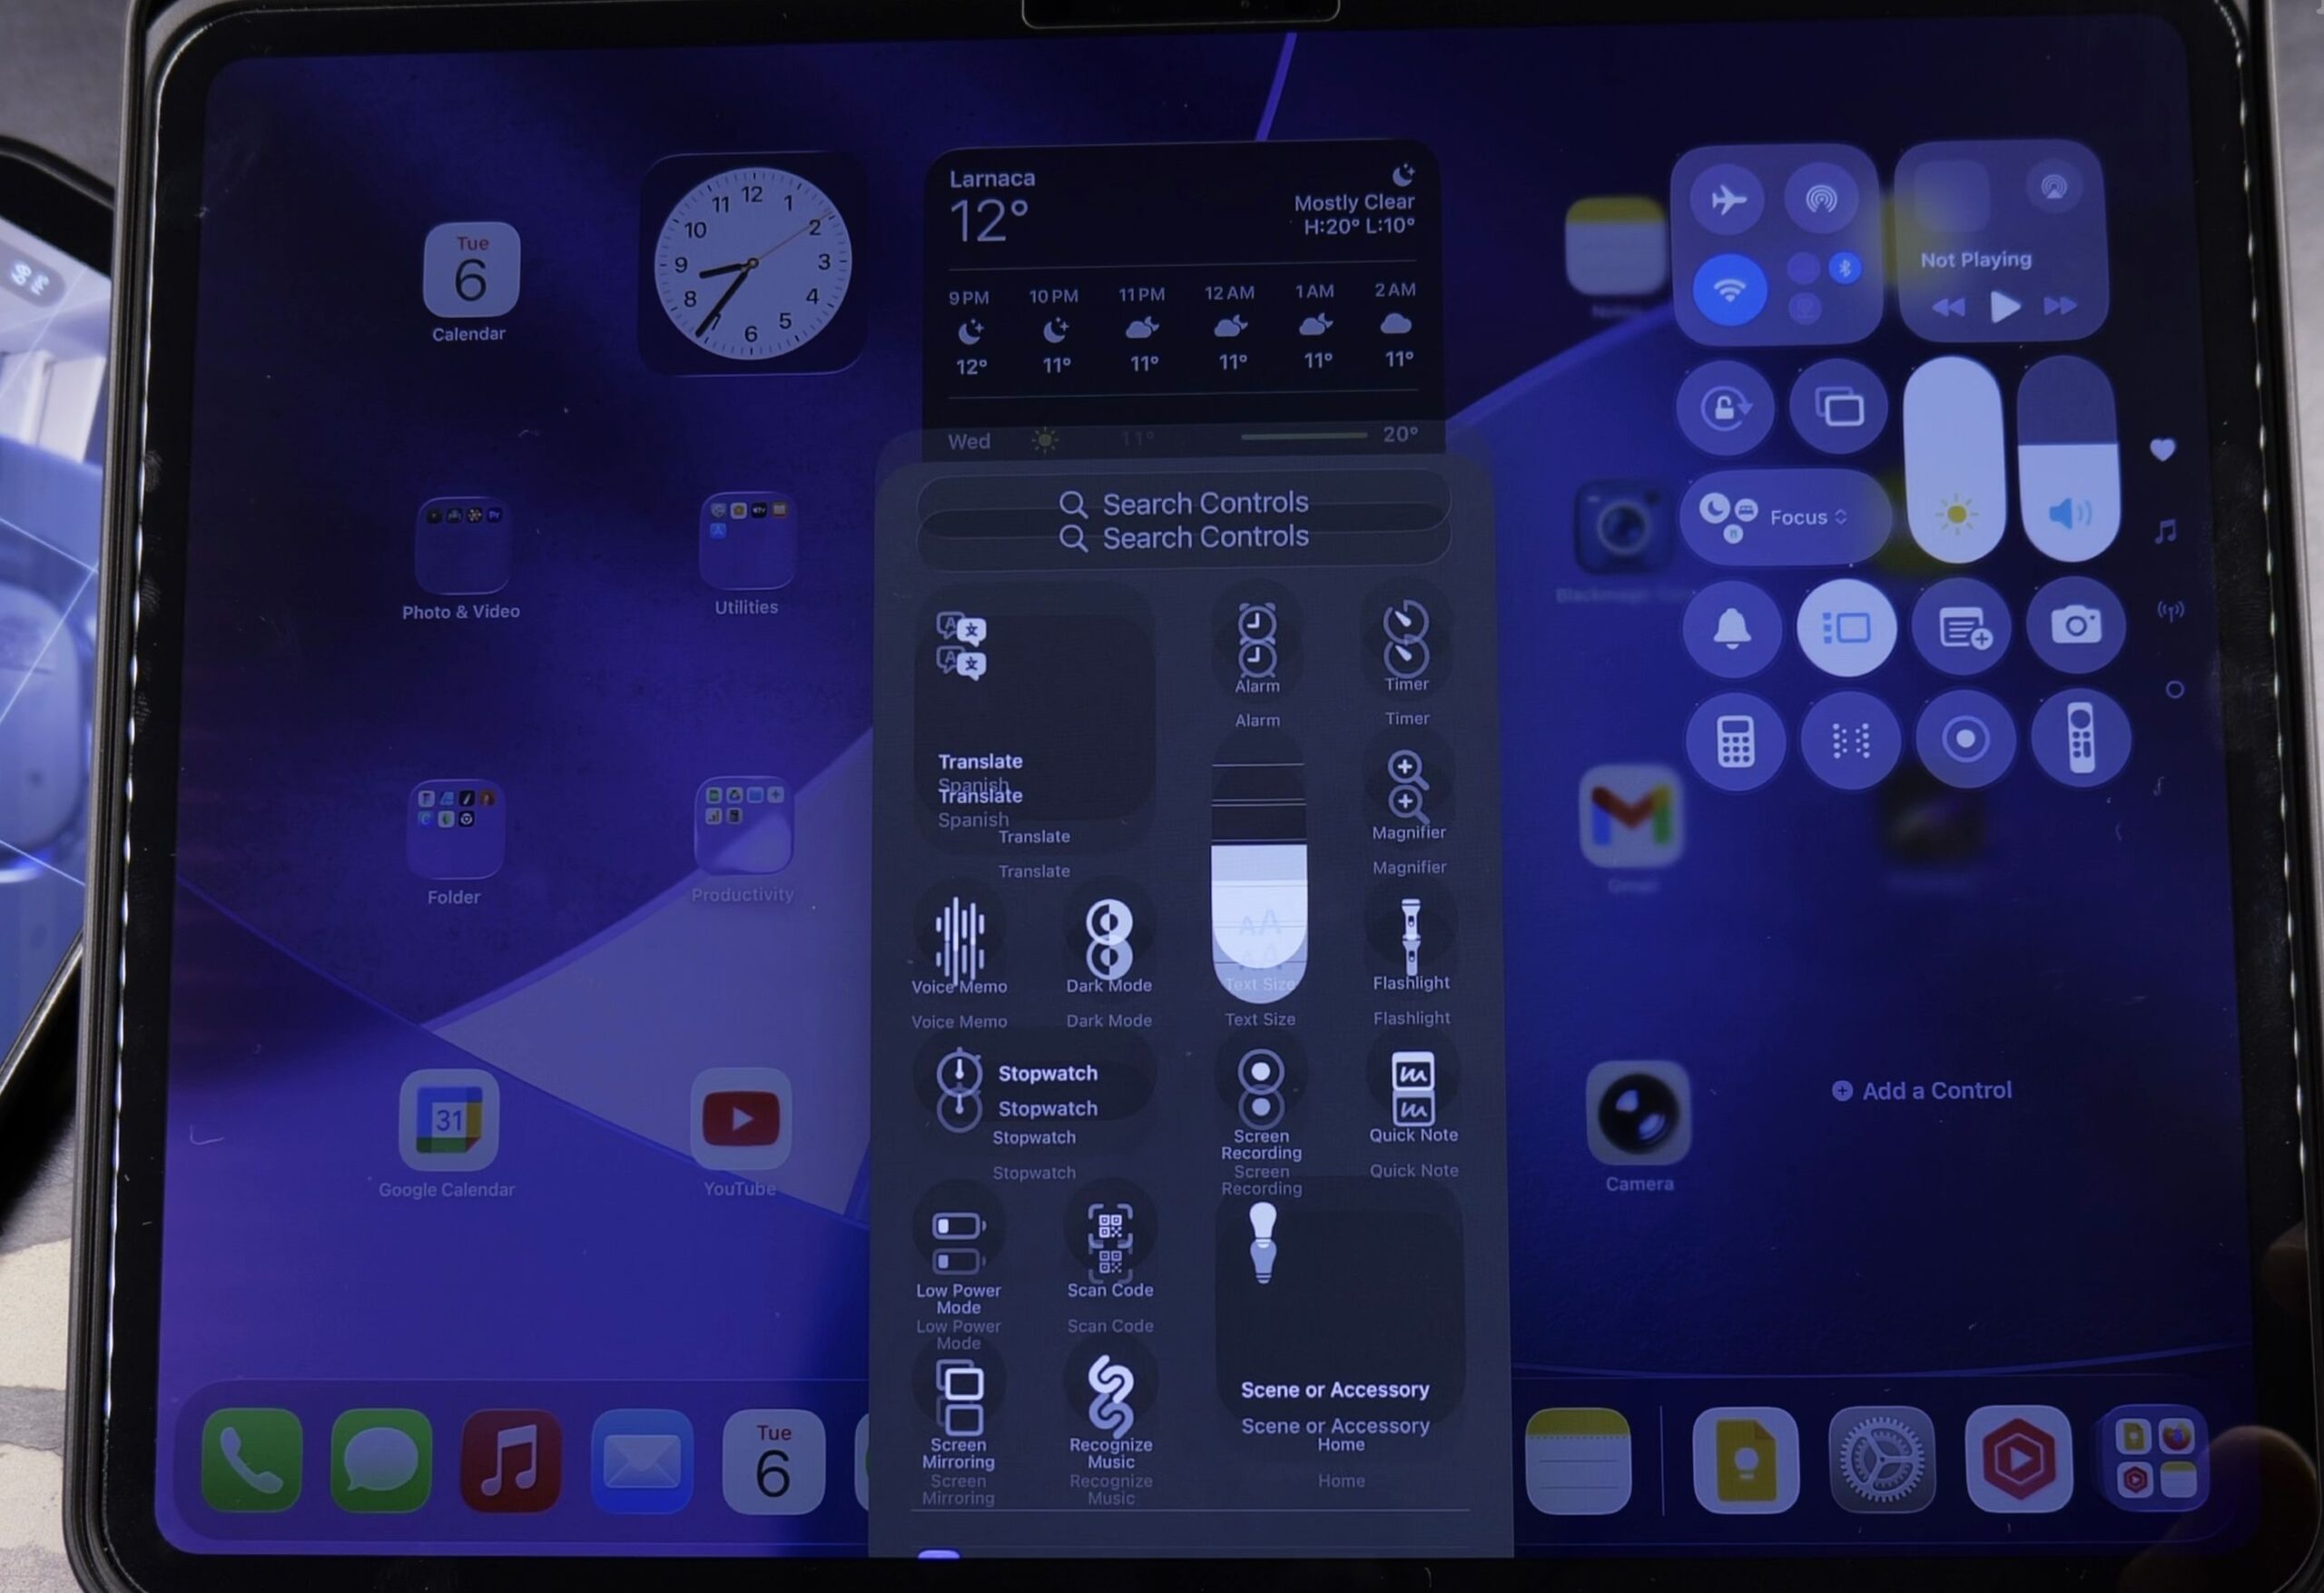
3. Select Flashlight from the Controls Gallery
Scroll down through the categorized list of available quick tools.
Under the Utilities section, tap the Flashlight icon.
The flashlight tile will immediately appear in your Control Center layout.
Drag the tile to your favorite position, then tap outside the edit area to save your changes.
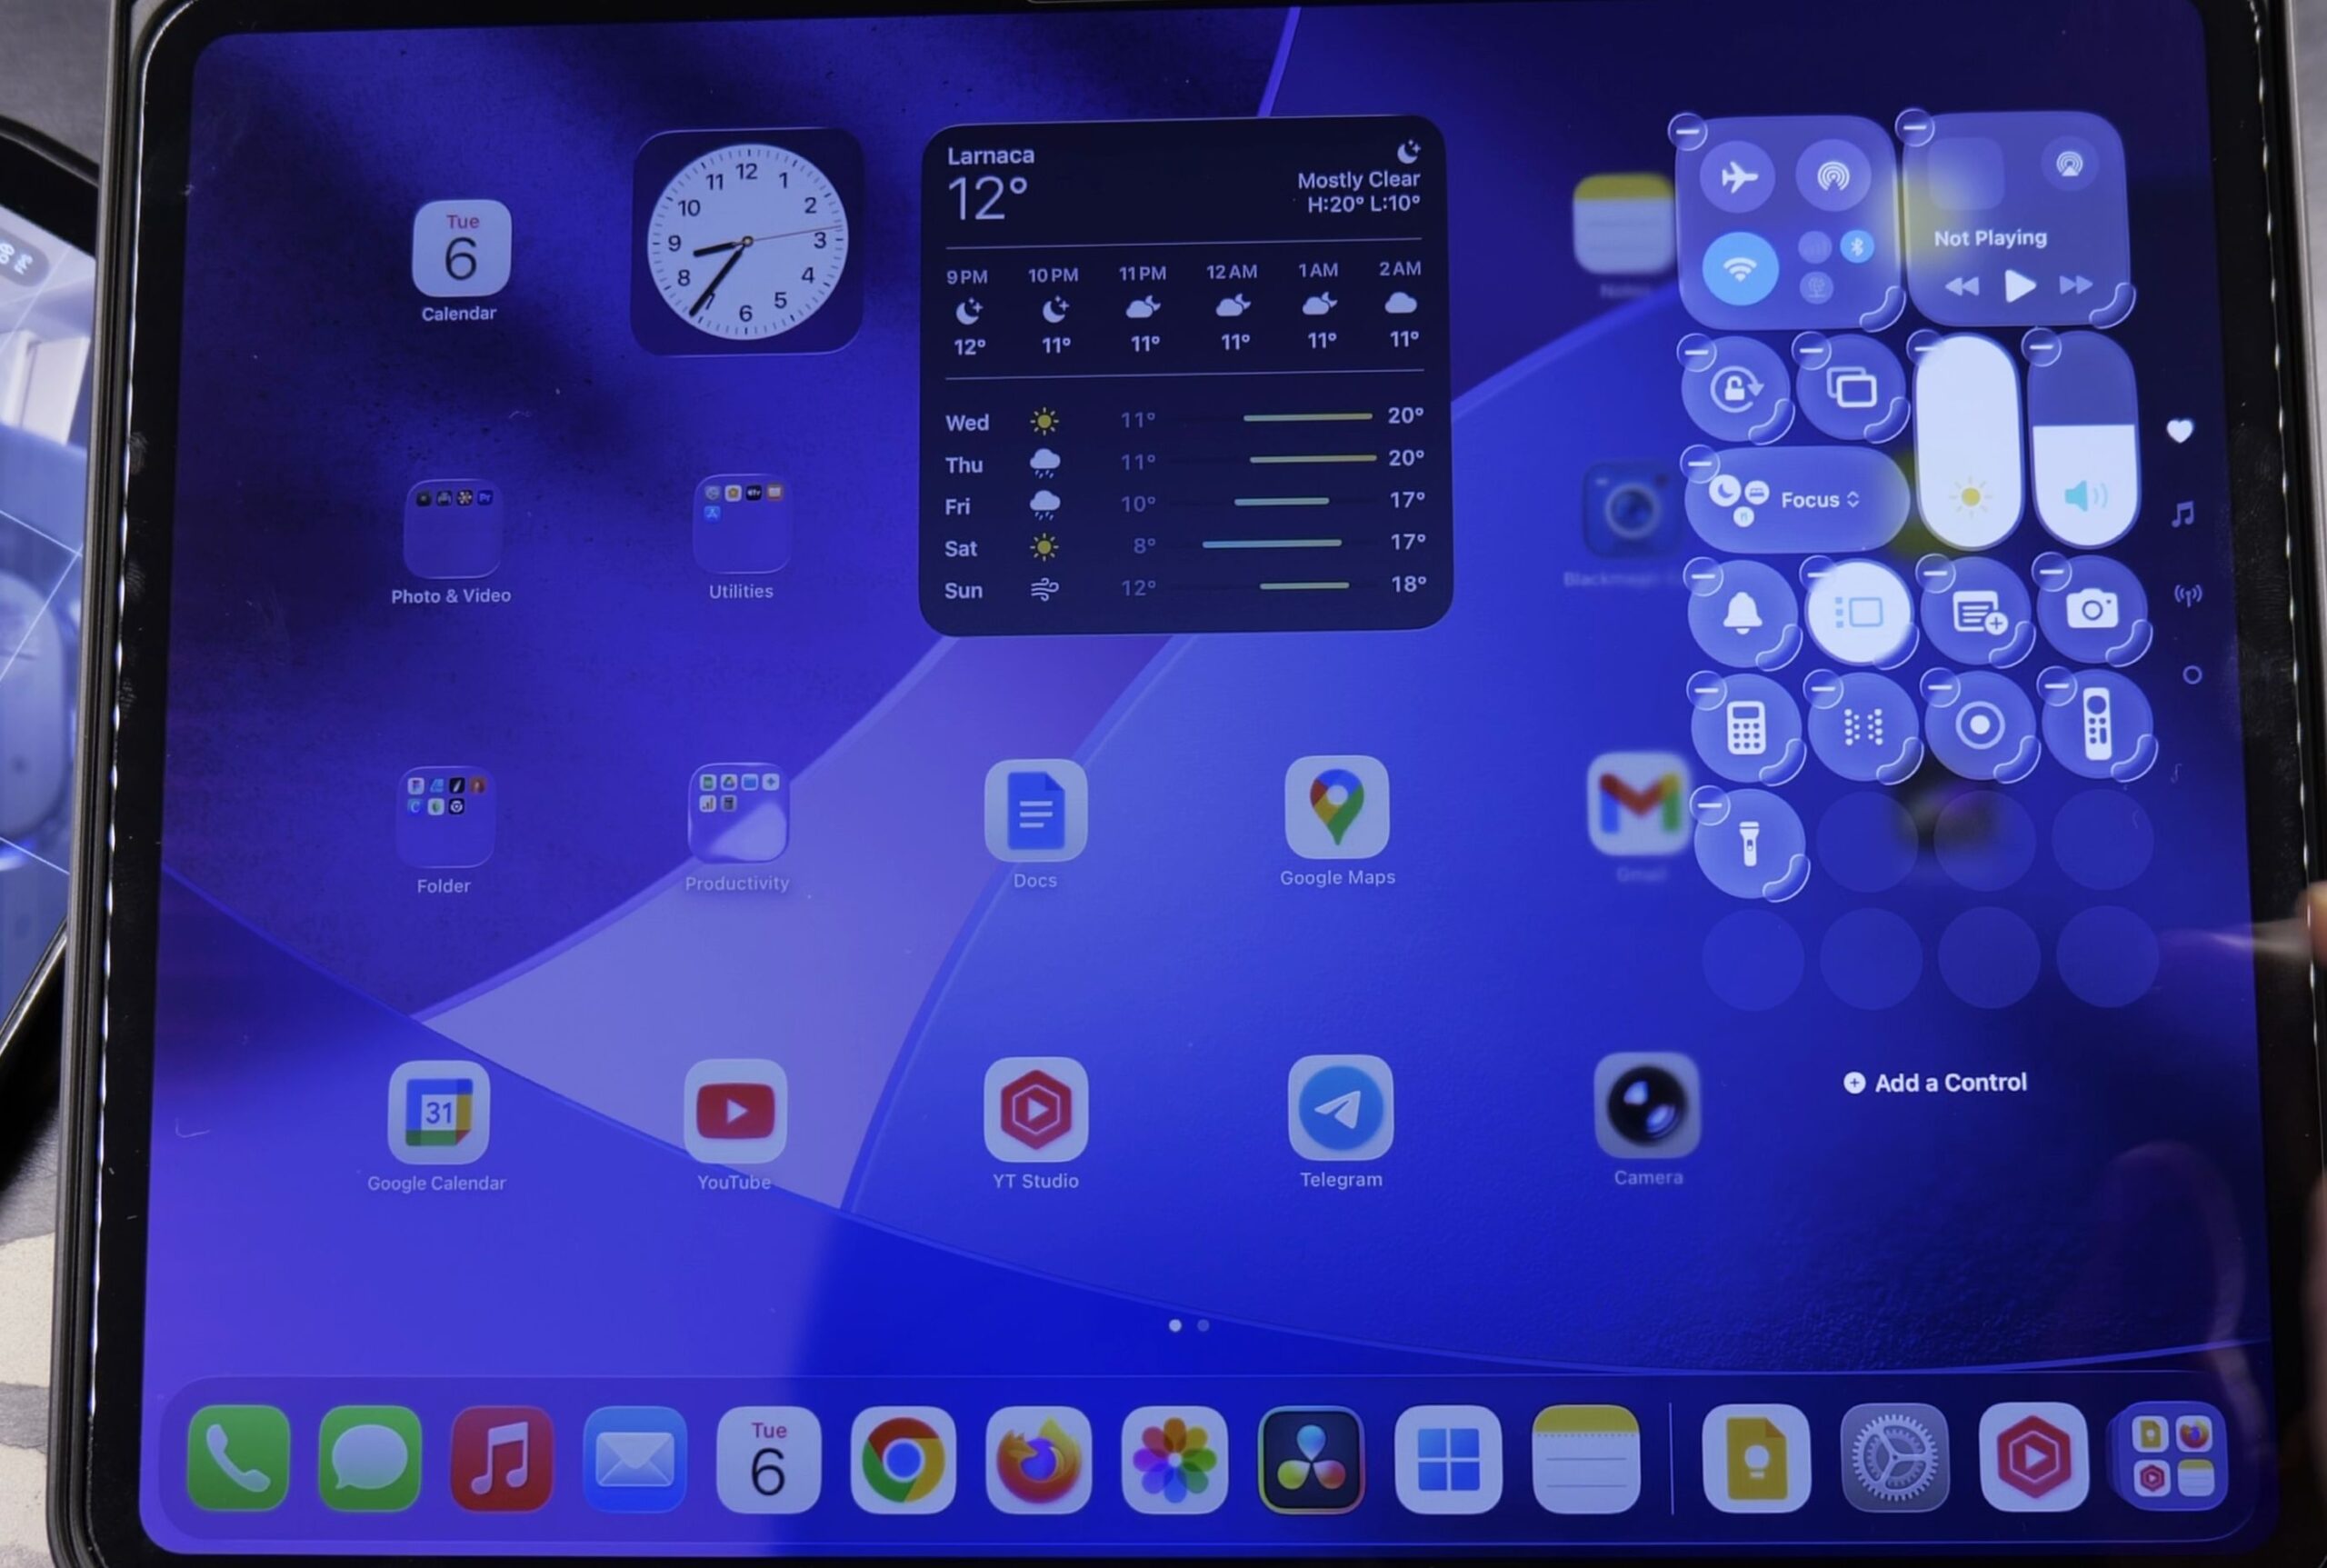
4. Tap the Button to Turn On the Rear Camera LED Flash
Tap your new Flashlight button once to turn the light on.
The icon will turn bright white, and the True Tone LED flash on the back of your iPad will illuminate immediately.
Tap the icon a second time to turn the flashlight off and conserve your battery.
Helpful Tips
Press and hold the Flashlight button to open a vertical slider where you can adjust brightness across four intensity levels.
Only iPad models equipped with a rear camera flash (such as iPad Pro and select iPad Air models) feature this physical flashlight capability.
For more iPadOS and iOS productivity tricks, see our guide on iPhone undo and redo gestures in text apps, or browse our complete Apple iPad collection.


Leave a Reply