
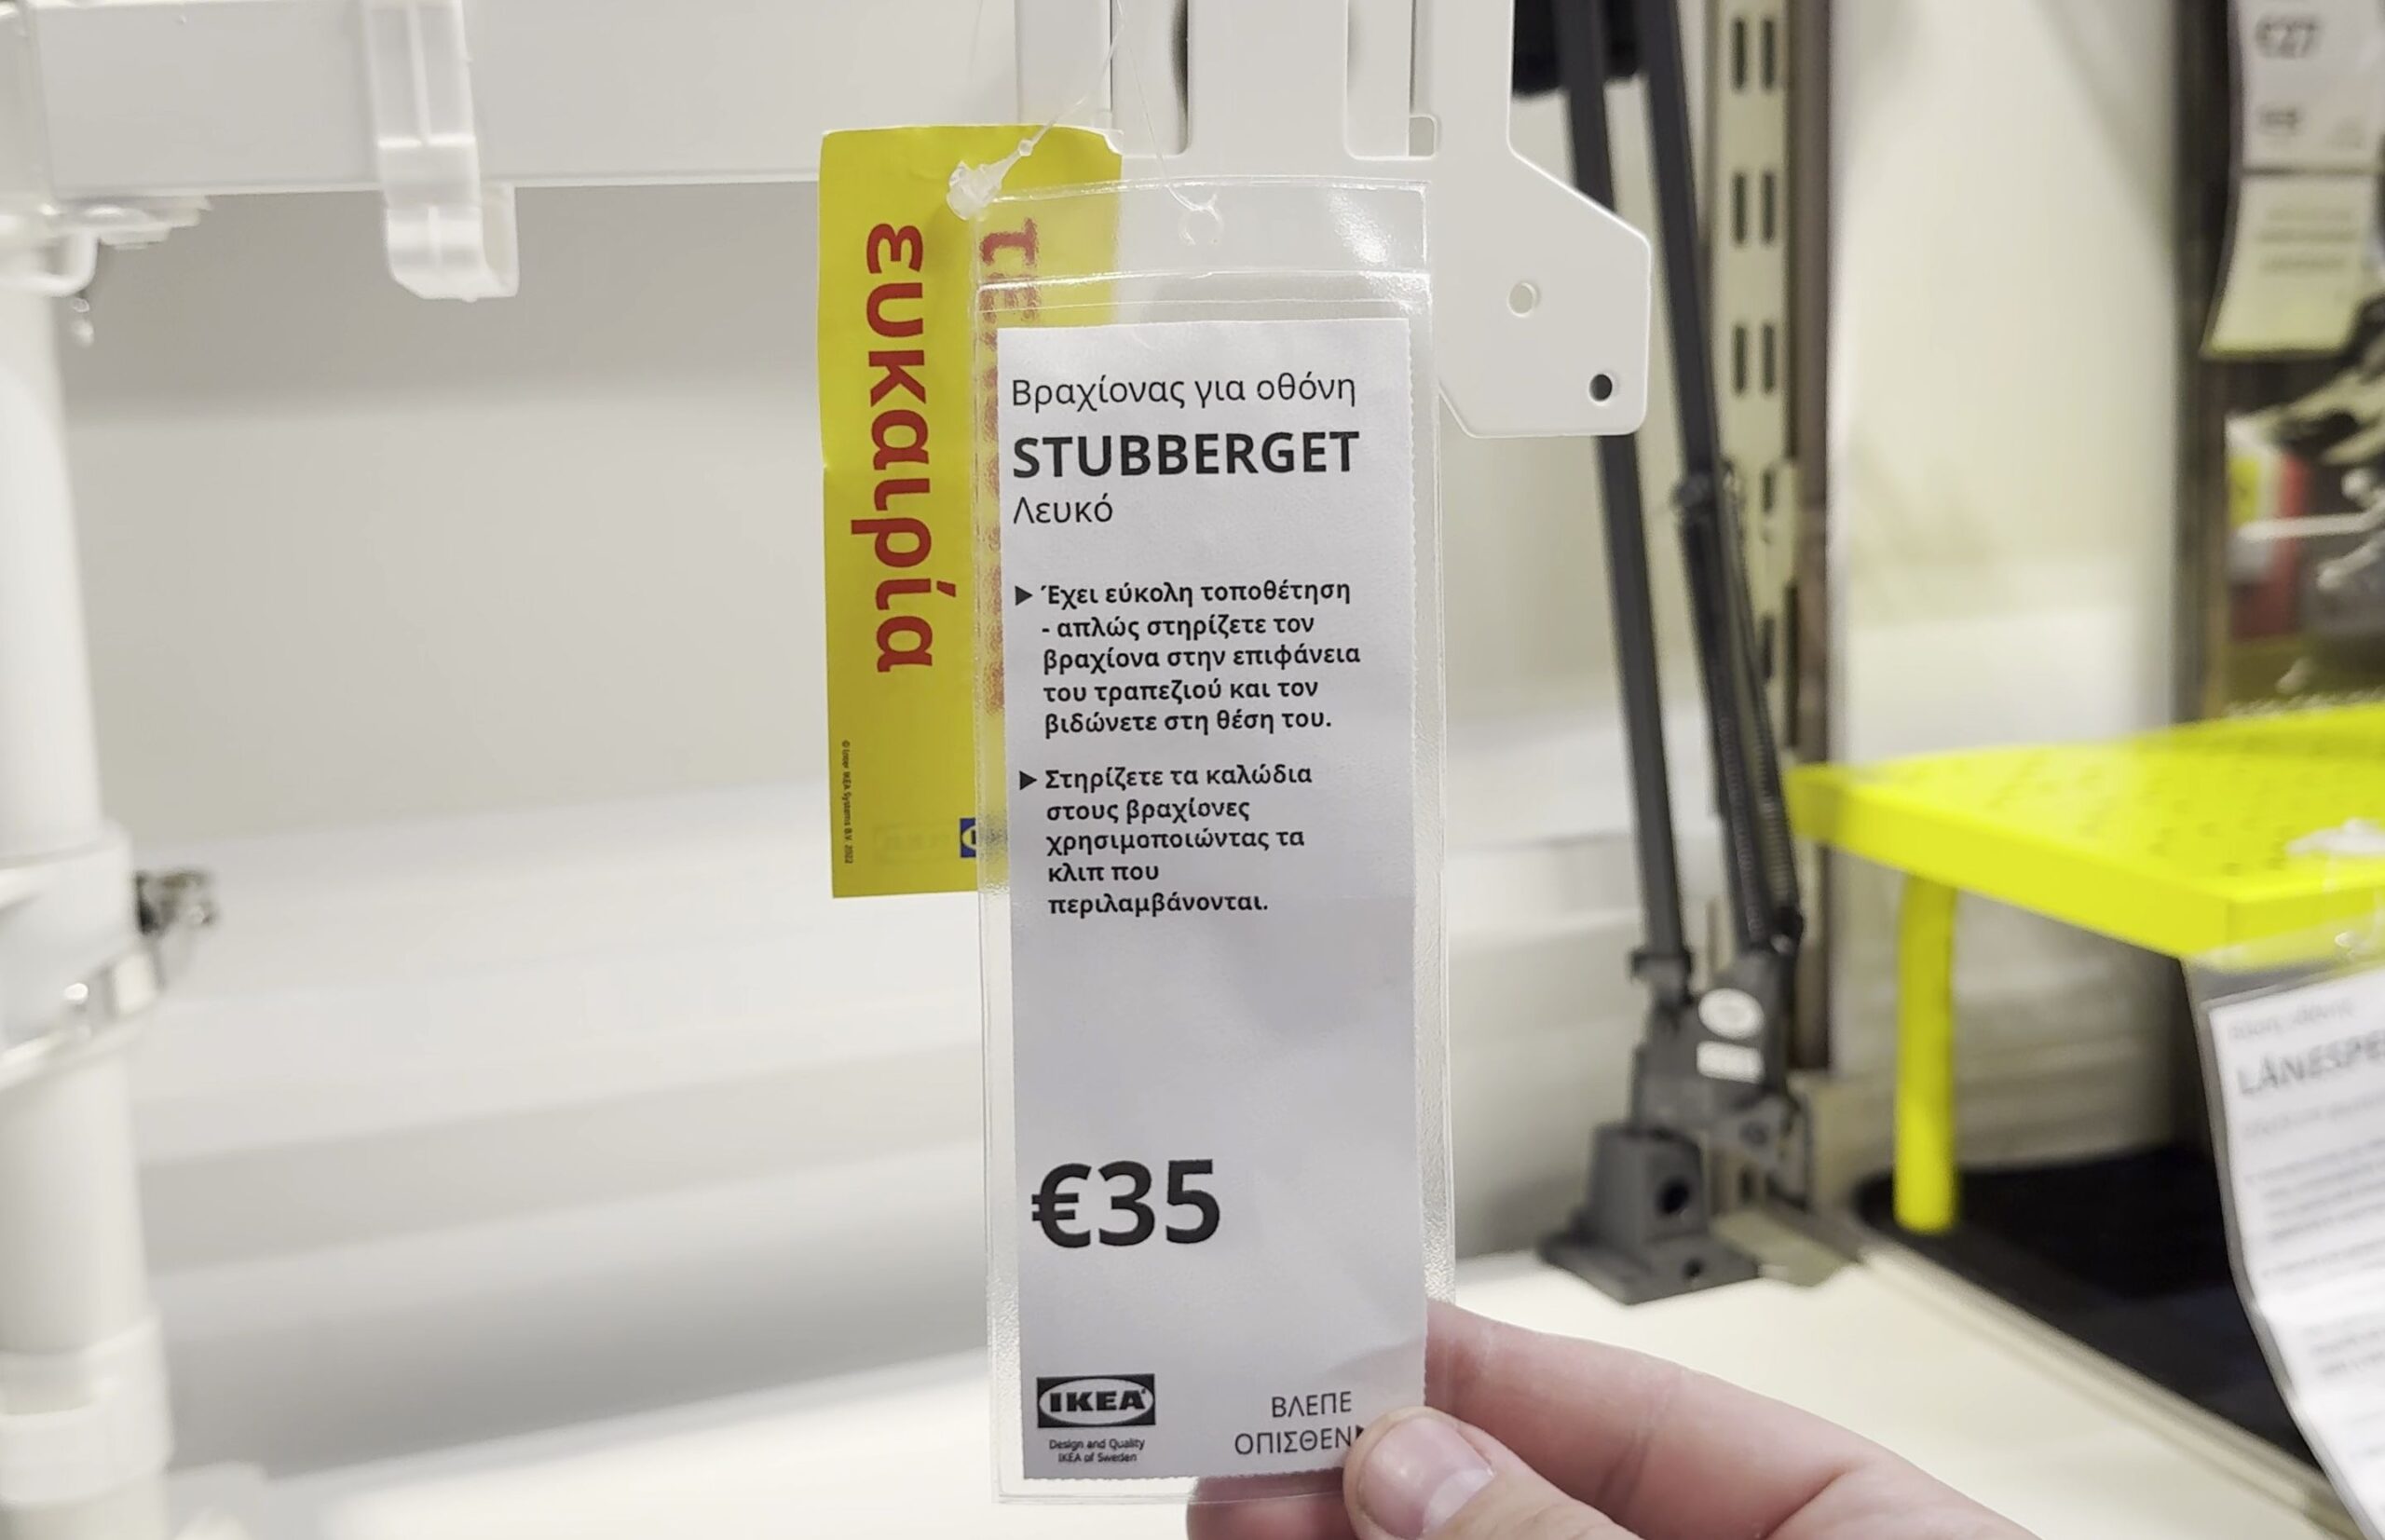
If you want to clear valuable workspace on your computer desk, mounting your screen and laptop on an articulating pole keeps cables tidy and displays at eye level. I’ll show you how the modular IKEA STUBBERGET mounting arm system works and what to know before installing it.
1. Secure the Main Post Desk Clamp to Your Tabletop
Slide the heavy-gauge steel C-clamp bracket over the rear edge of your desktop.
Turn the large hand knob underneath clockwise until the padded pressure plate grips firmly against the underside of the desk.
If you have a honeycomb paper-filled desk like the IKEA Lagkapten or Linnmon, place a small steel reinforcement plate between the clamp and the desk surface to spread the load.
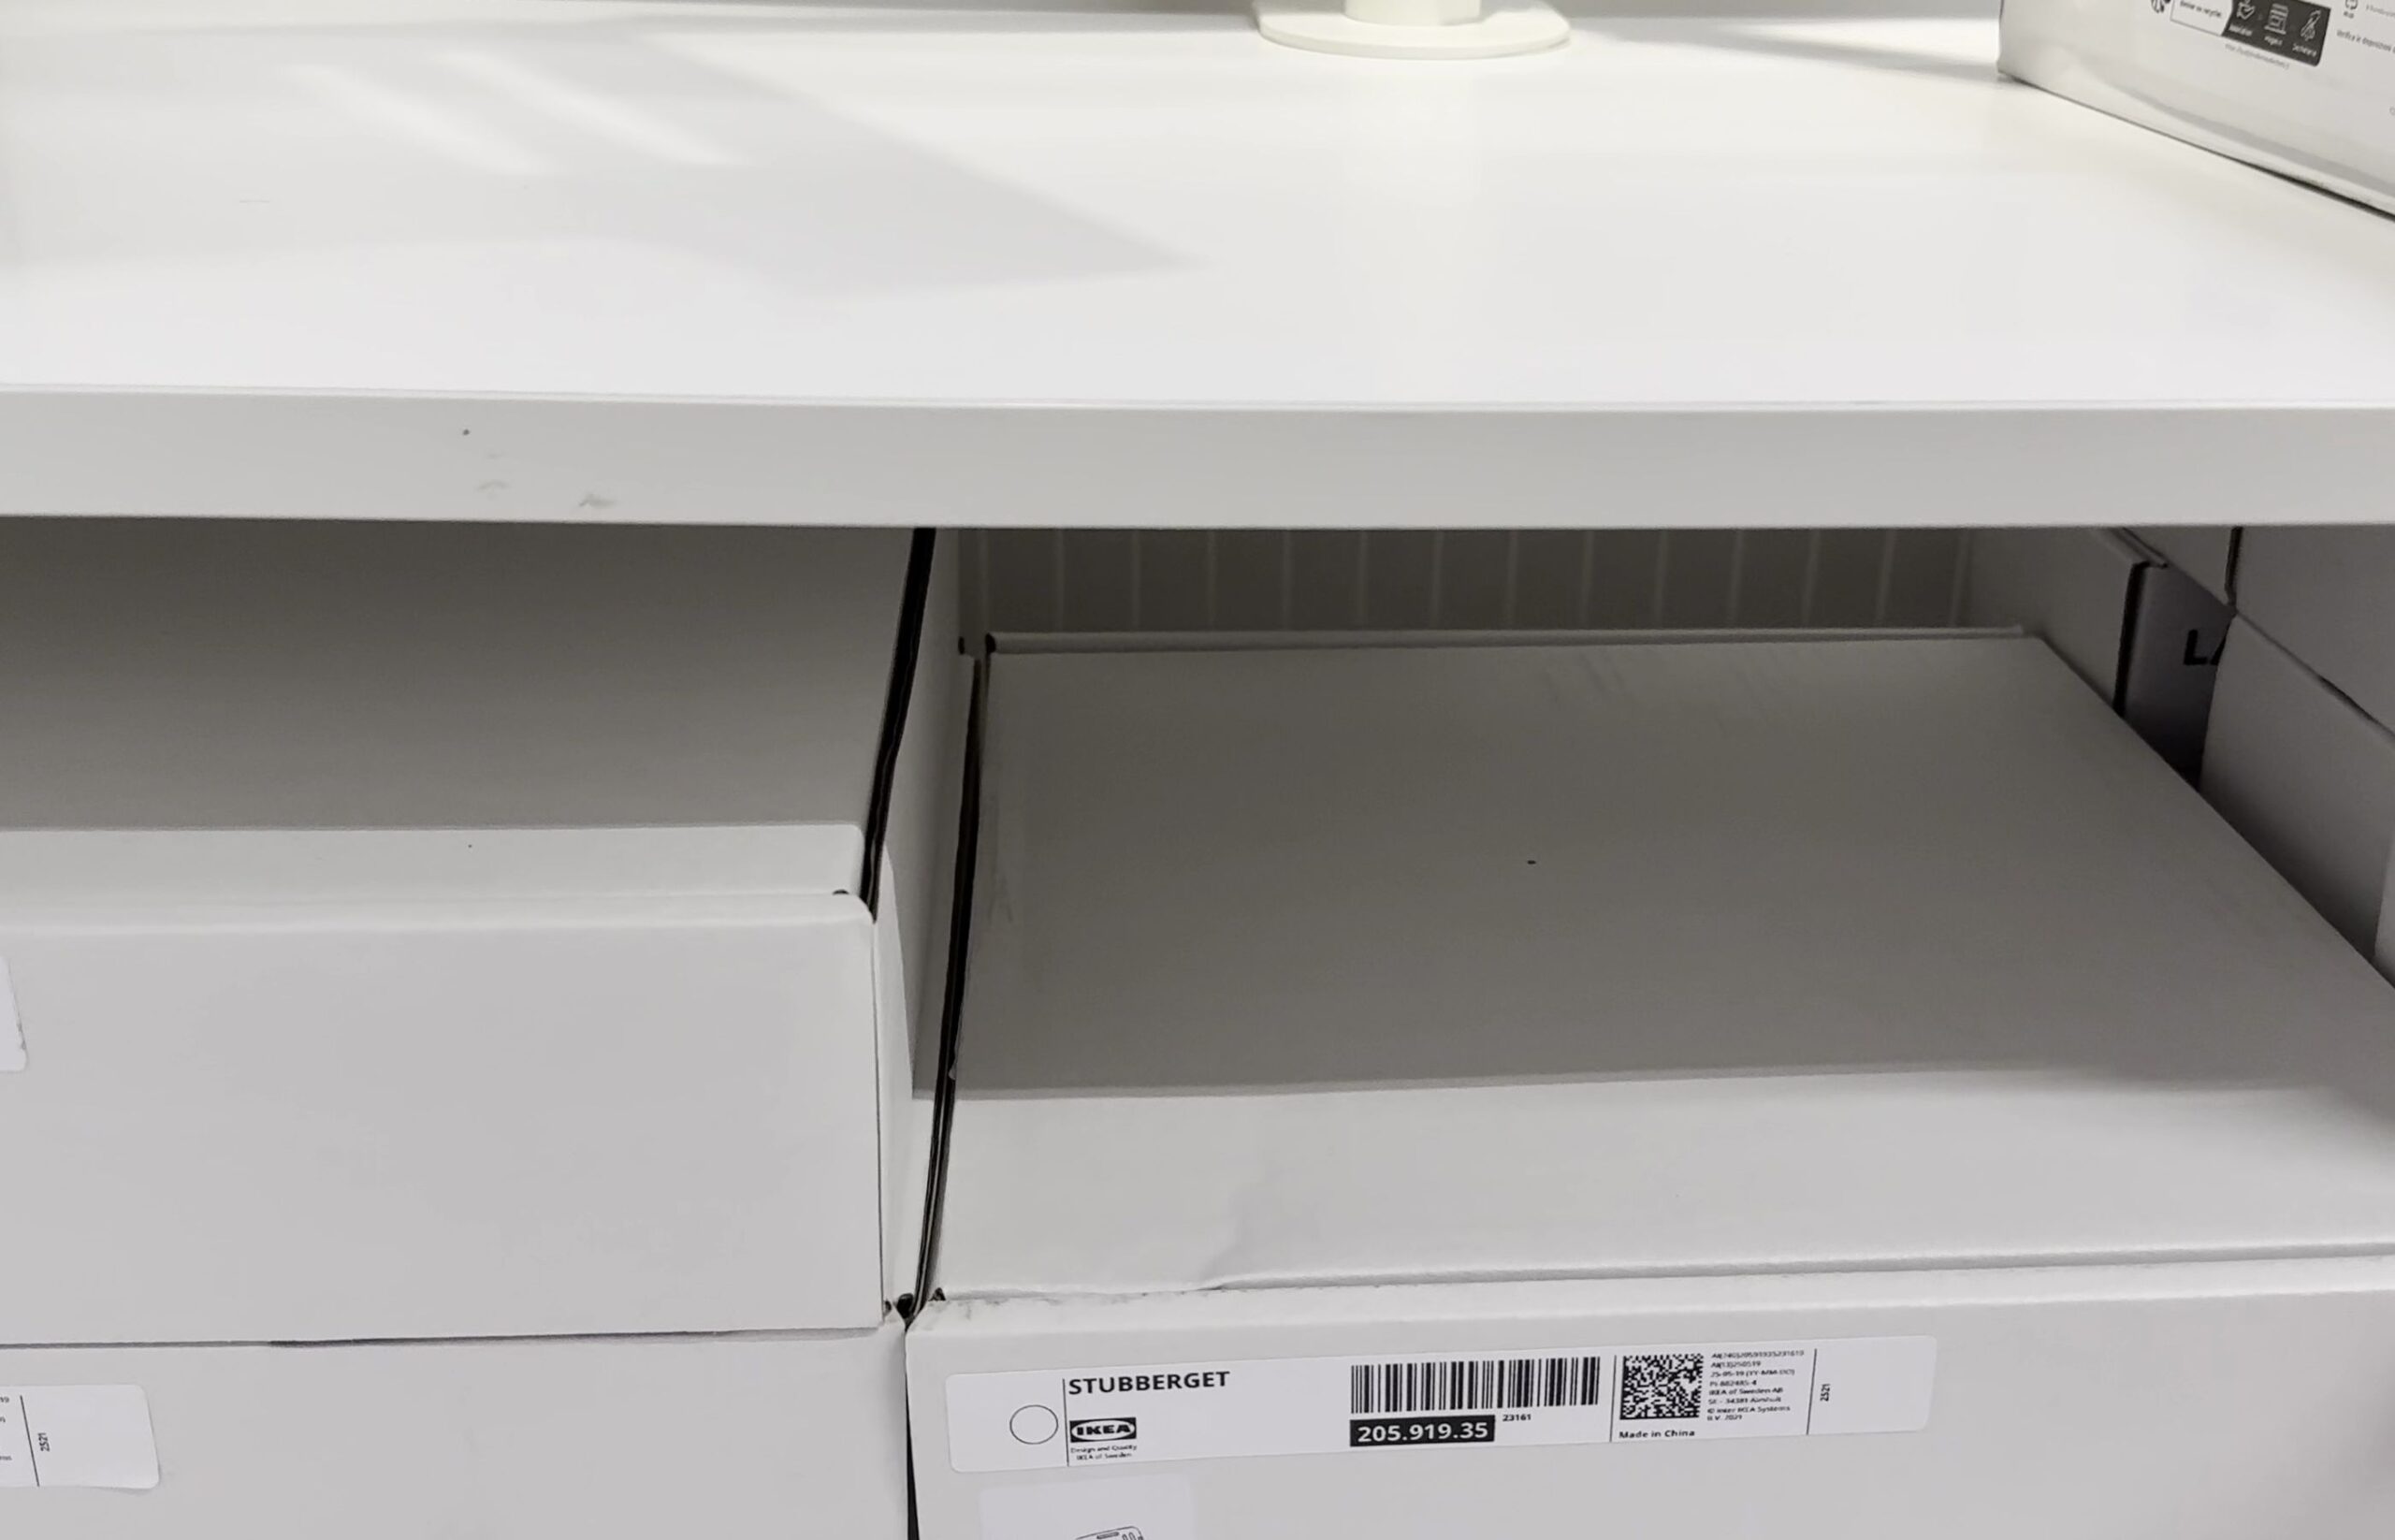
2. Adjust Arm Height with the Quick-Release Collar
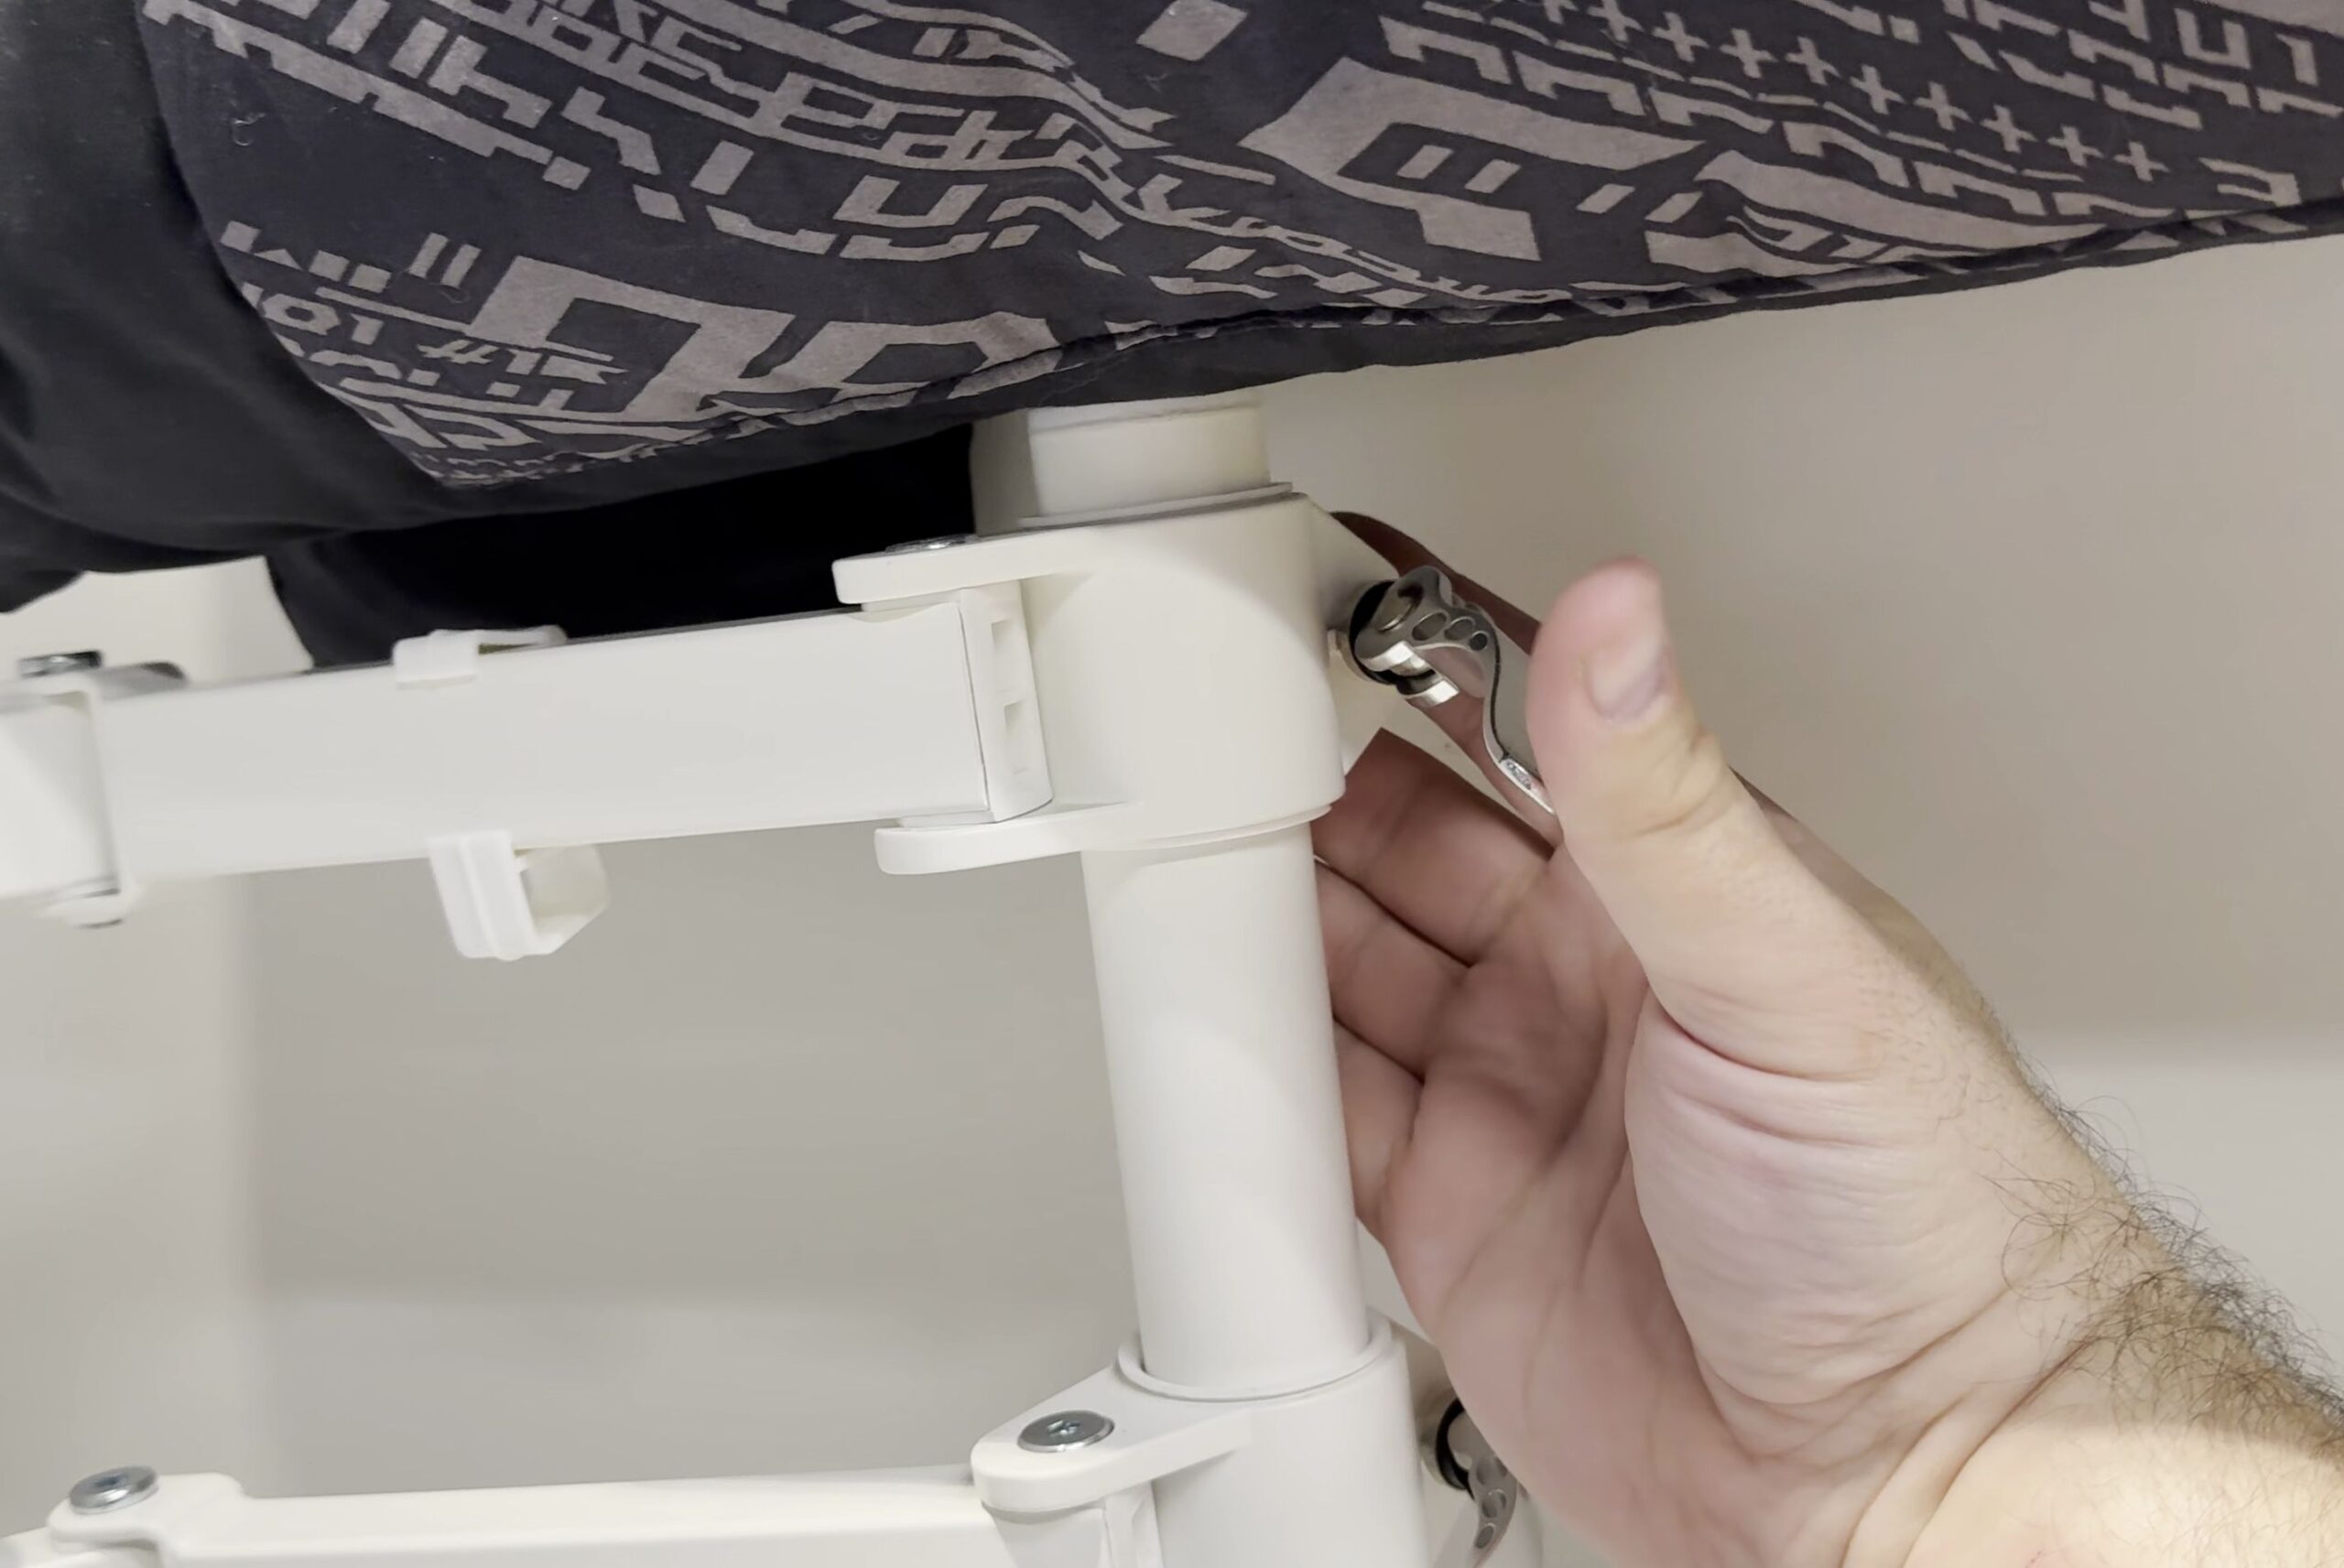
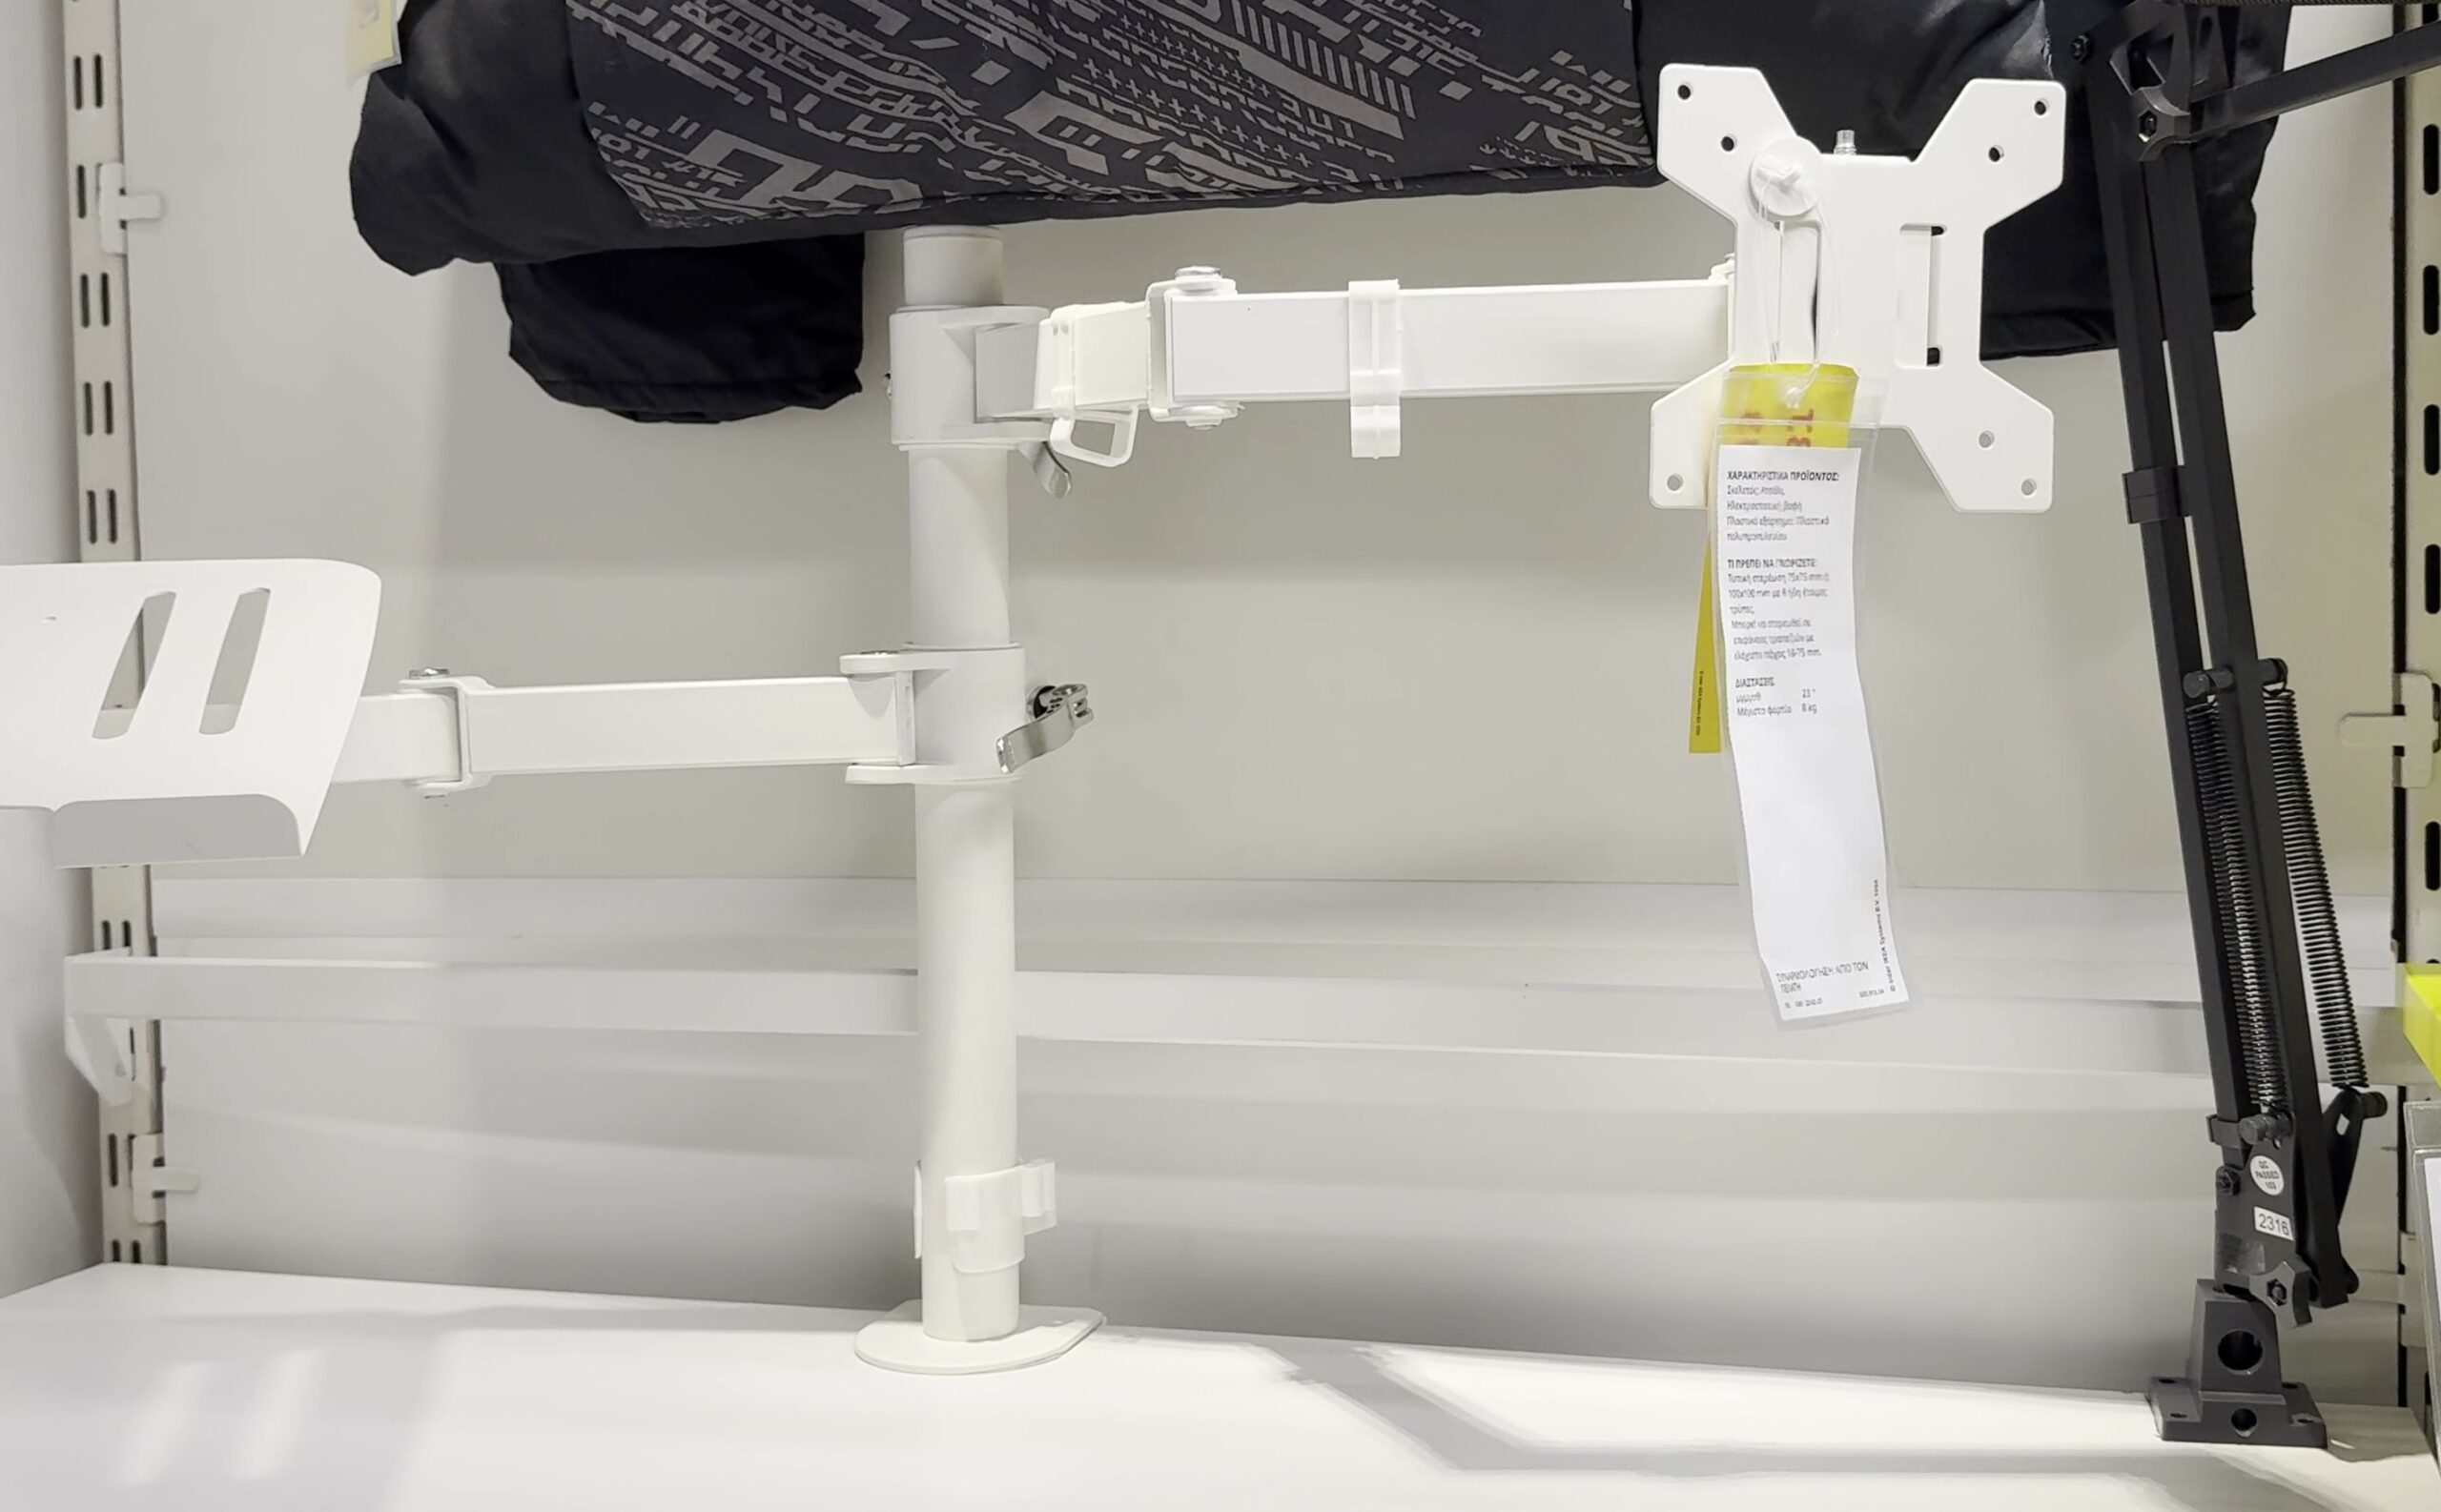
Locate the circular quick-release clamp ring mounted along the vertical support tube.
Flip the black cam lever outward to unlock the clamp mechanism.
Slide the monitor arm smoothly up or down the pole until your screen aligns with your natural seated eye line.
Press the cam lever firmly back against the collar to lock the arm solidly in place.
3. Attach the Optional Laptop and Tablet Tray Arm
If you work with a laptop alongside your main screen, slide the secondary STUBBERGET laptop arm onto the post.
Fasten the tilted metal ventilated tray onto the arm bracket using the included thumbscrews.
Adjust the front lip tabs to hold your laptop or iPad securely without scratching its chassis.
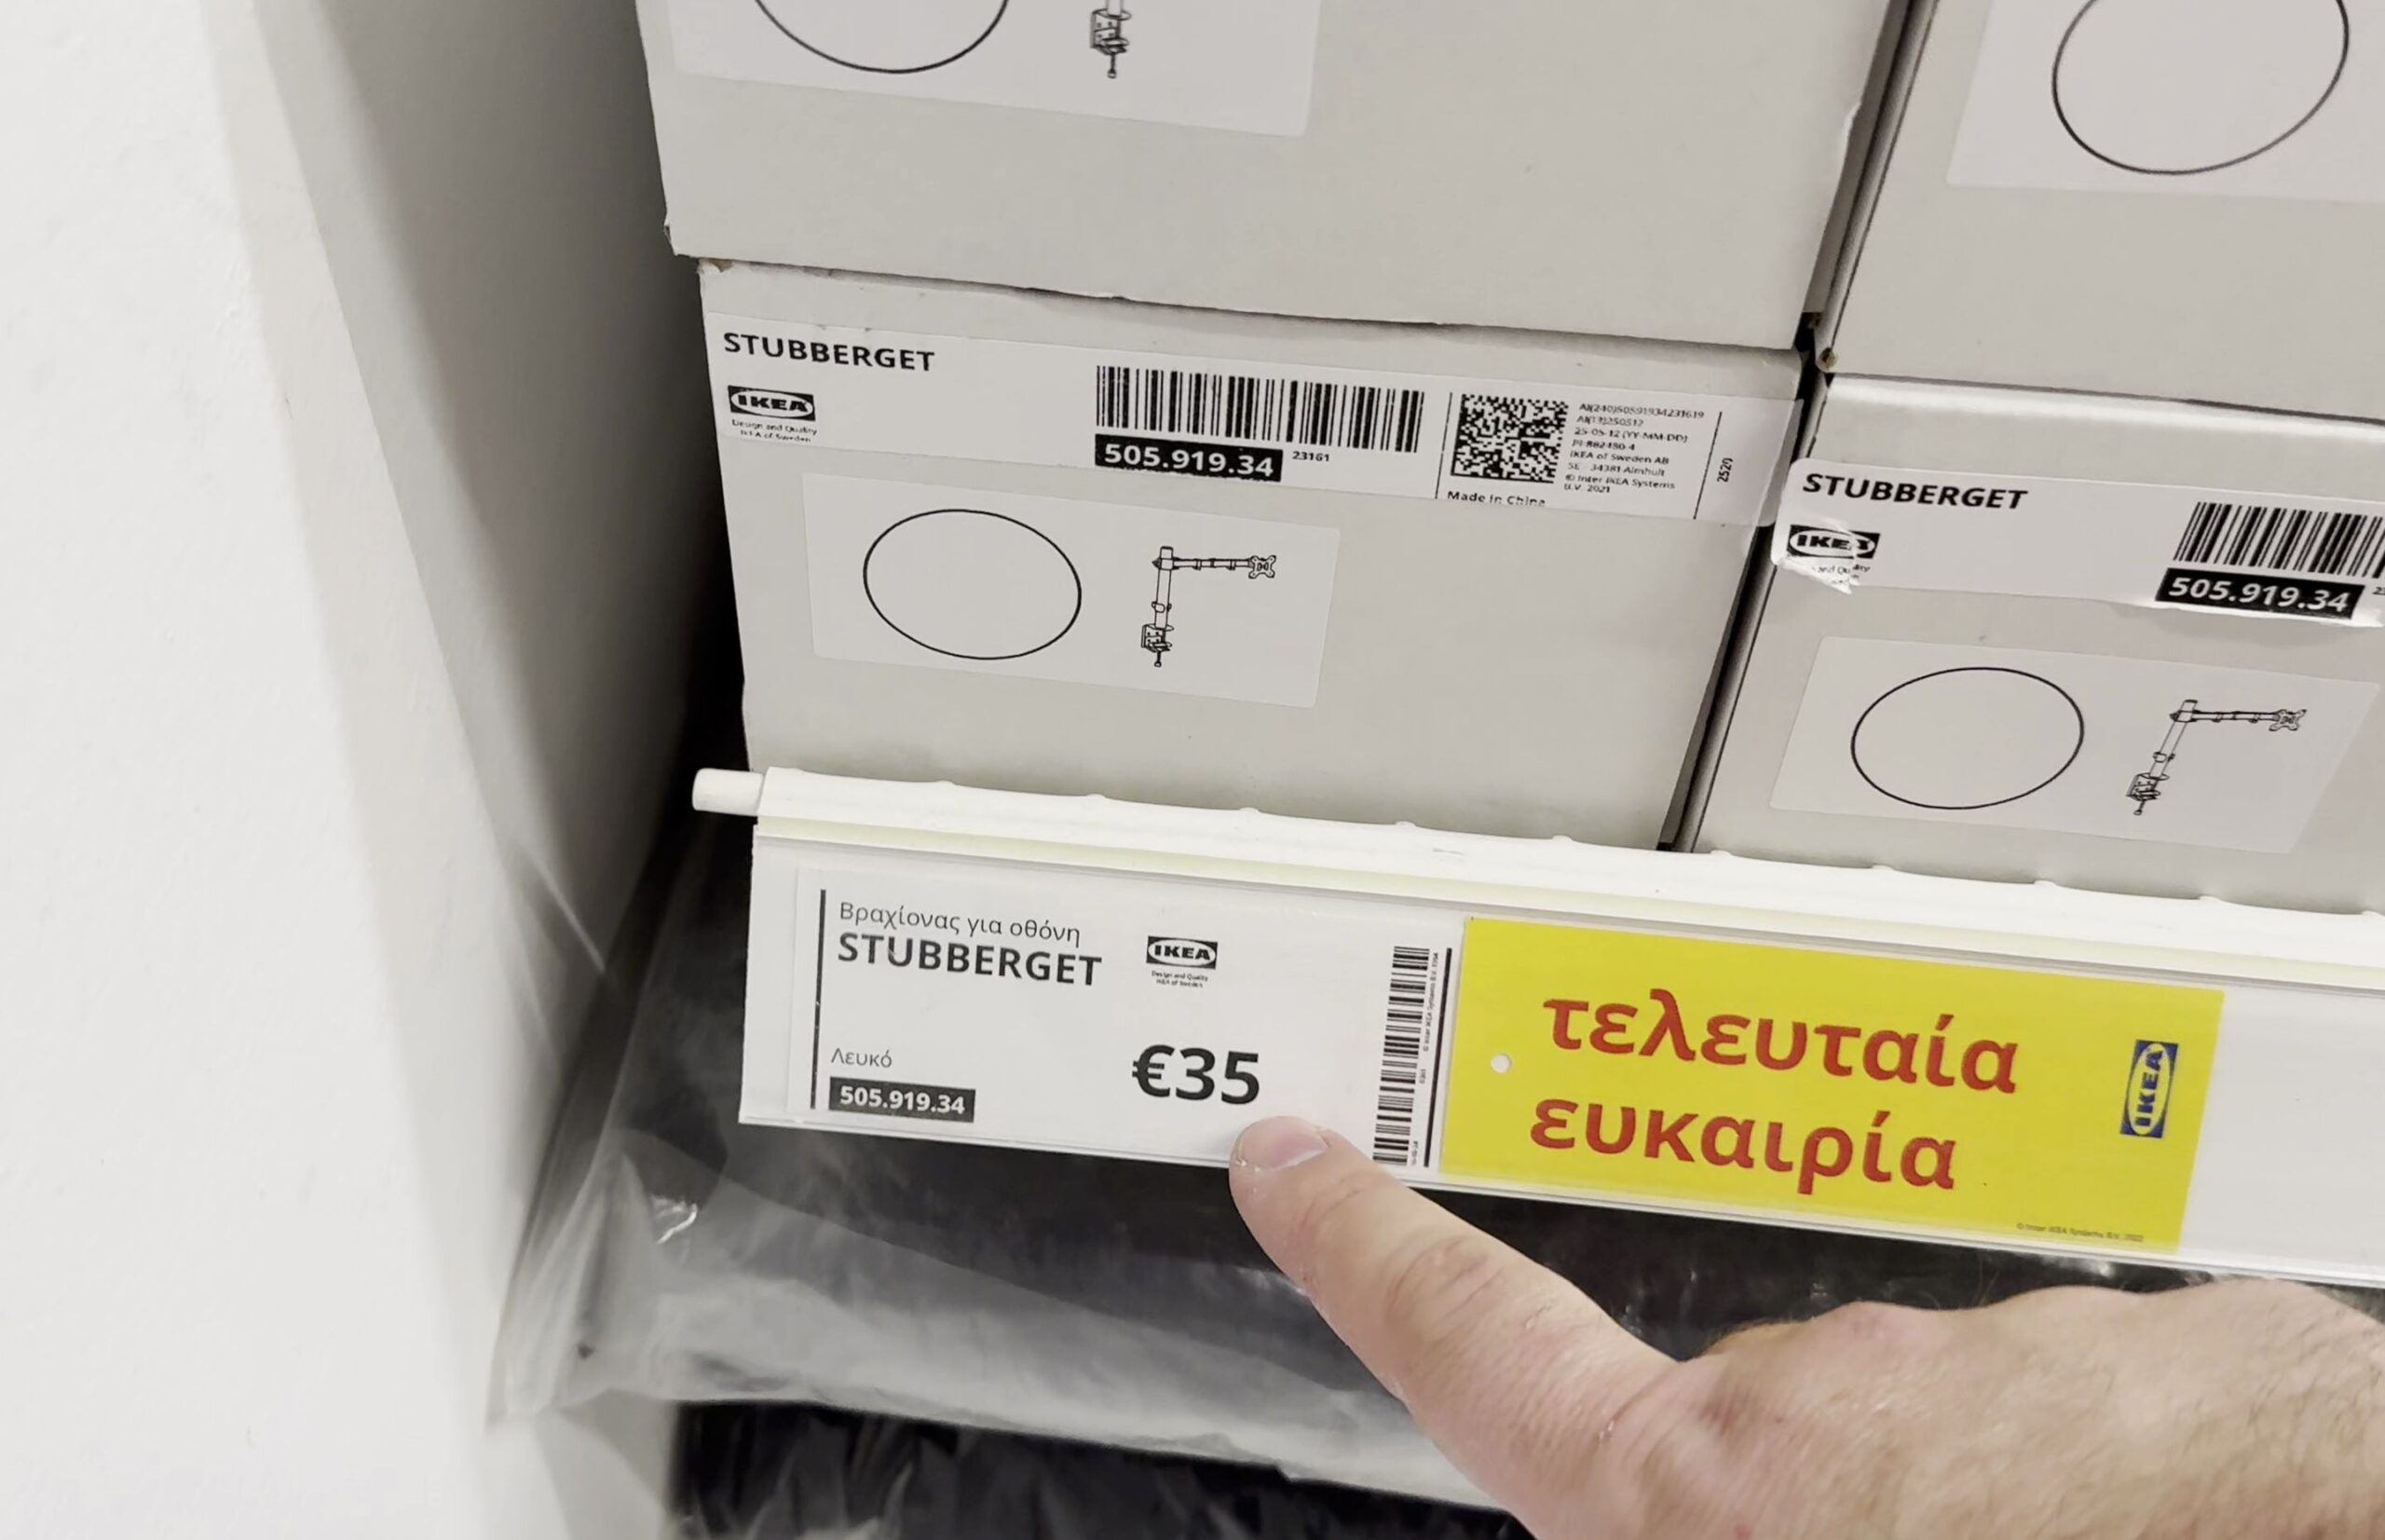
4. Mount the Screen to the VESA Head and Level Horizontally
Screw the standard VESA 75×75 or 100×100 mounting plate onto the back of your computer monitor.
Hook the monitor bracket onto the arm head and tighten the top securing bolt.
Gently tilt and swivel the screen to eliminate office glare.
Use the head rotation joint to fine-tune your screen level so the display sits perfectly parallel with your desk.
Helpful Tips
Never overload the single central pole with two oversized ultrawide displays unless your desk has solid hardwood or thick metal bracing underneath.
Use the integrated plastic cable management clips on the back of the arms to route monitor display cables and power cords cleanly down the post.
For more home office furniture reviews and standing desk setups, check our tour of the IKEA Idasen standing desk review and setup or explore our Home Improvement and Home Studio hubs.


Leave a Reply