
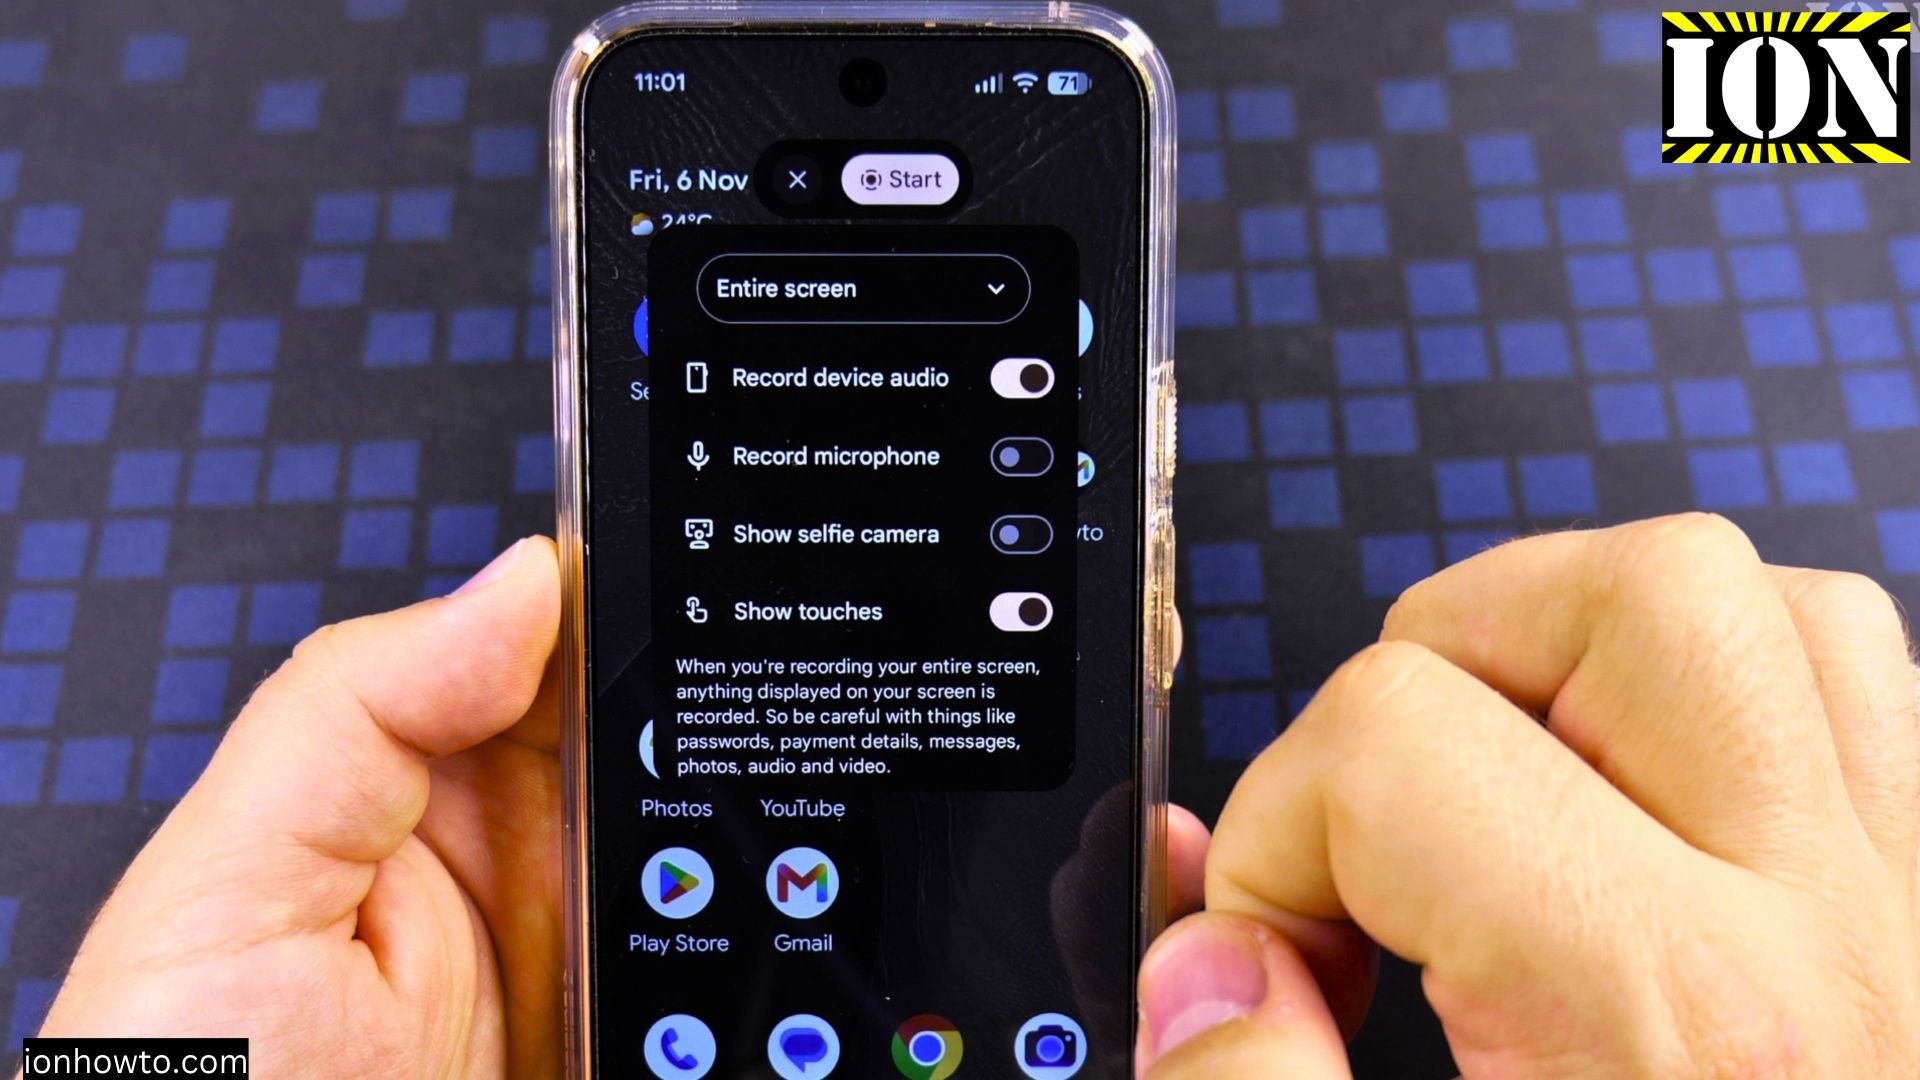
If you want to save a clip from your phone screen with clear internal sound and no room noise, Android‘s built-in Screen record tool handles it in seconds. I’ll show you how to find the tile, turn on device audio only, start and stop recording, and check the saved video.
Quick Steps and Scenarios Overview
| What You Need to Do | Quick Jump |
|---|---|
| Open Quick Settings and Add Screen Record | Jump to Step 1 |
| Choose Entire Screen and Device Audio | Jump to Step 2 |
| Start Recording After the Countdown | Jump to Step 3 |
| Play Your Video and Stop Recording | Jump to Step 4 |
| Find and Check Video Quality in Google Photos | Jump to Step 5 |
Recommended Amazon Gear and Accessories
Disclosure: This article contains Amazon affiliate links. As an Amazon Associate, we earn from qualifying purchases at no extra cost to you.
- Phone Accessories
- Android Phone Case
- USB-C Charger
- USB-C Cable
- Wireless Charger Stand
- Wireless Car Charger
1. Open Quick Settings and Add Screen Record
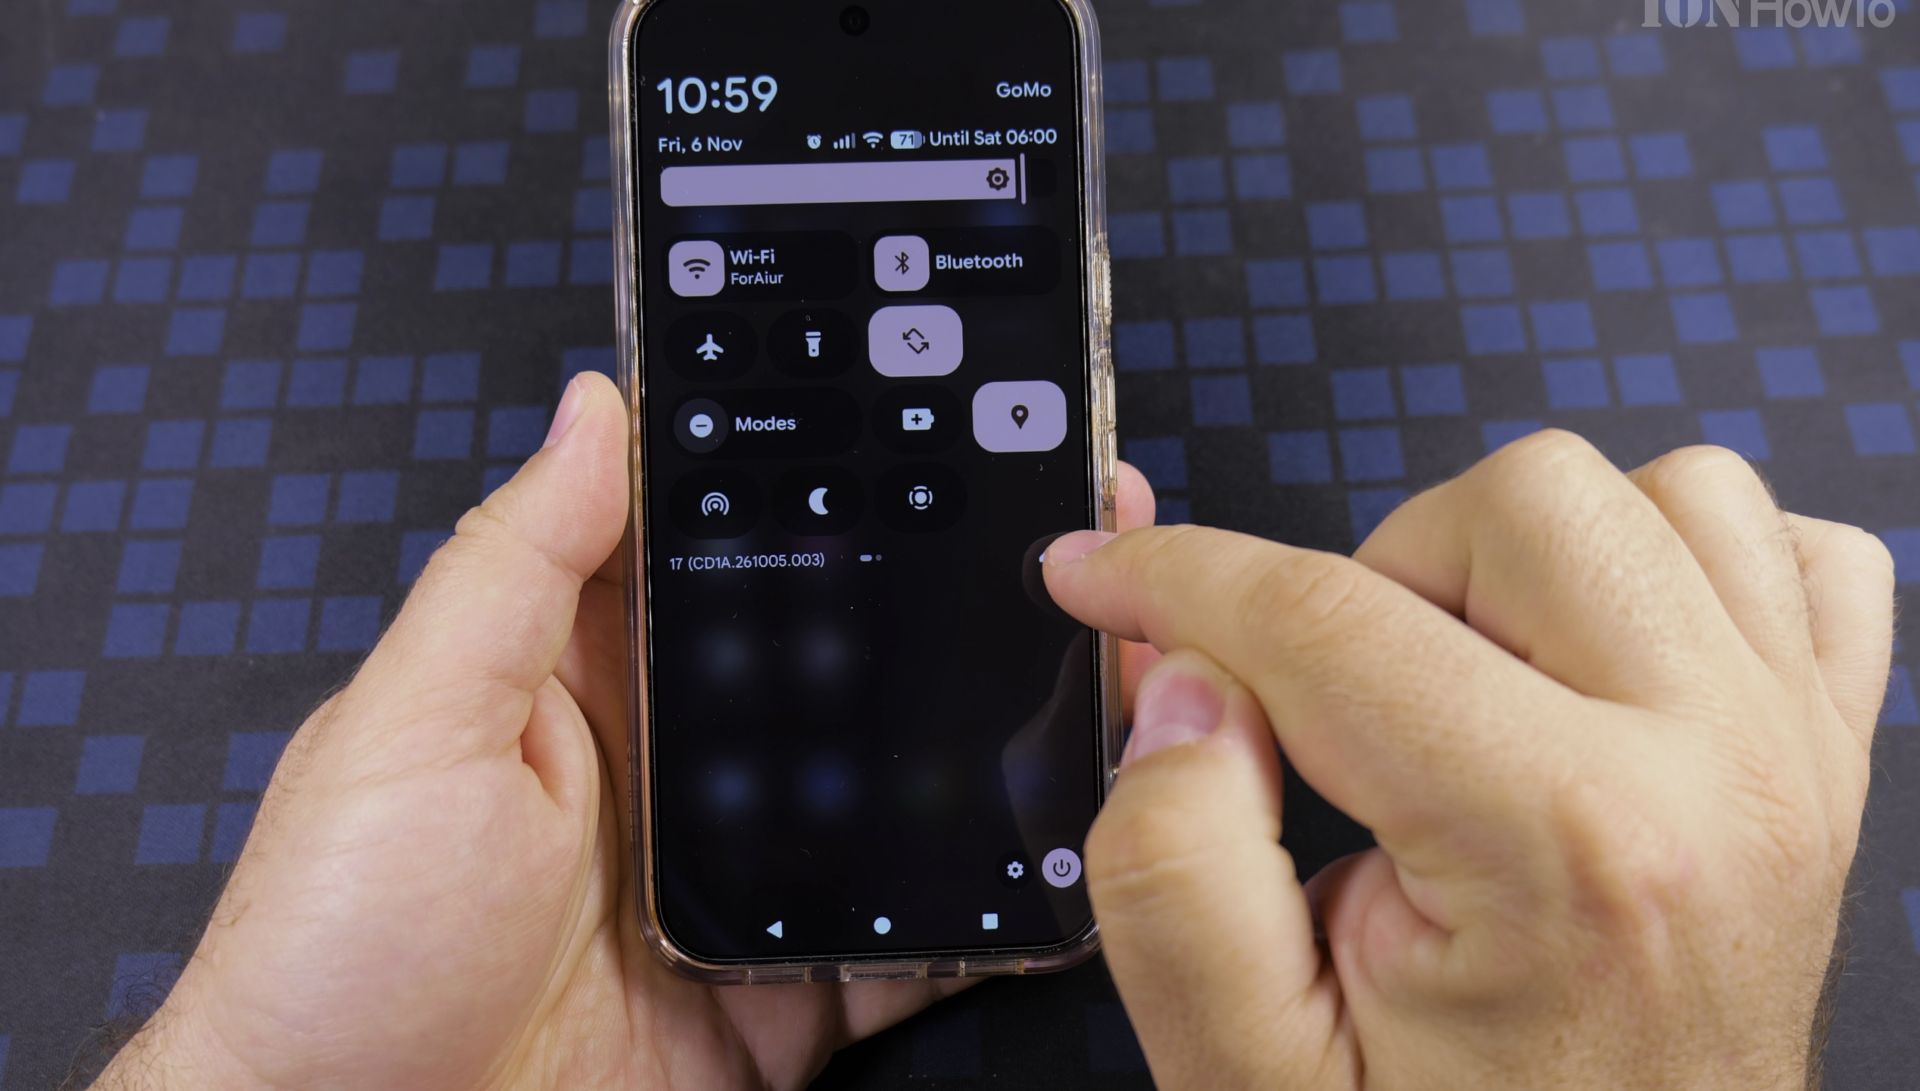
Swipe down twice from the top of your Android screen to open **Quick Settings**. Look for the **Screen record** tile, or tap the pencil **Edit** icon and tap the plus sign next to **Screen record** to add it to your tiles.
2. Choose Entire Screen and Device Audio
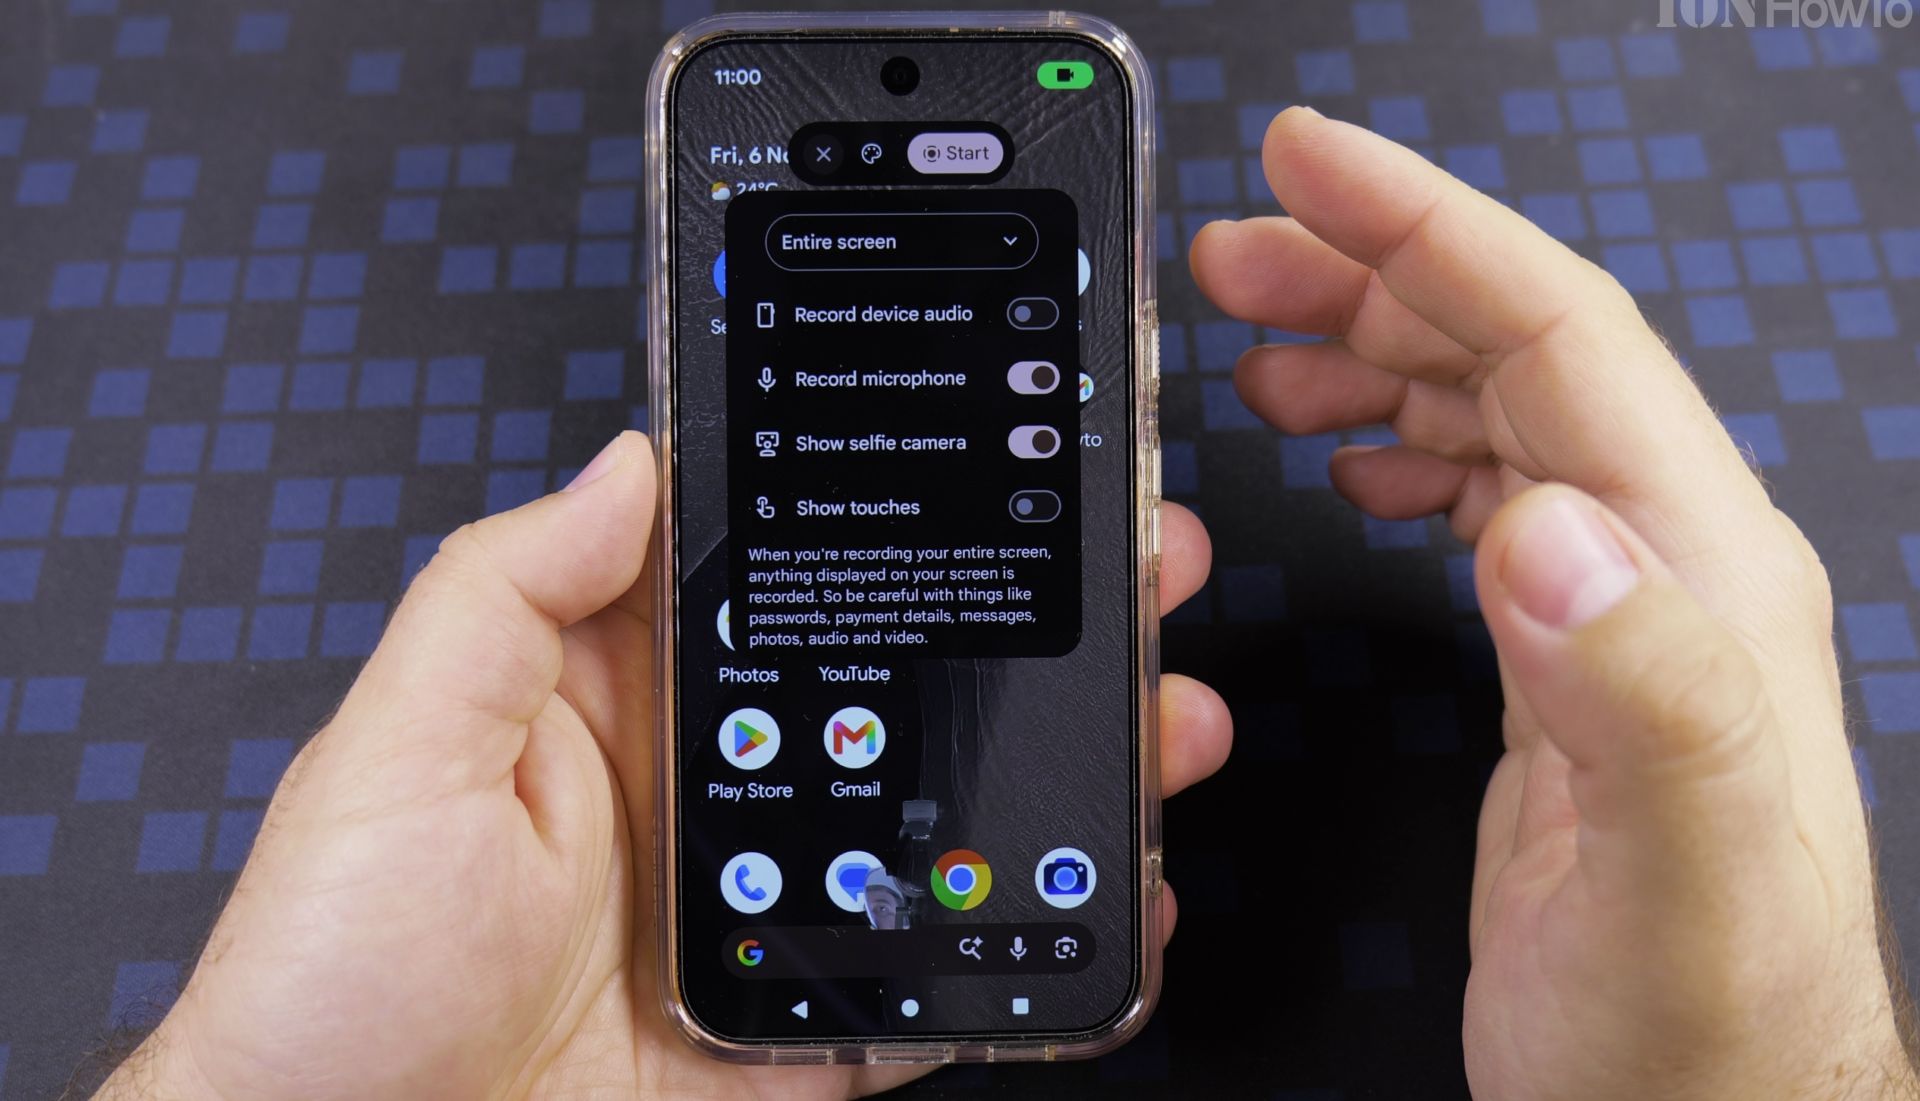
Tap the **Screen record** tile to open the recording options panel. Select **Entire screen** from the drop-down menu, turn **Record device audio** on, and leave microphone and selfie camera turned off so outside room noise stays out.
3. Start Recording After the Countdown
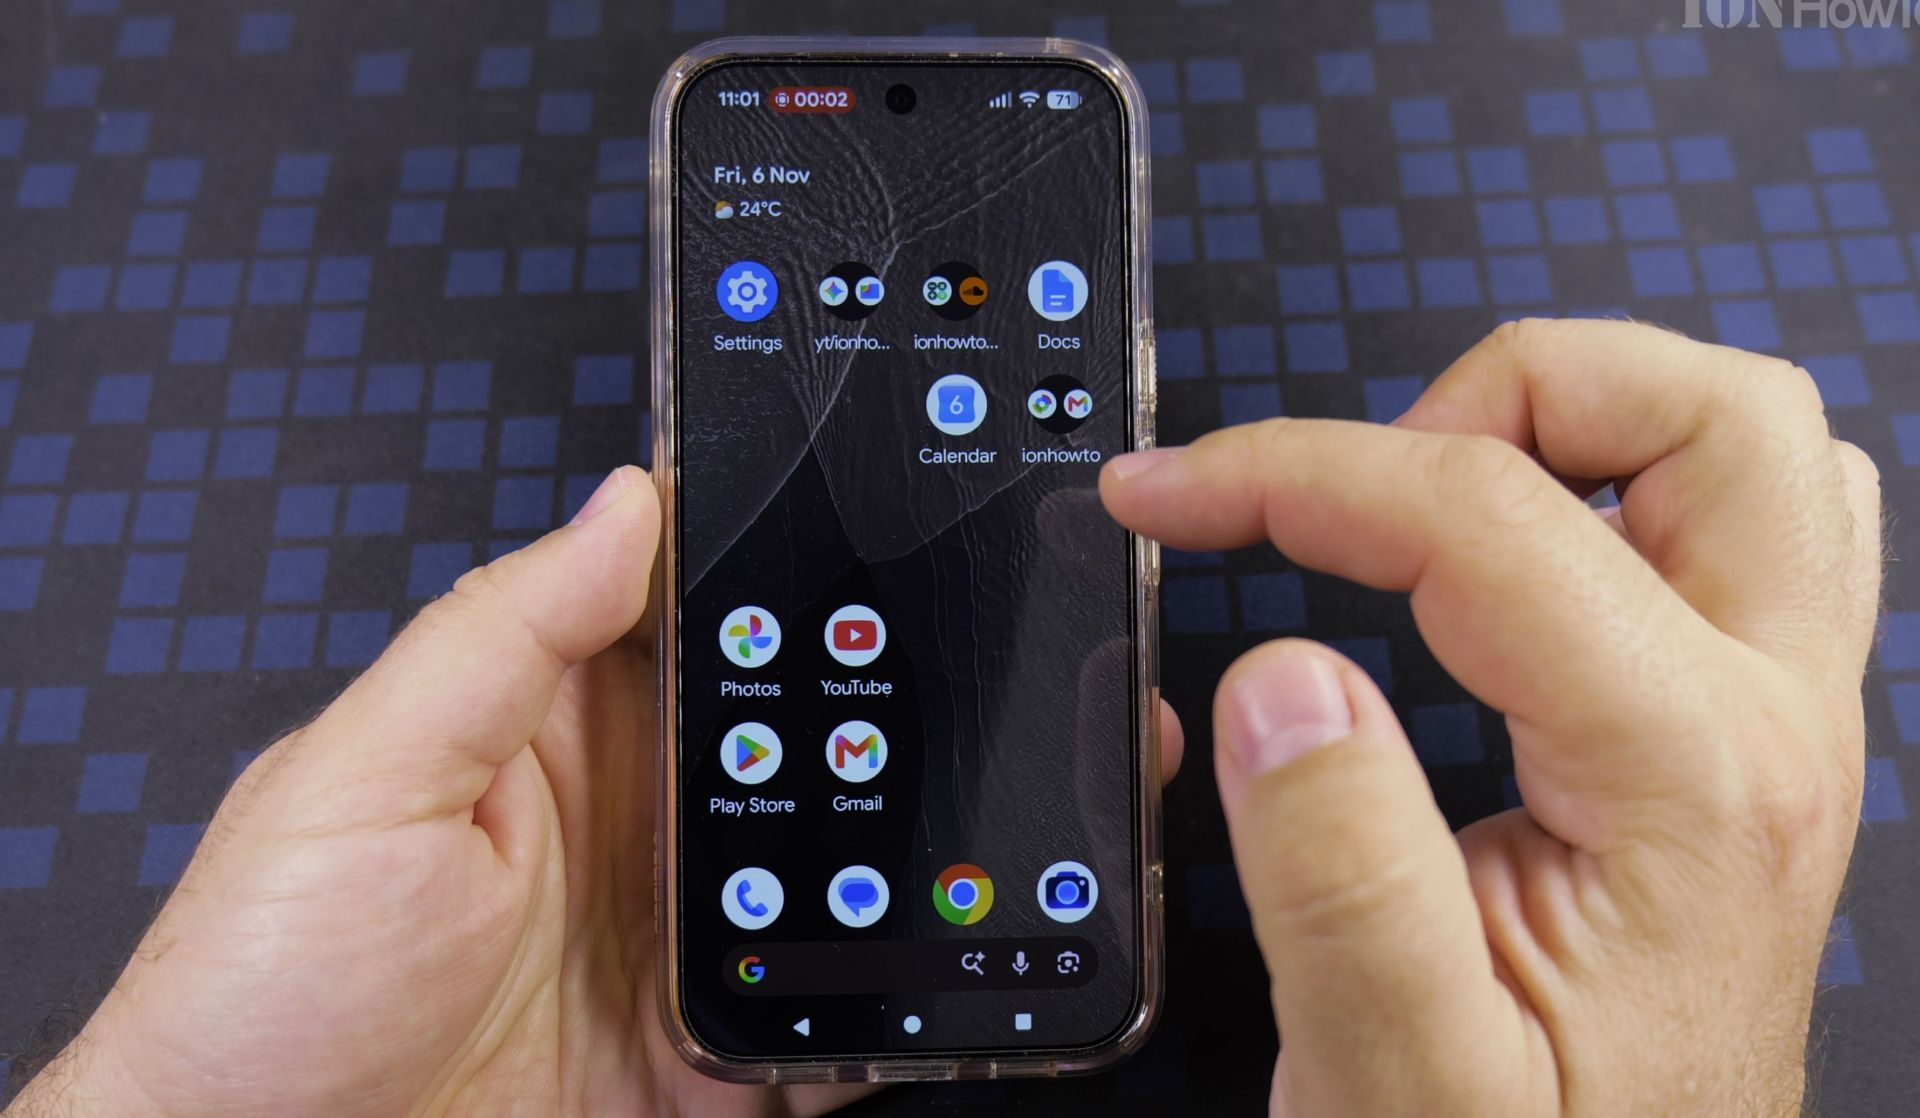
Tap **Start recording** in the bottom corner of the pop-up card. A short three-second countdown appears, followed by a small red pill icon showing that your screen and internal sound are recording.
4. Play Your Video and Stop Recording
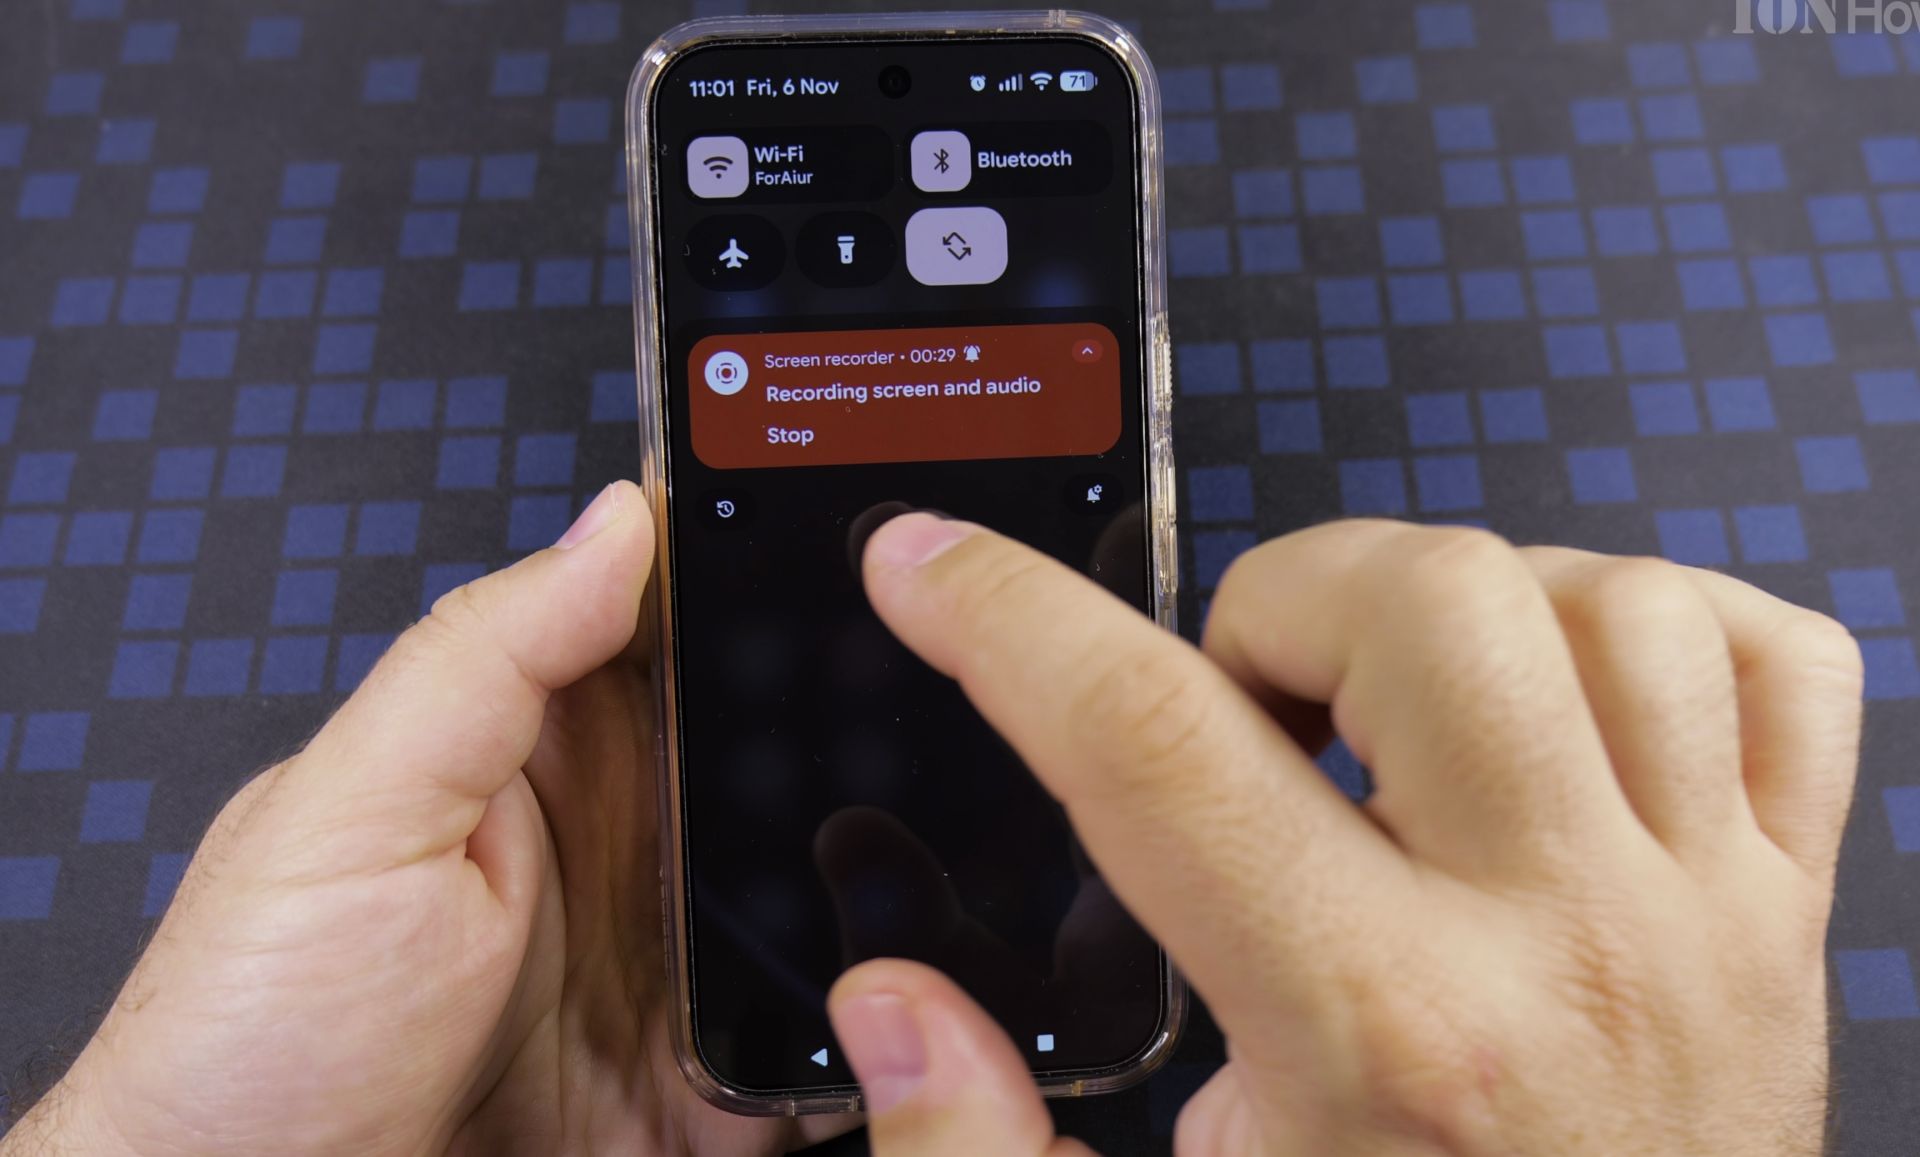
Open the app or video you want to capture while internal sound plays clearly. When finished, tap the red status bar timer and tap **Stop**, or swipe down to **Quick Settings** and tap **Stop** on the recording banner.
5. Find and Check Video Quality in Google Photos
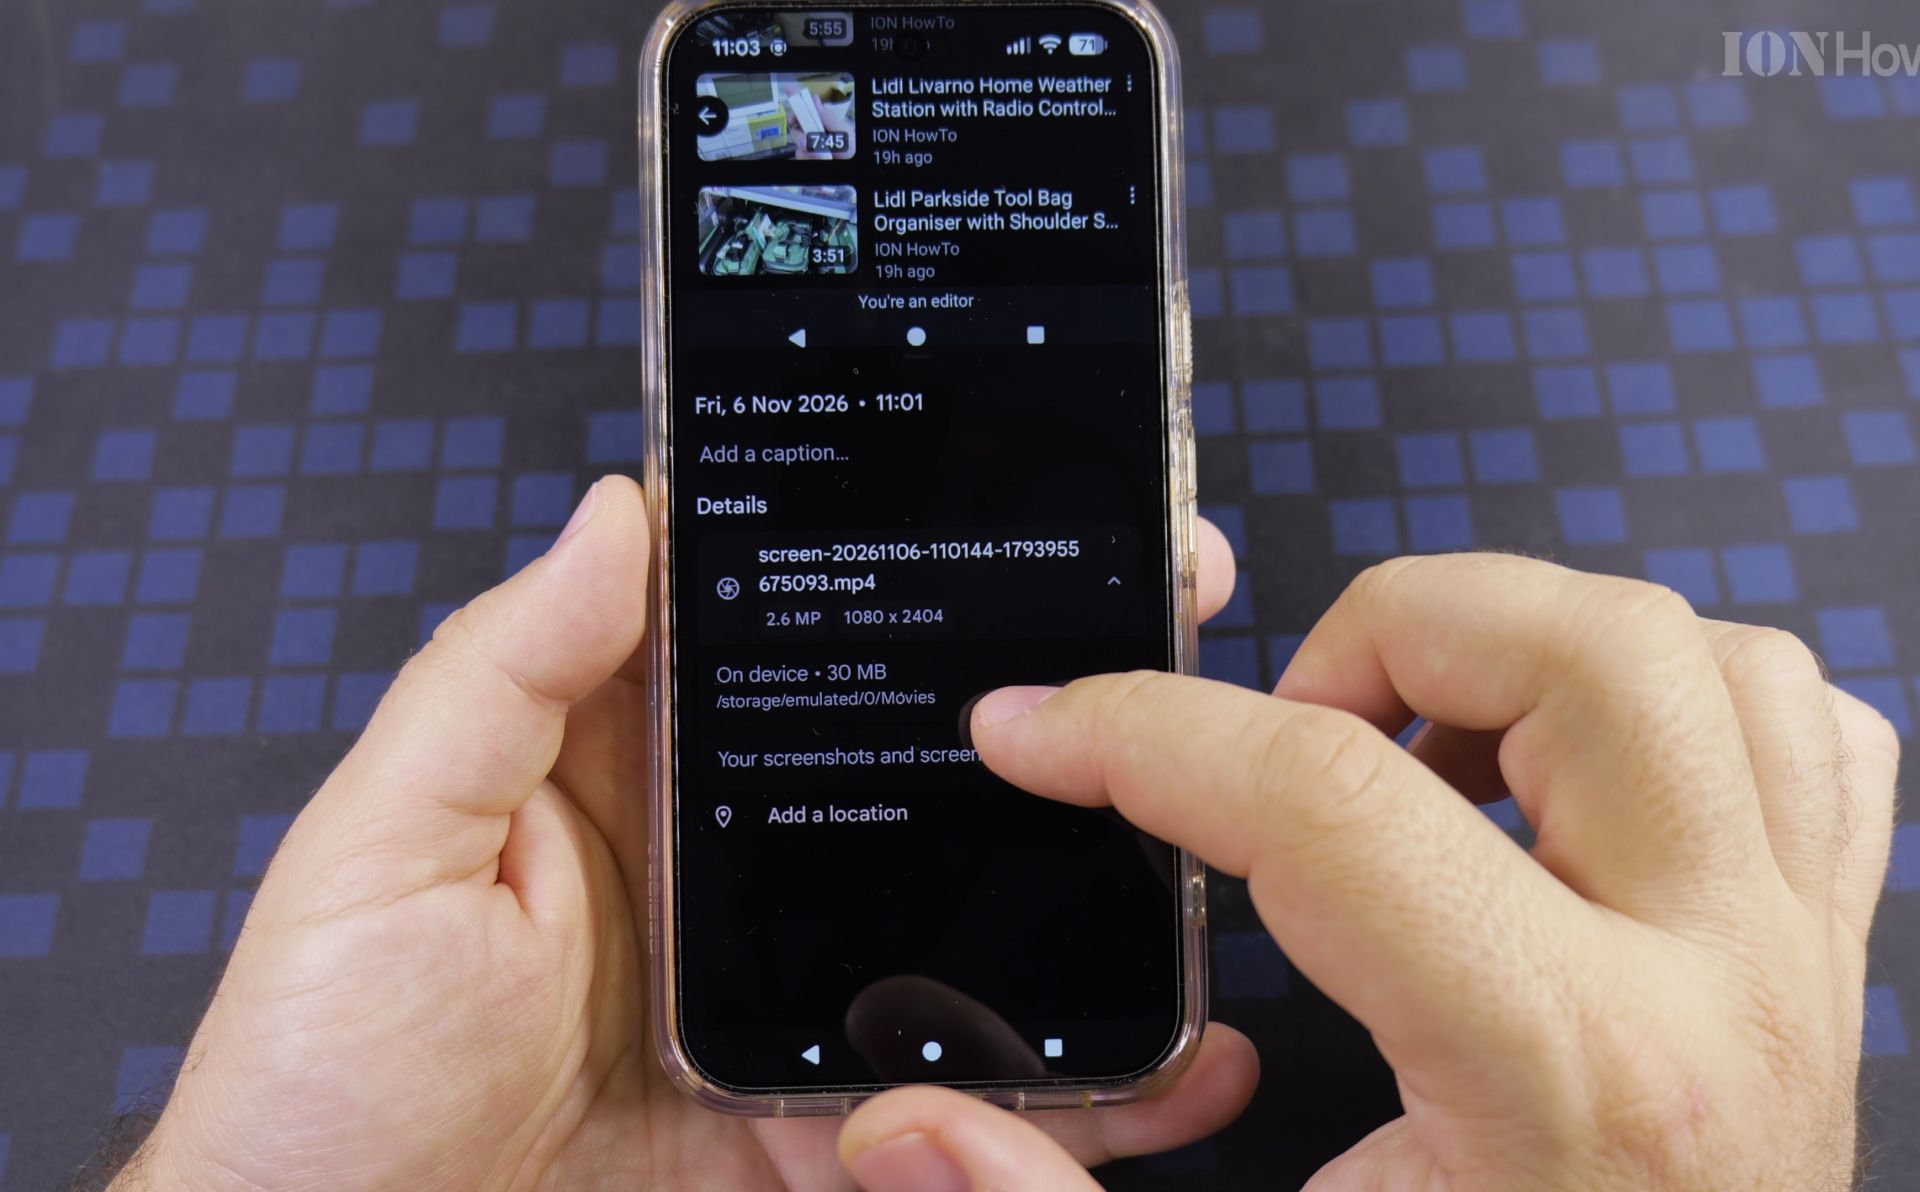
Tap the saved notification or open the **Google Photos** app to watch your new clip right away. Swipe up or tap **About** while paused to inspect the file location, size, and crisp screen resolution such as 1080 by 2404 pixels.
Helpful Tips
- Want to narrate over your screen instead? Turn on Record microphone alongside Record device audio before tapping Start recording.
- Screen recordings are saved into your phone’s Movies or Screen recordings folder, making them quick to share from Google Photos.
Related Guides
- Remove Apps from Samsung Android Home Screen – How to Remove Apps from Home Screen on Samsung Android.
- Remove App From Android Home Screen – How to Remove an App from Your Home Screen on Android.
- Change Wallpaper on Android Lock Screen and Home Screen – How to Change Wallpaper on Android Lock Screen and Home Screen.
- Android & Mobile Guides – Browse more tutorials and practical guides in this section.


Leave a Reply