
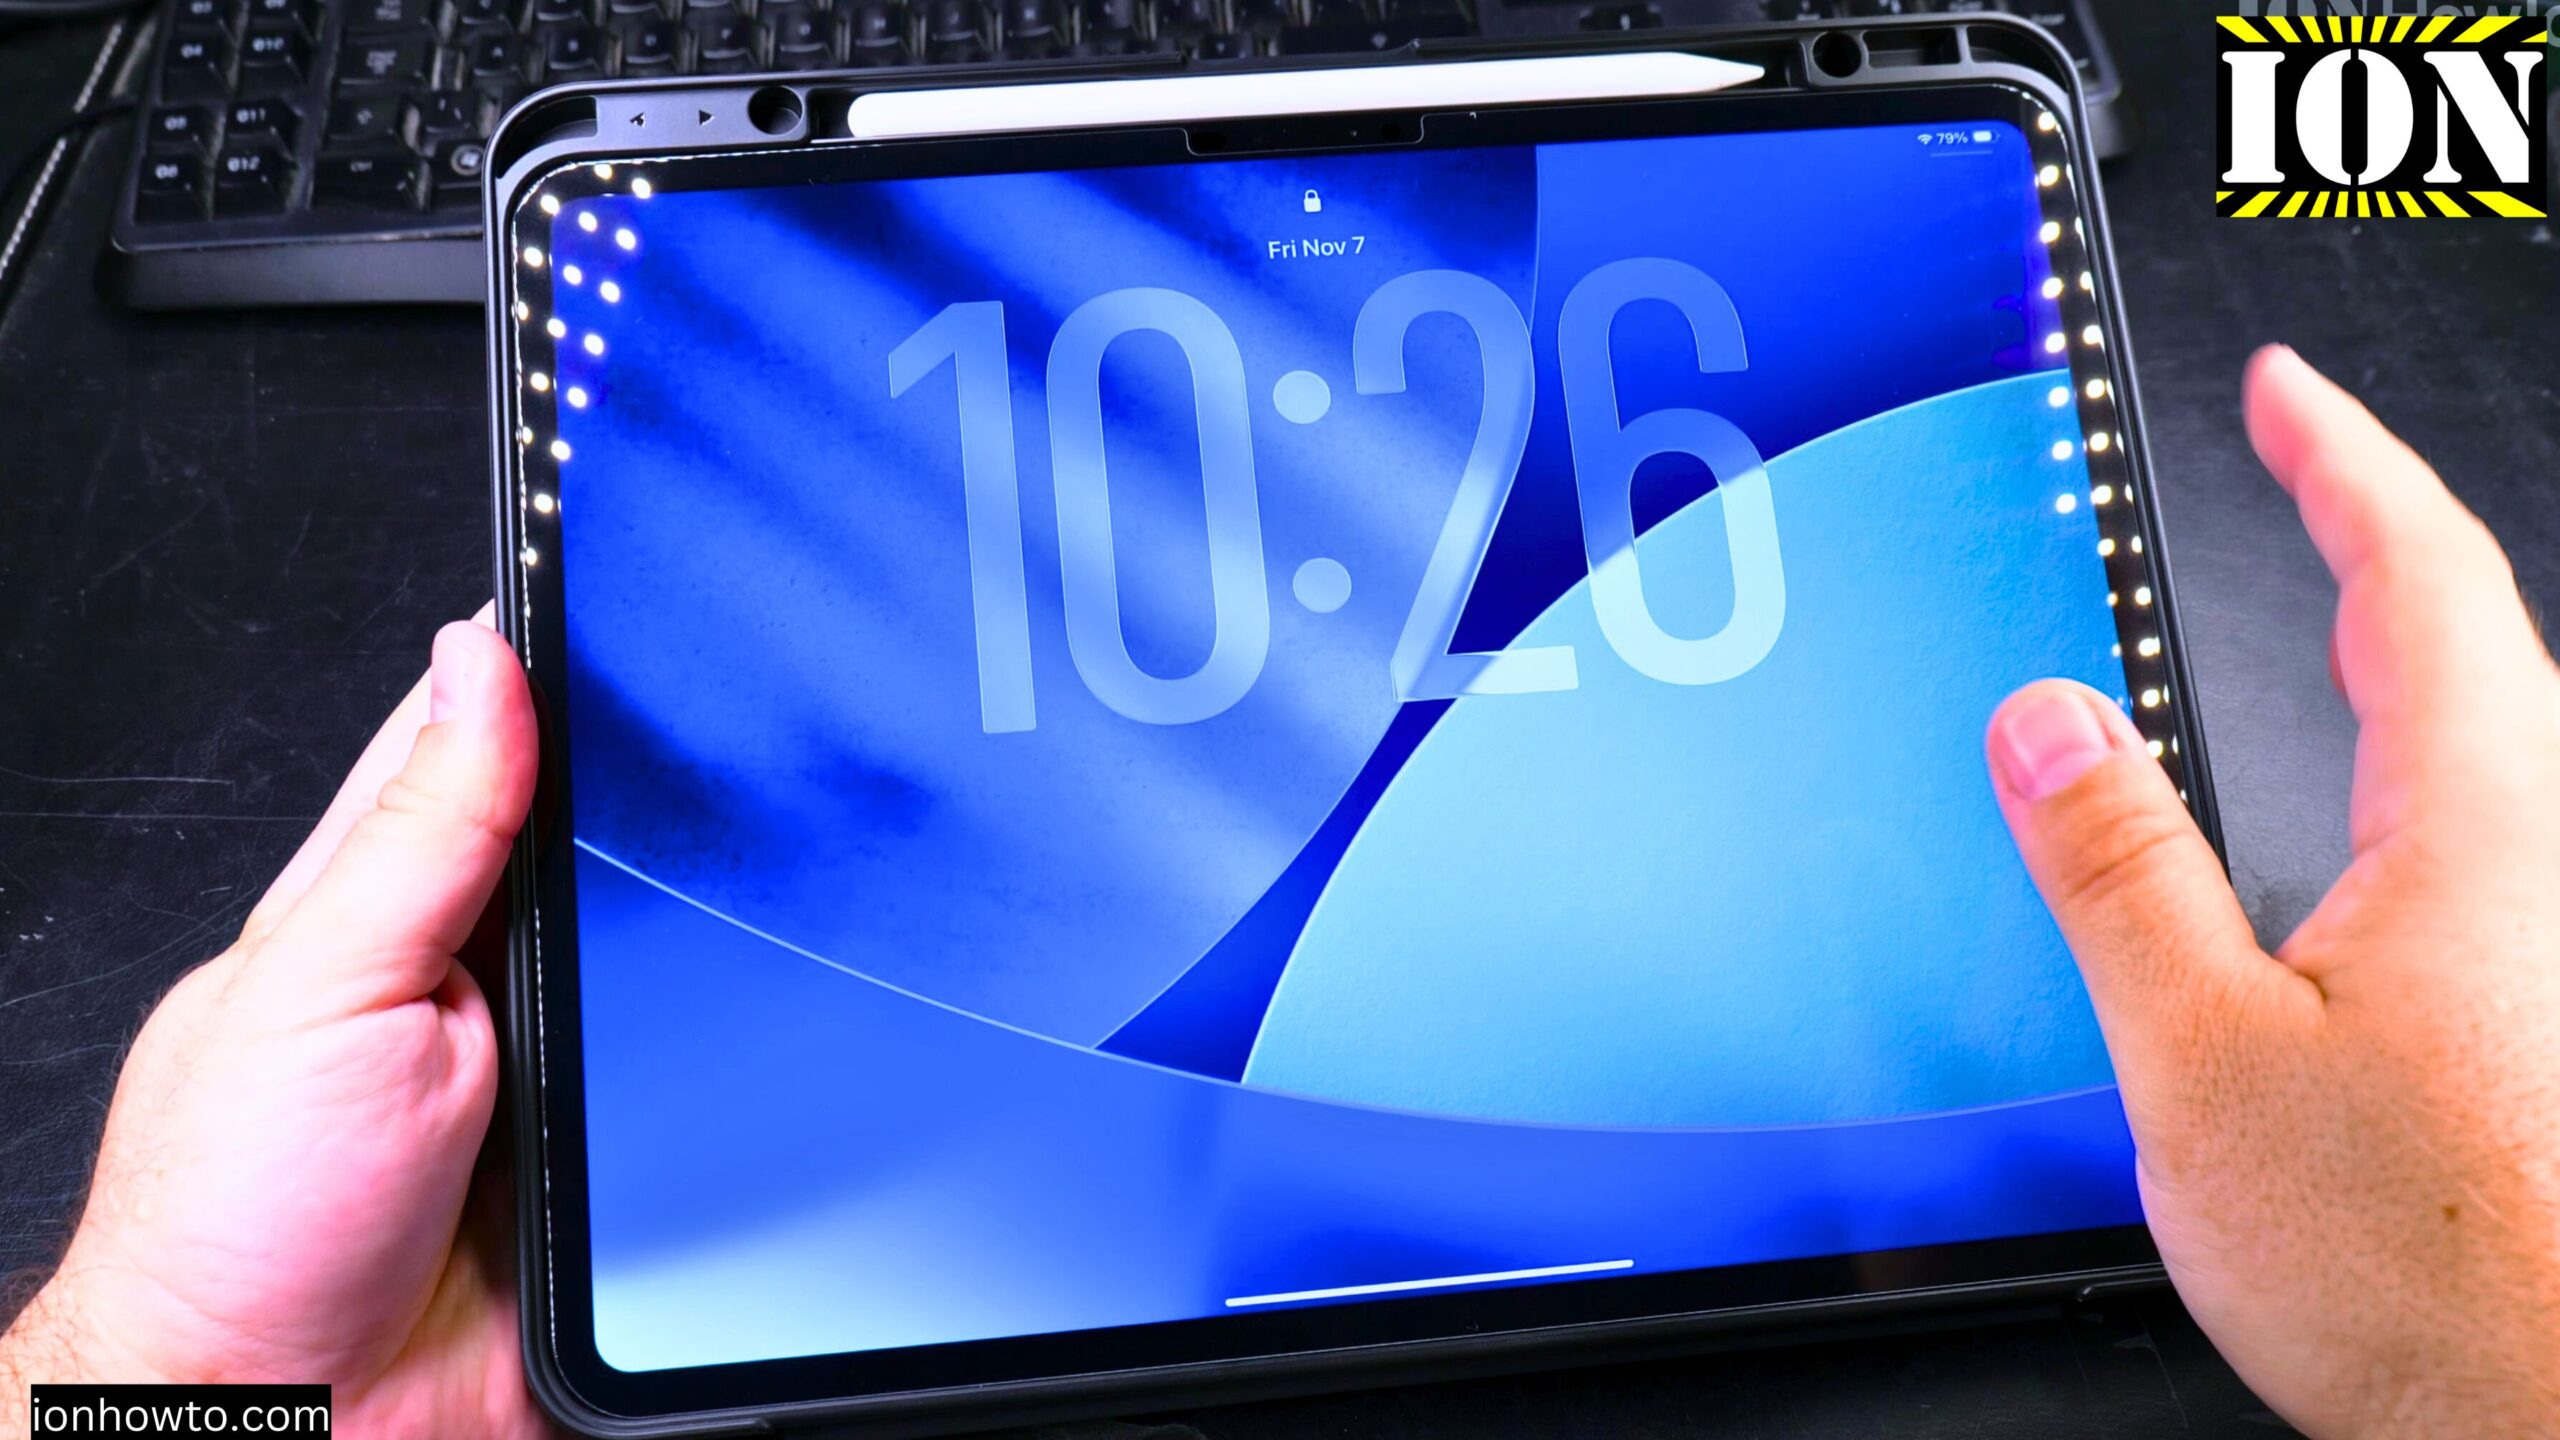
How to Set Up Your New iPad Pro M5 with iPhone and iCloud Backup.
Learn how to set up your new iPad Pro M5. This guide is perfect if you just got your iPad and want to start using it quickly.
I show you the steps to transfer all your data from your iPhone using the automatic setup process. This is the easiest way to move your apps, settings, and preferences.
This was shown on iPadOS 26 on iPad Pro M5 13 Inch 2025 model.
iPad Model Code MDYJ4TY/A Model A3360 iPad Pro 13 inch Wi-Fi 256GB Space Black Standard glass
EAN Barcode: 195950398168
Apple Pencil Pro Model MX2D3ZM/A A2538 manufacture date 05/2025.
EAN Barcode: 195949573125
Before You Start
This is the screen you want to see. You see Hello when it says Hello without iPad lock to owner. That is good. You can set up the iPad as a new device for yourself.
Accept the information about the iPad. It is important to set the appearance how you want it. The default, the regular, is a good choice.
Video How to Setup iPad Pro M5 with iPhone and iCloud
Step 1: Quick Setup with Your iPhone
Now you have the option to do a quick setup with the iPhone. You can also do this manually.
When you bring the iPhone closer to the iPad, you get a pop-up on the iPhone and it makes things easier for you.
Step 2: Scan the Code with Your iPhone
You have to scan a kind of cloud with the iPhone. It is like a QR code, something to verify that it is you with the phone and with the iPad. This makes sure there is no someone else trying to take over your device.
Once the devices are linked, the iPad and the iPhone, they will work together to synchronize information from the iPhone to the iPad and especially your account information.
This is by far really the easiest way to set up your iPad.
Step 3: Finish the Setup on the iPad
The iPhone says finish the setup on the iPad, and on the iPad you might have to wait, especially if you are restoring a large backup from iCloud. That might take some time.
You have to connect to Wi-Fi. Updates can be done immediately or later. For this, you have to accept the privacy notification.
Step 4: Set Up Face ID
For Face ID, it is better to set it up from the beginning. Better to do it from before and be done with it.
You can do this rotate with your head. Now you can unlock the iPad with your face with the Face ID. You have to do it twice for verification. You also have to turn the head around.
The iPad Face ID sensor will detect multiple positions of your face so it can unlock in different angles.
Step 5: Accept Terms and Conditions
You have to accept the terms and conditions if you want to continue.
The iPhone still says finish on iPad, so it is not really done yet.
Step 6: Choose Your Restore Option
This is the important part. You see the screen like this when you already have an iCloud backup for this device. You see the date of the backup when it was backed up.
Apps and data can be selected. You can also choose to enable or disable some of the options.
If you want to change this, you can use customize and then you can choose the iCloud backup or even do not transfer anything. That would be the fastest way to set up the iPad with do not transfer anything. But that is going to be a basic default iPad without any customization. You will not have any of your settings.
You could even transfer from Android or from Mac or PC or from another iPad. It is nice to have many options there.
Step 7: Continue with the iCloud Backup Restore
Continue with the restore of the iCloud backup.
Payment cards for Wallet for Apple Pay can be left for later. There is no need to start looking for the CVC codes now.
Step 8: Setup Complete
Now this is complete. It says, Enjoy your new iPad. You also get a notification on the iPhone that a new device, a new iPad has access to FaceTime and iMessage. This is important to know which devices have access.
You can choose to share or not share analytics and Apple Intelligence. Summarize notification and priority notifications are preferences you can set depending on how you prefer.
Step 9: Wait for the Restore to Finish
This is going to take some time and it depends on how much data you have to transfer.
If you do not have much data to restore from iCloud to this iPad, it will not take much time, but for you it might take longer. You have to be patient.
The whole process is really smooth. The steps are telling you what they are doing and you will see the progress bar. If something does not change, just give it time.
It is a good idea to keep the iPad charged while you are doing this to make sure the battery is not running low.
What Happens After the Restore
The apps are already starting to download. These are exactly the apps that were there before doing the reset.
Some of the apps are already available like the Notes app. The Notes app can already be used, and even Photos.
A few pictures that were on iCloud are shown. You get them back, but this is only if you have them on iCloud.
The default free plan is only 5 GB from iCloud. So if you have only that one, you might not have the photos. Be careful when you reset an iPad before you delete anything. Make sure that you have them somewhere else.
About This iPad
This is the iPad Pro 13 inch M5. This iPad Pro has the M5 silicon from Apple and also it has 12 GB of RAM of memory, not like the M4 which had 8 GB of memory. It is a pretty good improvement.
Everything is smooth. Everything is really responsive on the iPad. The screen is really amazing.
Managing iCloud Storage
You can see the iCloud information, how much space there is. It is not much space, only 5 GB. It is already used 1.6.
Usually photos are not backed up to iCloud because they will finish the disk space very fast. But the app settings and the settings in general are backed up.
The iPhone is 900 MB and the iPad now is 110 MB. It could be more, but it could be less. It is not too bad for settings only.
Final Thoughts
The iPad is ready. It is going to finish downloading some of the apps. I hope this helps you.


Leave a Reply