
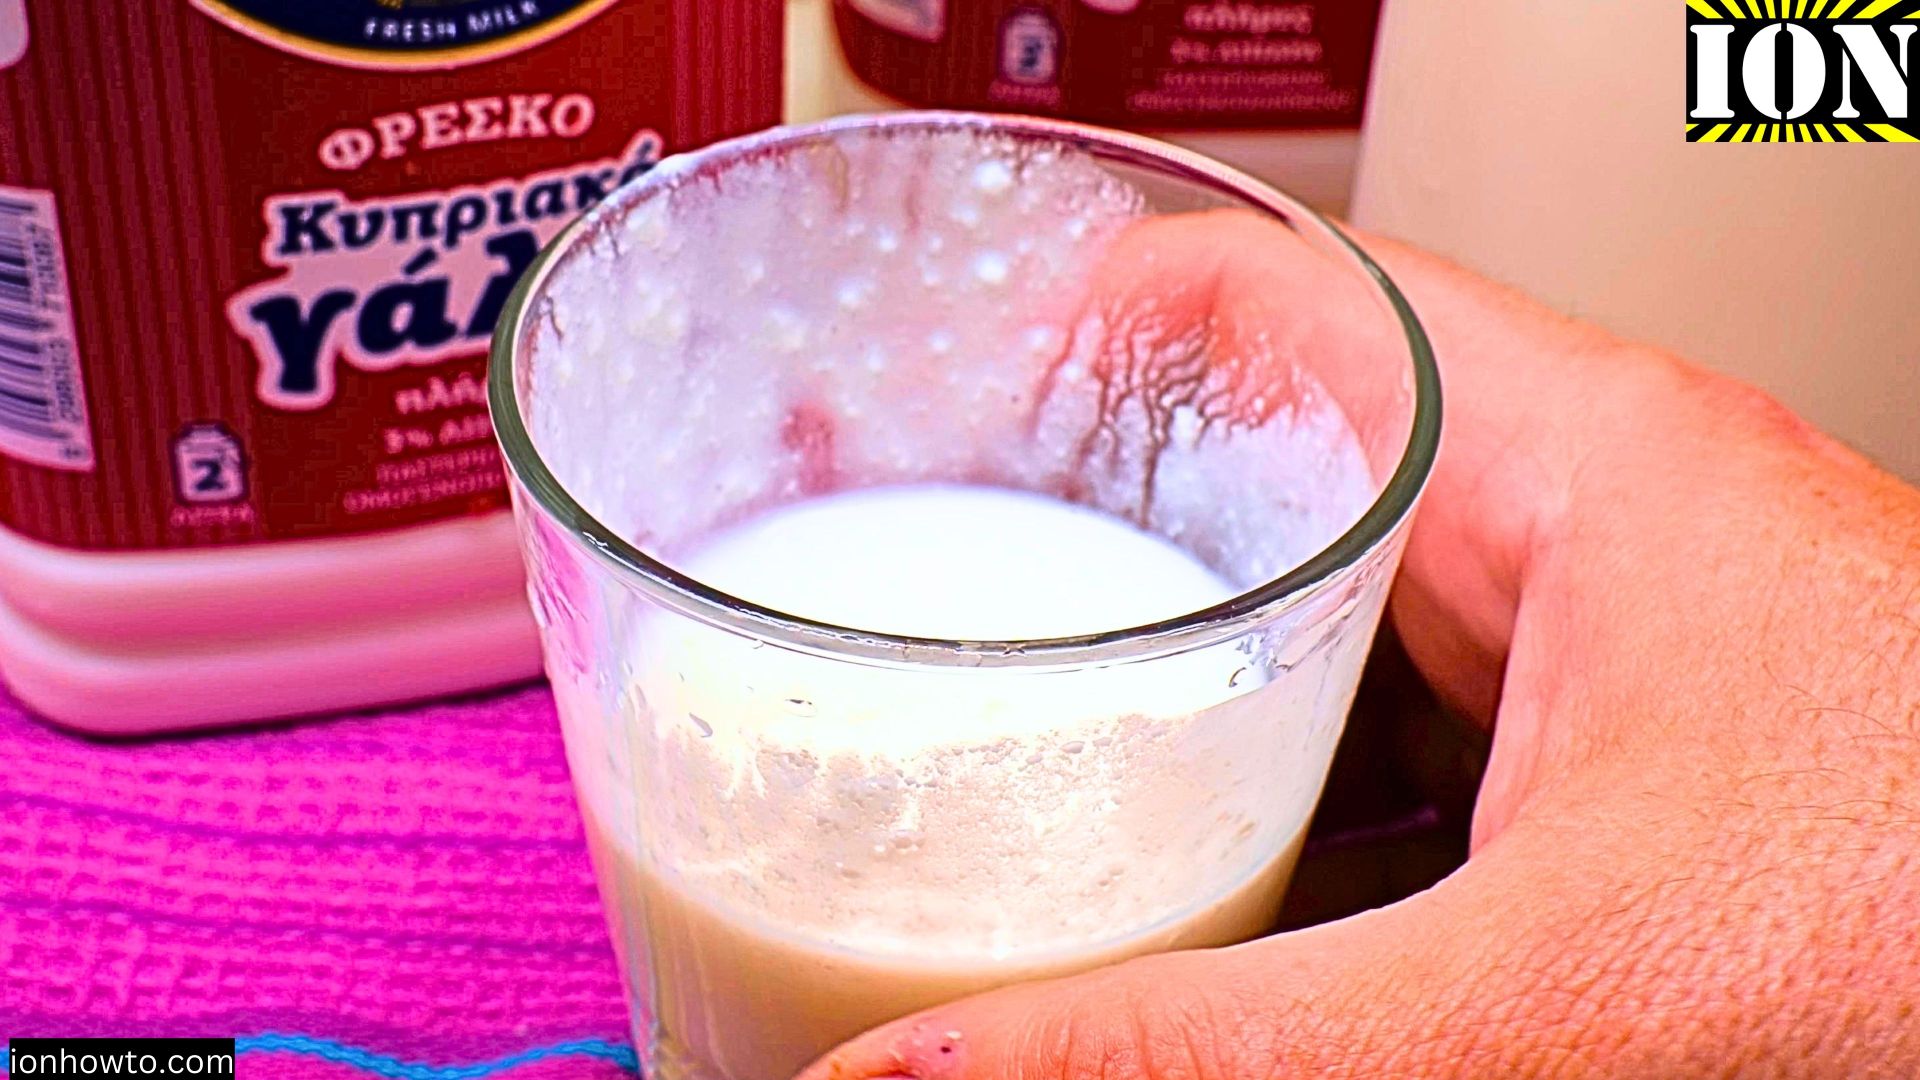
I’ll show you how to make kefir at home using store-bought kefir as a starter. This method is perfect for beginners and those who want an easy solution to make Kefir at home.
Quick Steps and Scenarios Overview
| What You Need to Do | Quick Jump |
|---|---|
| The Basic Steps | Jump to Step 1 |
| Start with room temperature milk | Jump to Step 1 |
| Add your store-bought kefir to the milk | Jump to Step 2 |
| Stir gently with a wooden or plastic | Jump to Step 3 |
| Cover the jar with your coffee filter | Jump to Step 4 |
| Let it sit at room temperature | Jump to Step 5 |
What You Need
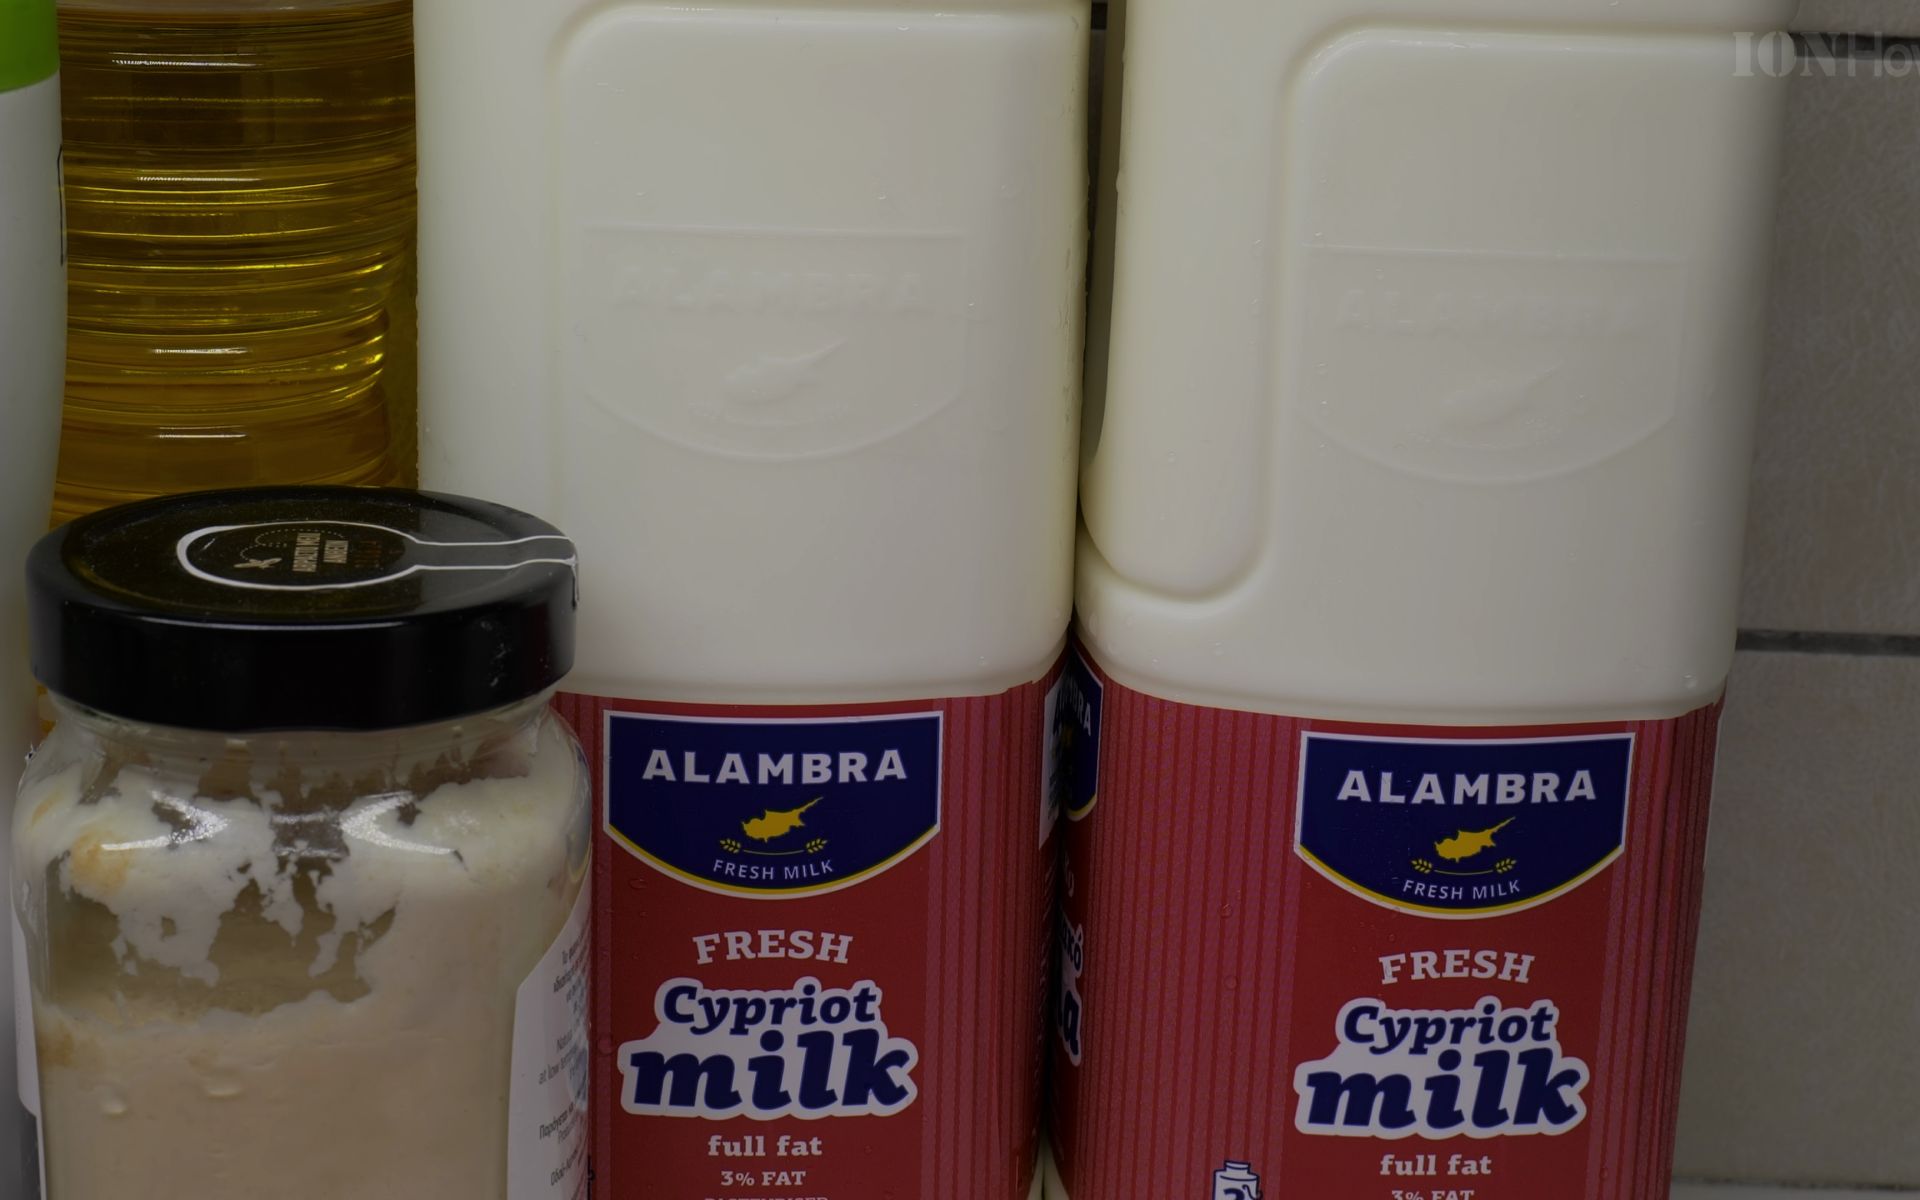
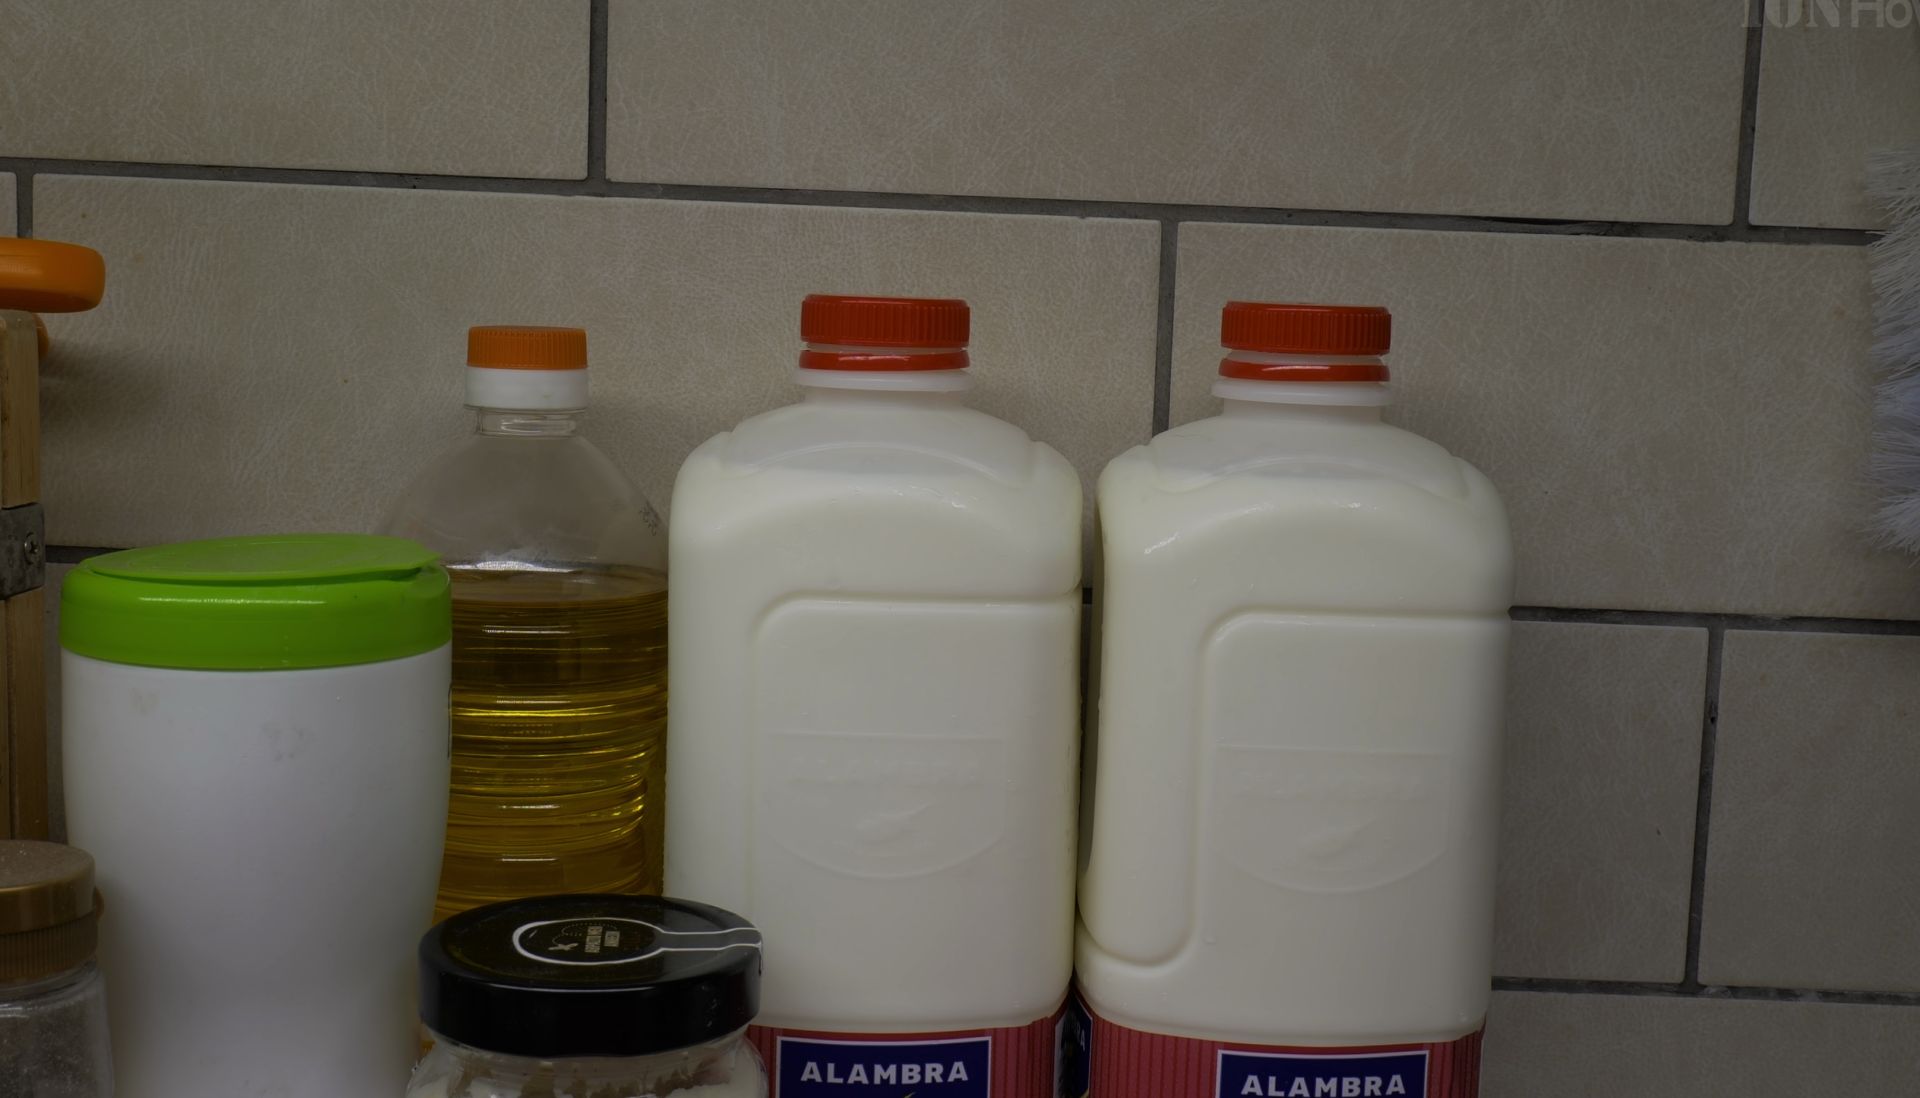
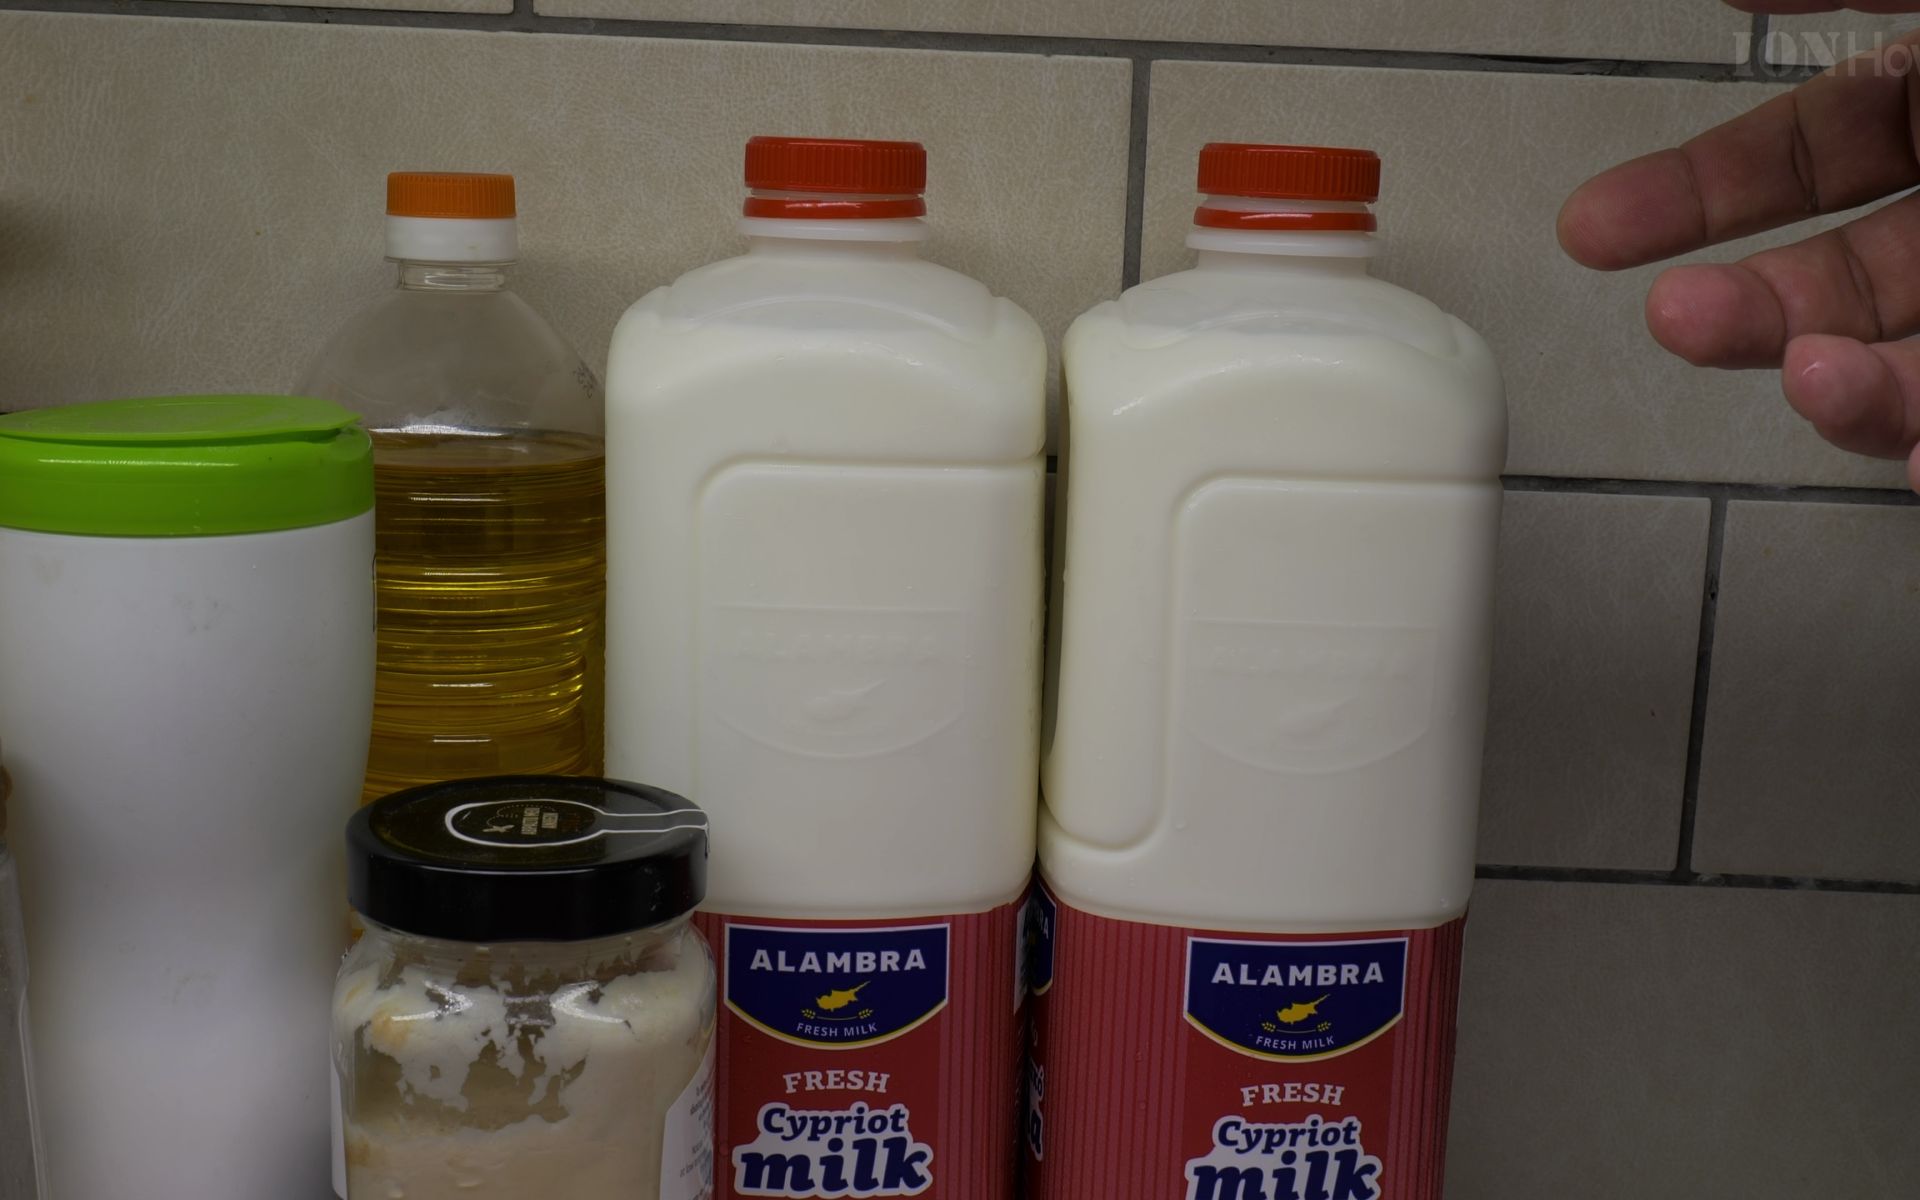
- 1 bottle whole milk
- 2 spoons of plain, unflavored store-bought kefir
- A clean glass jar or ferment in the milk bottle directly
- A coffee filter or clean cloth
- A rubber band
- A wooden or plastic spoon (avoid metal)
The Basic Steps
1. Start with room temperature milk
Start with room temperature milk. Pour it into your clean glass jar.
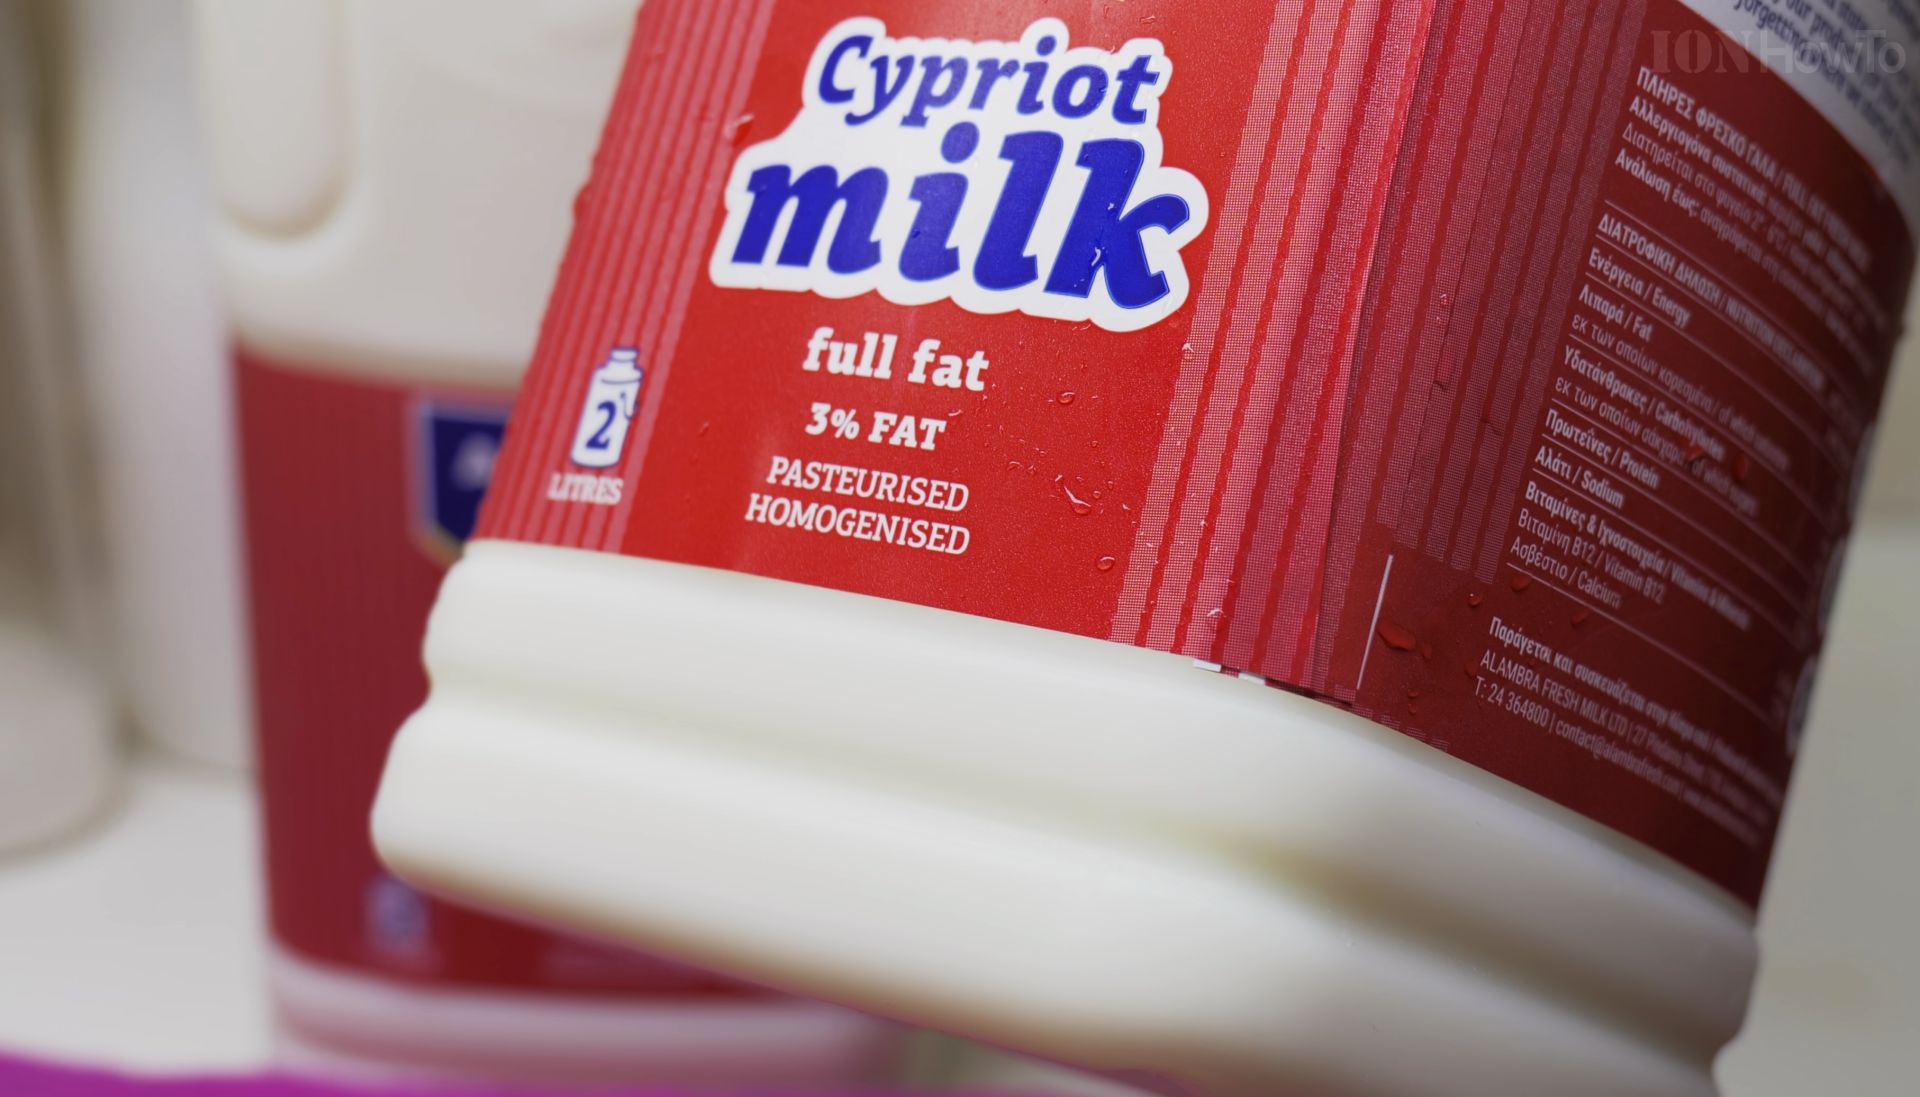
2. Add your store-bought kefir to the milk
Add your store-bought kefir to the milk. Think of it as your starter culture.
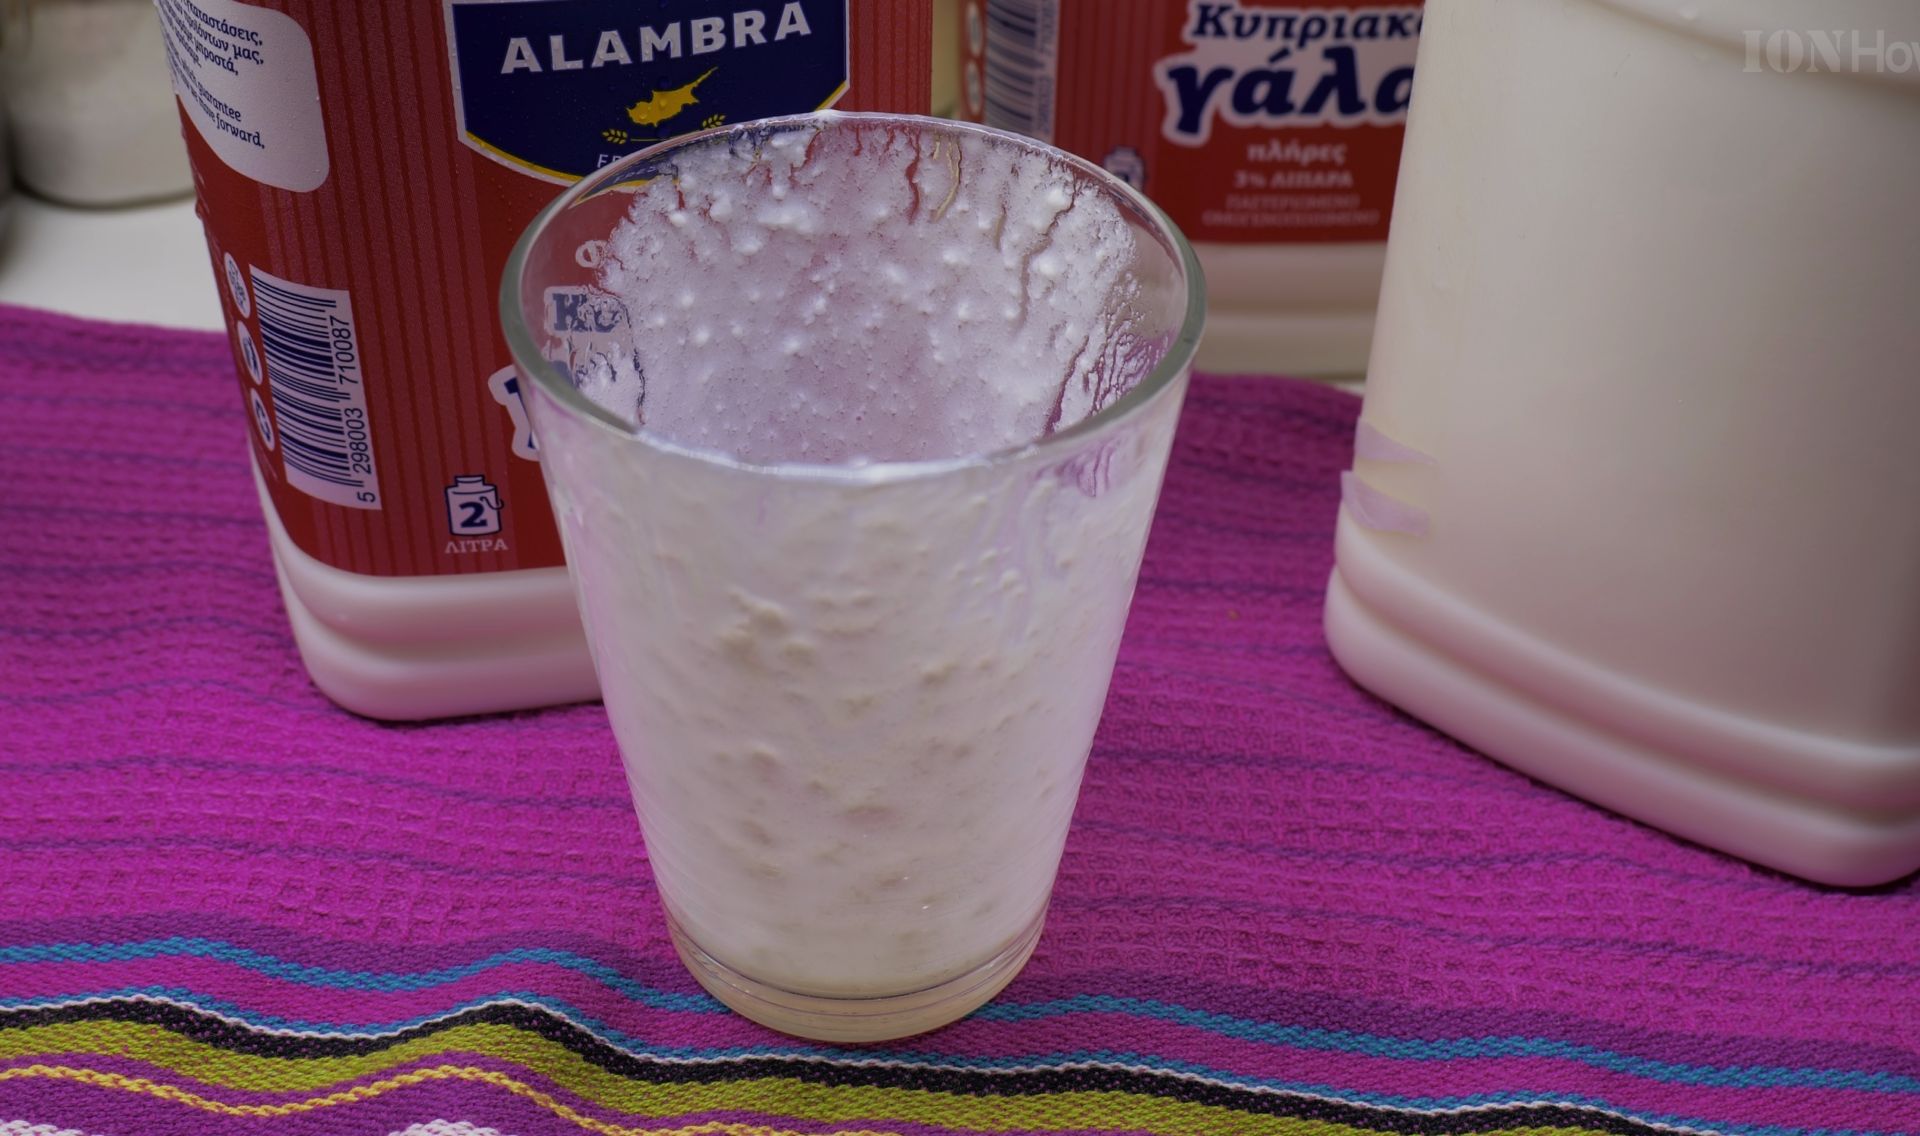
3. Stir gently with a wooden or plastic
Stir gently with a wooden or plastic spoon to combine.
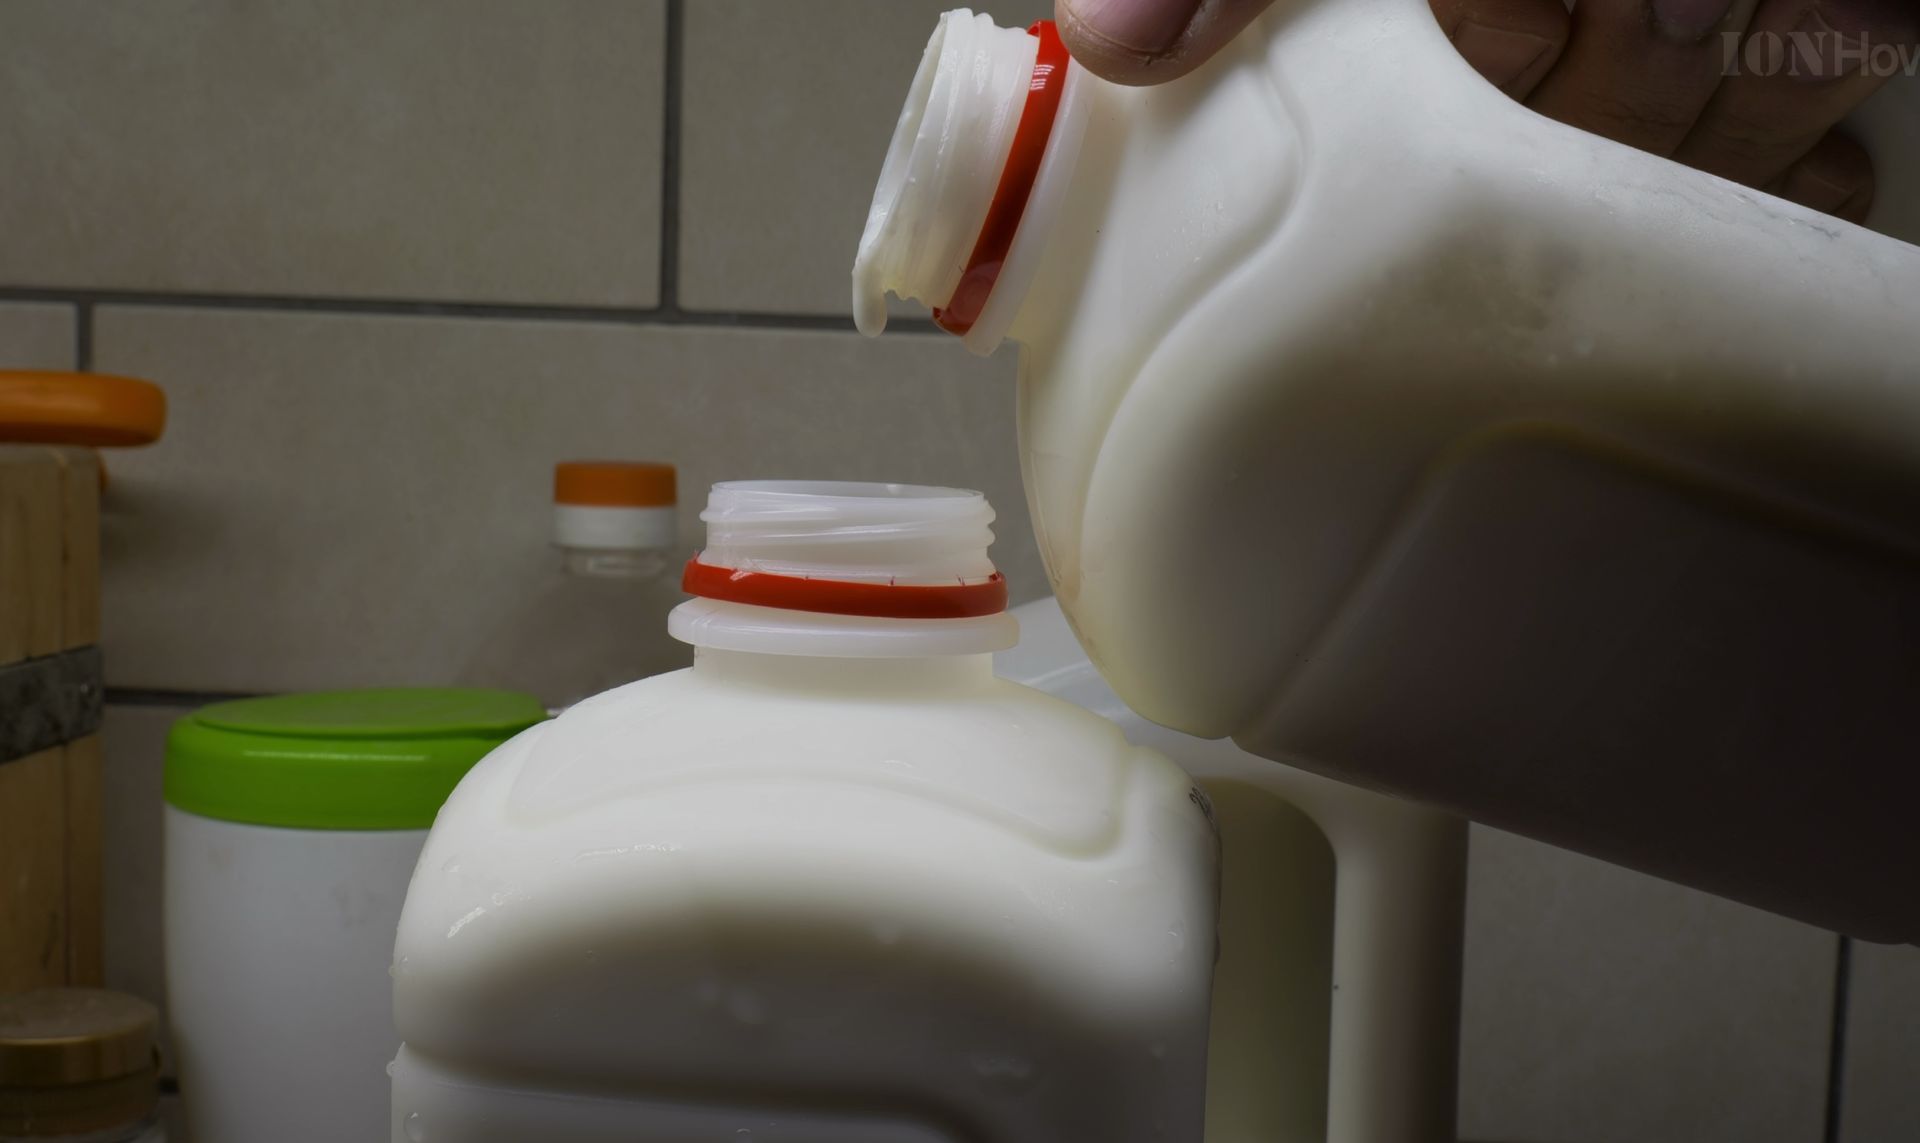
4. Cover the jar with your coffee filter
Cover the jar with your coffee filter or cloth and secure it with a rubber band. This lets your kefir breathe while keeping dust and insects out.
5. Let it sit at room temperature
Let it sit at room temperature for 24 to 48 hours. Place it somewhere away from direct sunlight.
6. After 24 hours
After 24 hours, check your kefir. It should be thicker and smell slightly tangy. If it’s not thick enough, let it sit for another 24 hours.
7. Once it reaches your wanted thickness
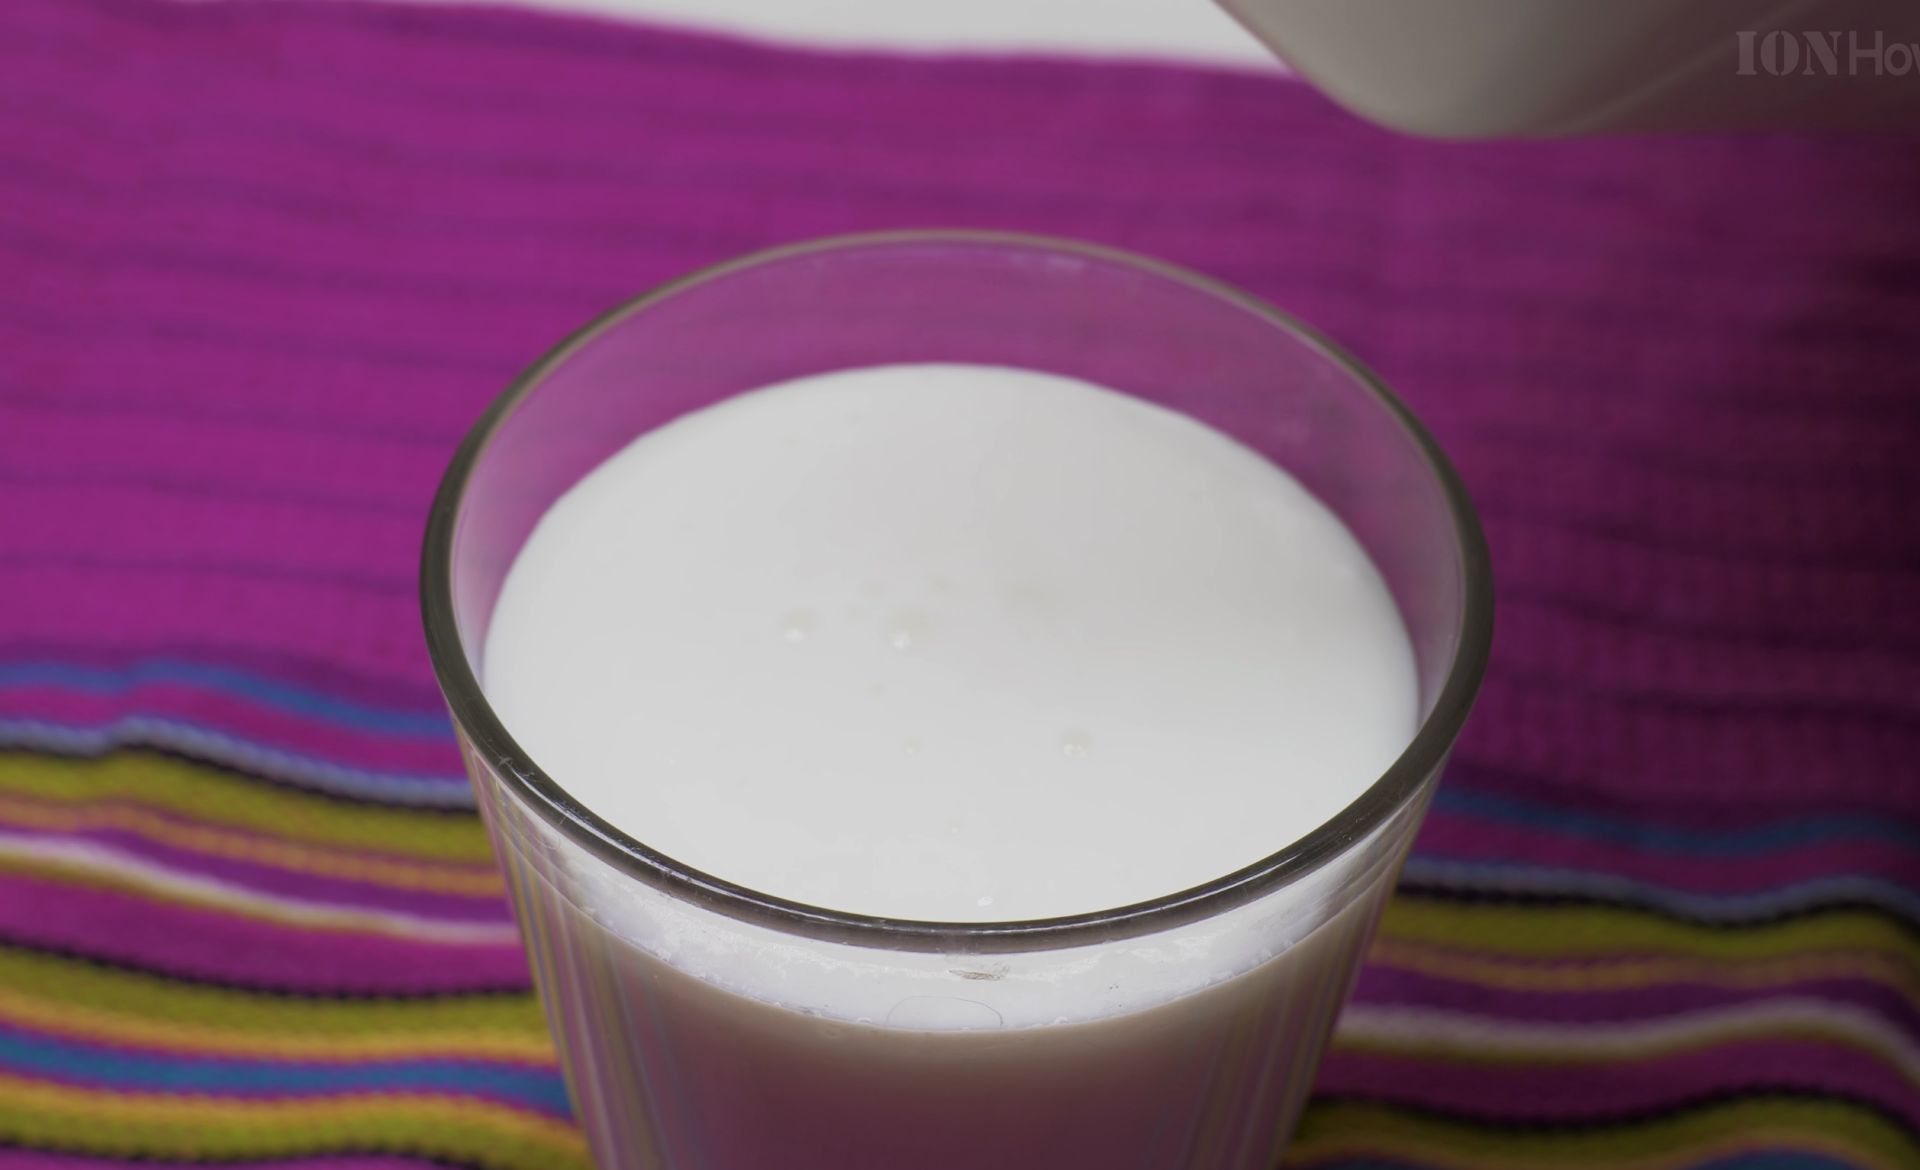
Once it reaches your wanted thickness, give it a gentle stir and refrigerate.
Get Better Results
- Start with fresh milk and fresh store-bought kefir
- Keep the jar away from other fermenting foods
- The warmer your kitchen, the faster it will ferment
- Your homemade kefir will last about a week in the fridge
Making Your Next Batch
Here’s the cool part – you can use your homemade kefir to start your next batch! Just save a cup from it and repeat the process. You can usually do this 3-4 times before you need to start fresh with store-bought kefir again.
Common Problems
Too Thin?
- Let it ferment longer
- Make sure your room isn’t too cold
- Try using whole milk instead of low-fat
Too Sour?
- Reduce fermentation time
- Make sure your room isn’t too warm
- Use less starter kefir
Not Working At All?
- Check if your store-bought kefir is still fresh and active
- Make sure your milk wasn’t ultra-pasteurized
- Verify your room temperature isn’t too cold
Conclusion
This method might not give you quite as many probiotics as traditional kefir made with grains, but it’s still a healthy, delicious alternative that’s super easy to make. Once you get the hang of it, you’ll have fresh, homemade kefir whenever you want it!
Try blending the finished product with fresh fruit or honey. Remember to keep some plain kefir for your next batch.
Helpful Tips
Check all labels, connections, and power ratings before starting so everything fits safely and securely. If any detail looks slightly different on your model, pause the embedded video above for a clear closeup view.
Related Guides
- Make Kefir Without Grains – How to Make Kefir at Home Without Grains.
- iPhone How to Show App Labels Customize Home Screen – If the names beneath your iPhone app icons disappeared after updating, your icons were switched to the large view.
- iPad How to Show or Hide App Labels on Home Screen – If the text names beneath your iPad icons vanished or you want a cleaner look without titles, you can switch them easily.


Leave a Reply