
Installing a tempered glass screen protector freehand often results in crooked edges and trapped dust bubbles. Spigen EZ Fit solves this with a custom auto-alignment tray that snaps directly over the Google Pixel 11 Pro XL, ensuring exact factory alignment every time.
Why Choose Spigen EZ Fit Tempered Glass?
Installing a tempered glass screen protector freehand often results in crooked edges and trapped dust bubbles. Spigen EZ Fit solves this with a custom auto-alignment tray that snaps directly over the Google Pixel 11 Pro XL, ensuring exact factory alignment every time.
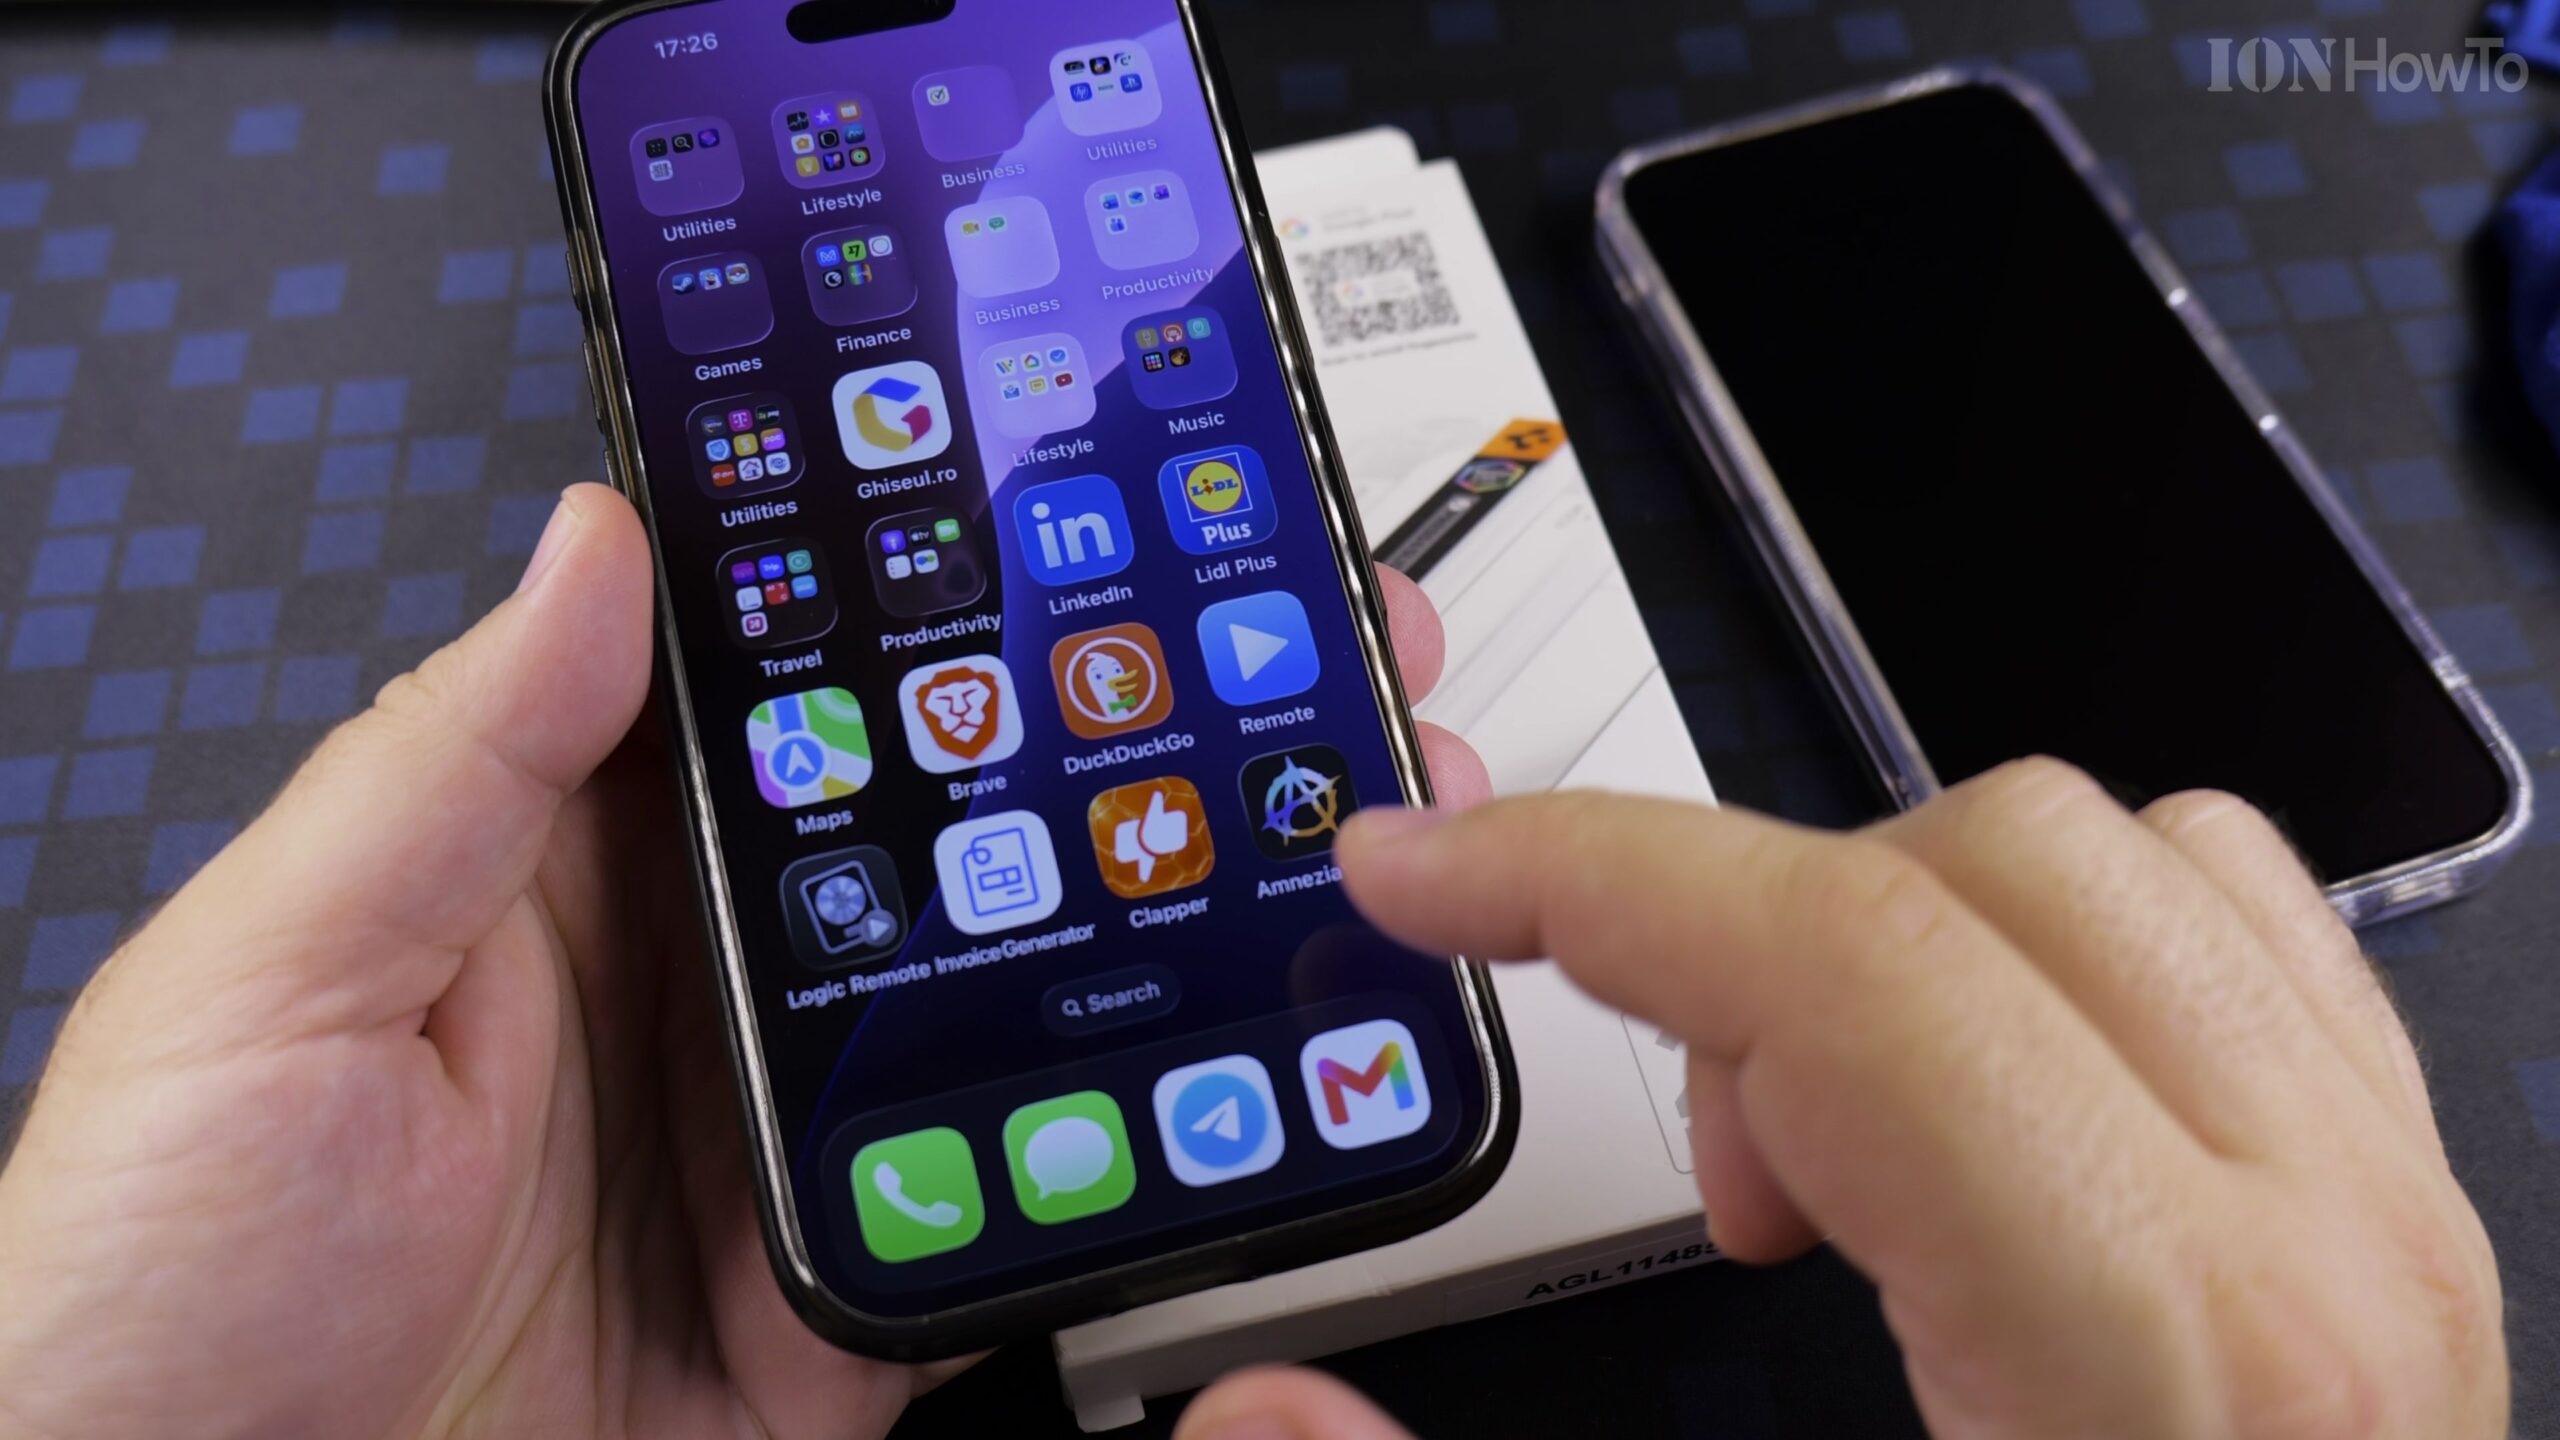
Step 1: Prepare a Clean, Dust-Free Workspace
Work in a well-lit room with minimal airflow (a steamy bathroom after a warm shower works wonders for eliminating airborne dust particles). Turn off your phone display completely.
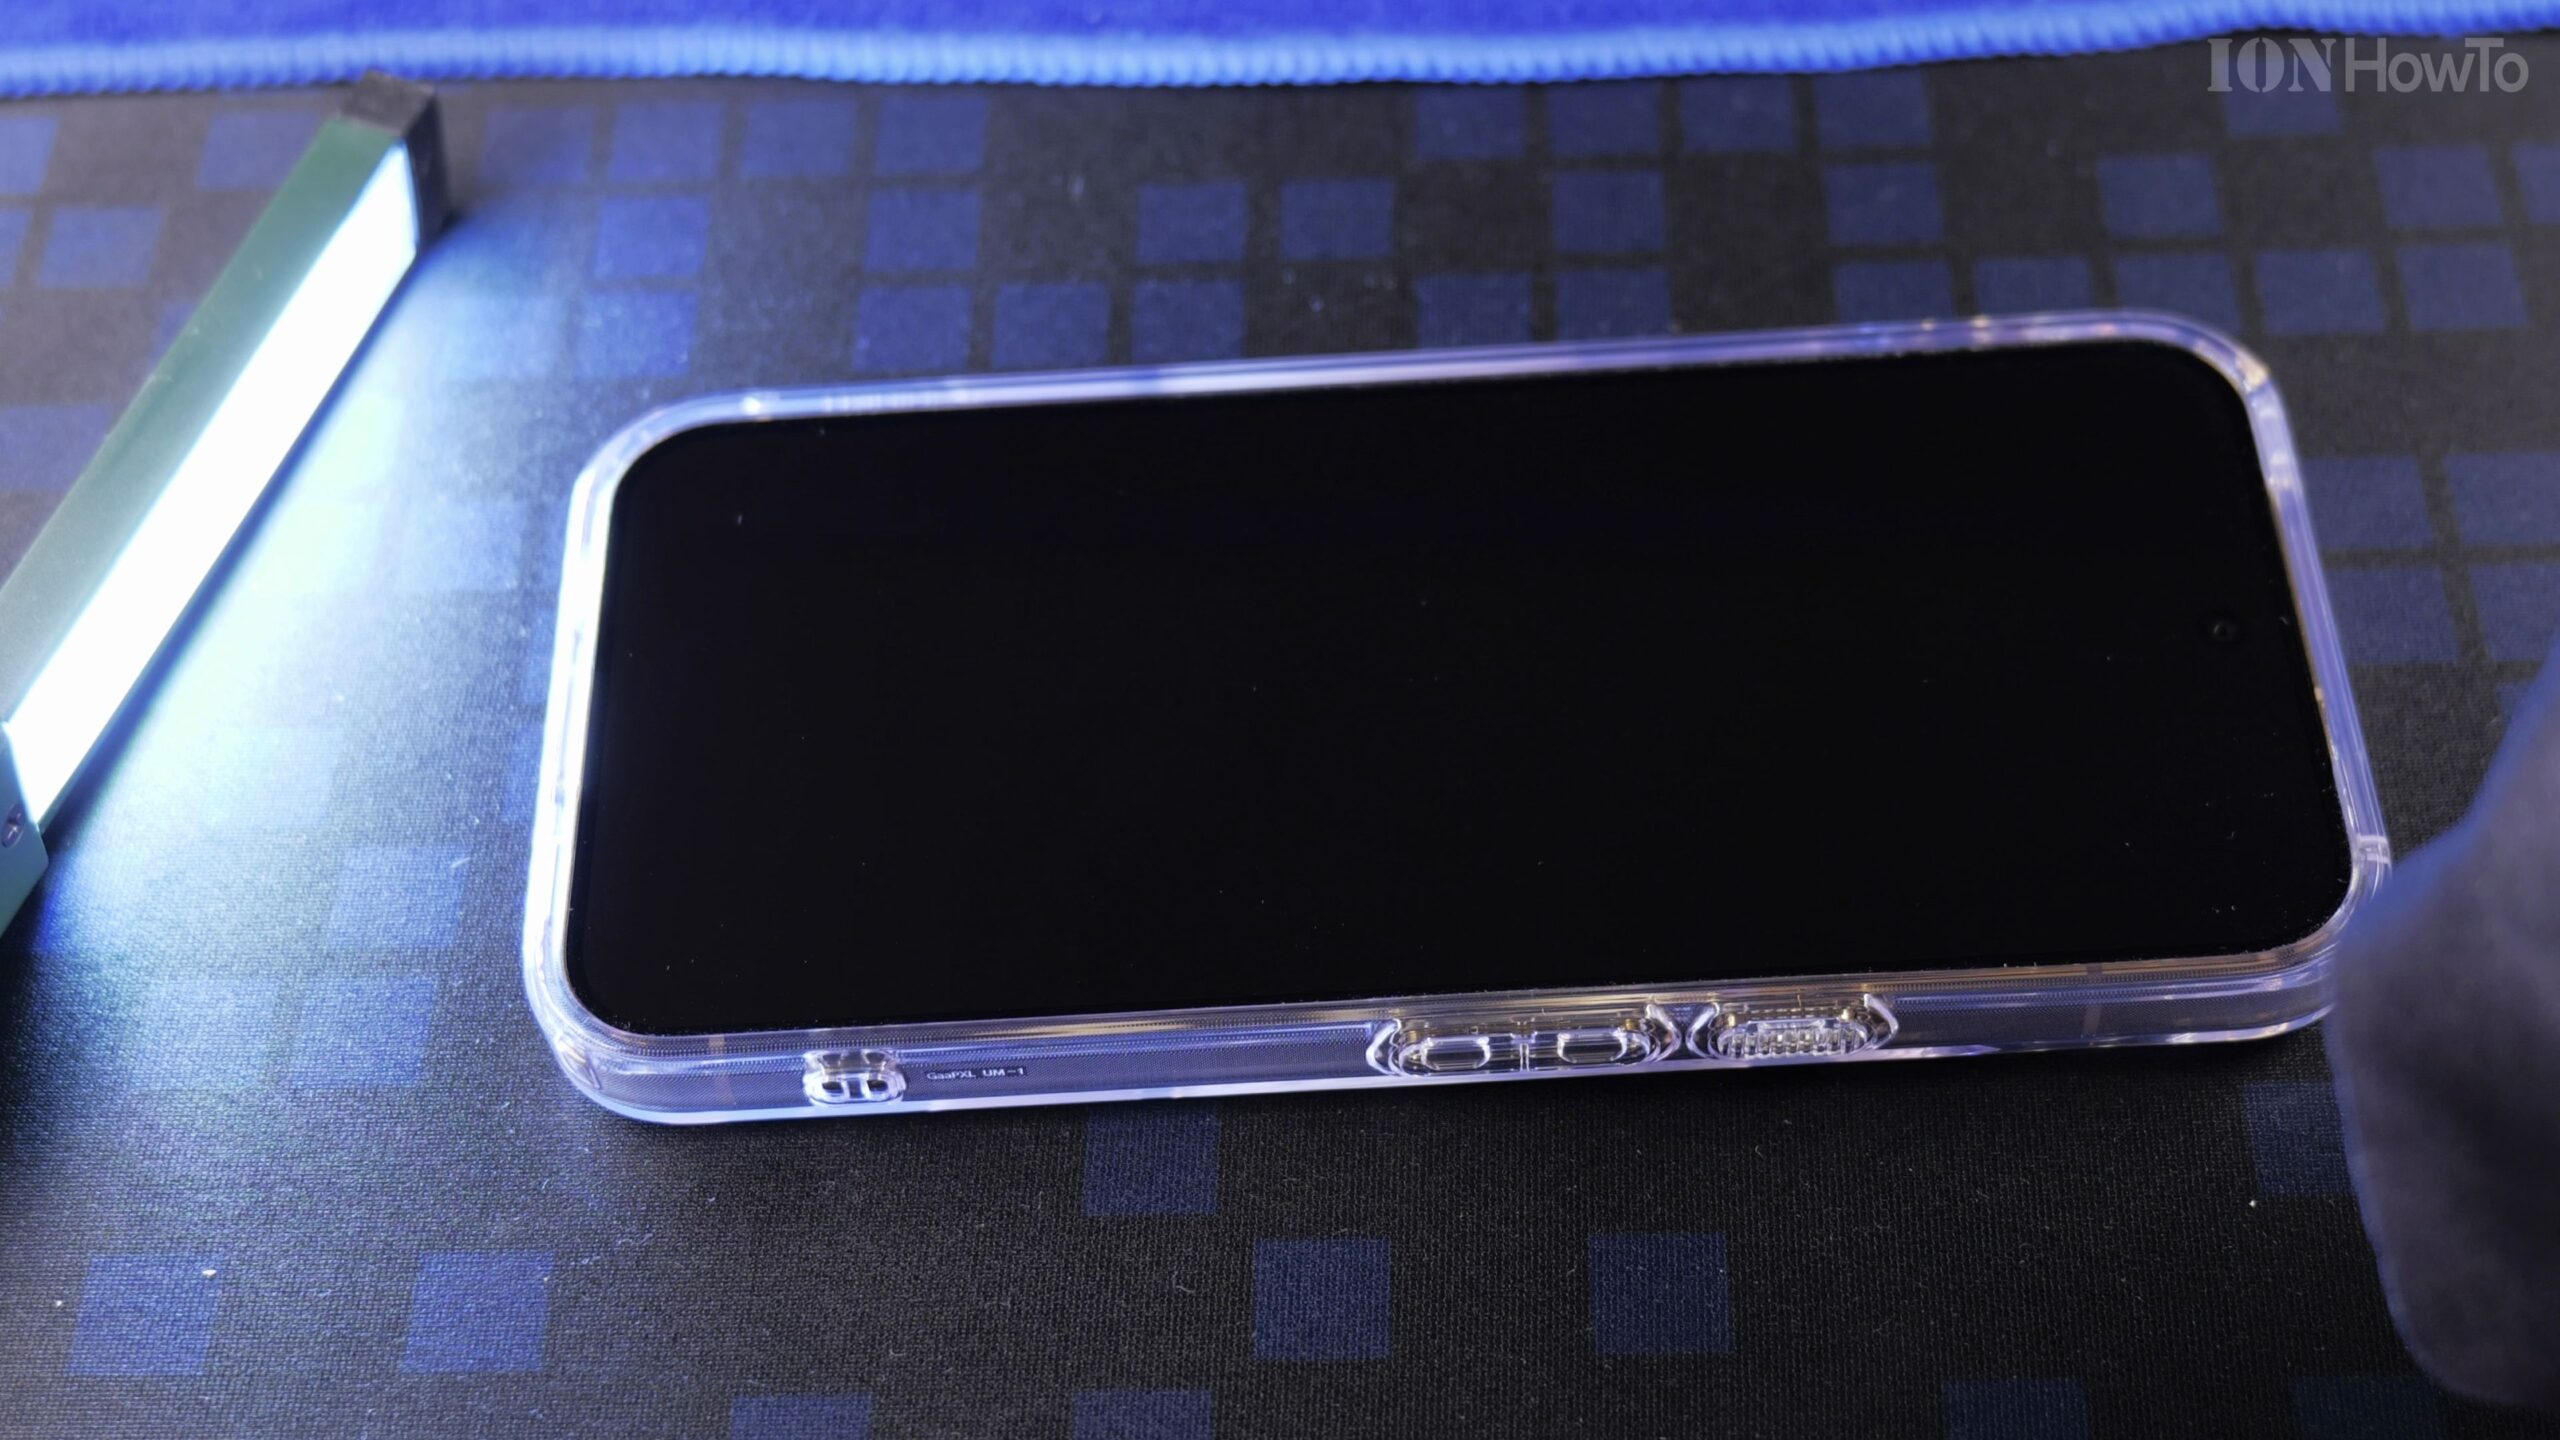
Step 2: Clean the Screen with the Included Kit
Use the wet alcohol cleaning wipe to eliminate surface oils and fingerprints. Dry the glass with the microfiber cloth, then tap the adhesive dust-removal sticker across every inch of the display.
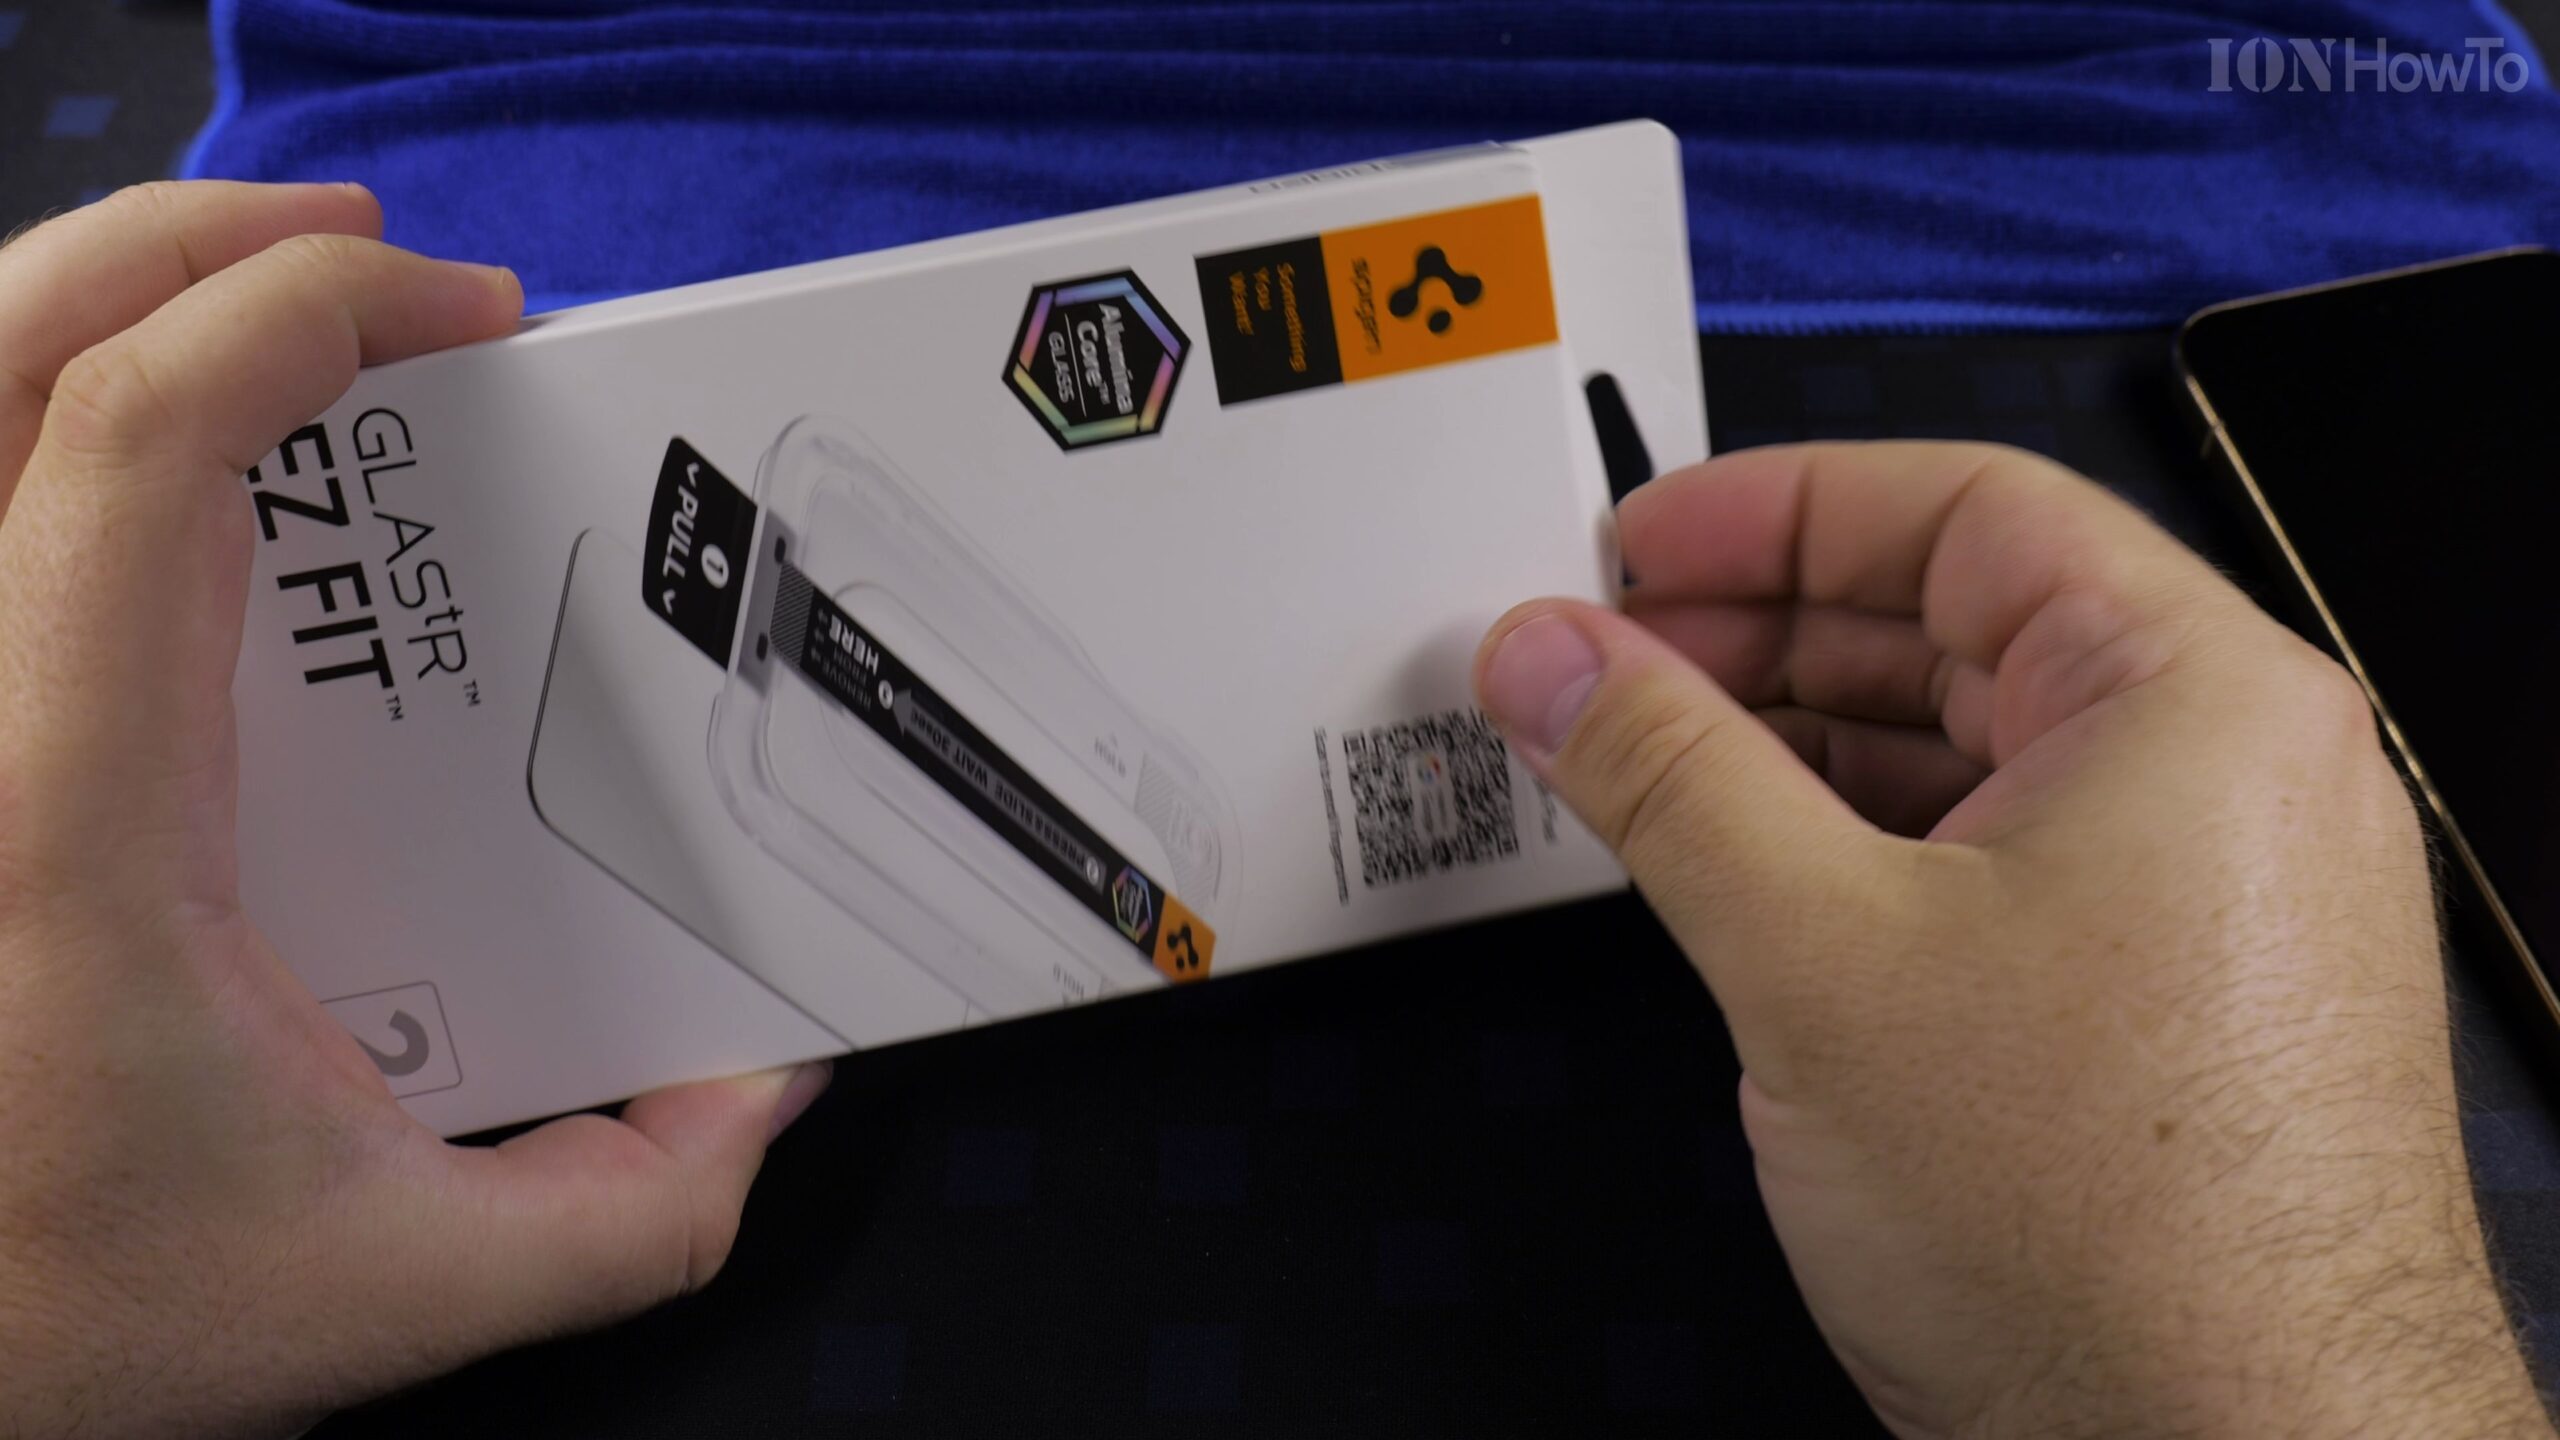
Step 3: Snap the Alignment Frame into Place
Peel the protective backing off the Spigen tray. Lower the frame directly over your phone until it clicks snugly around the outer edges.
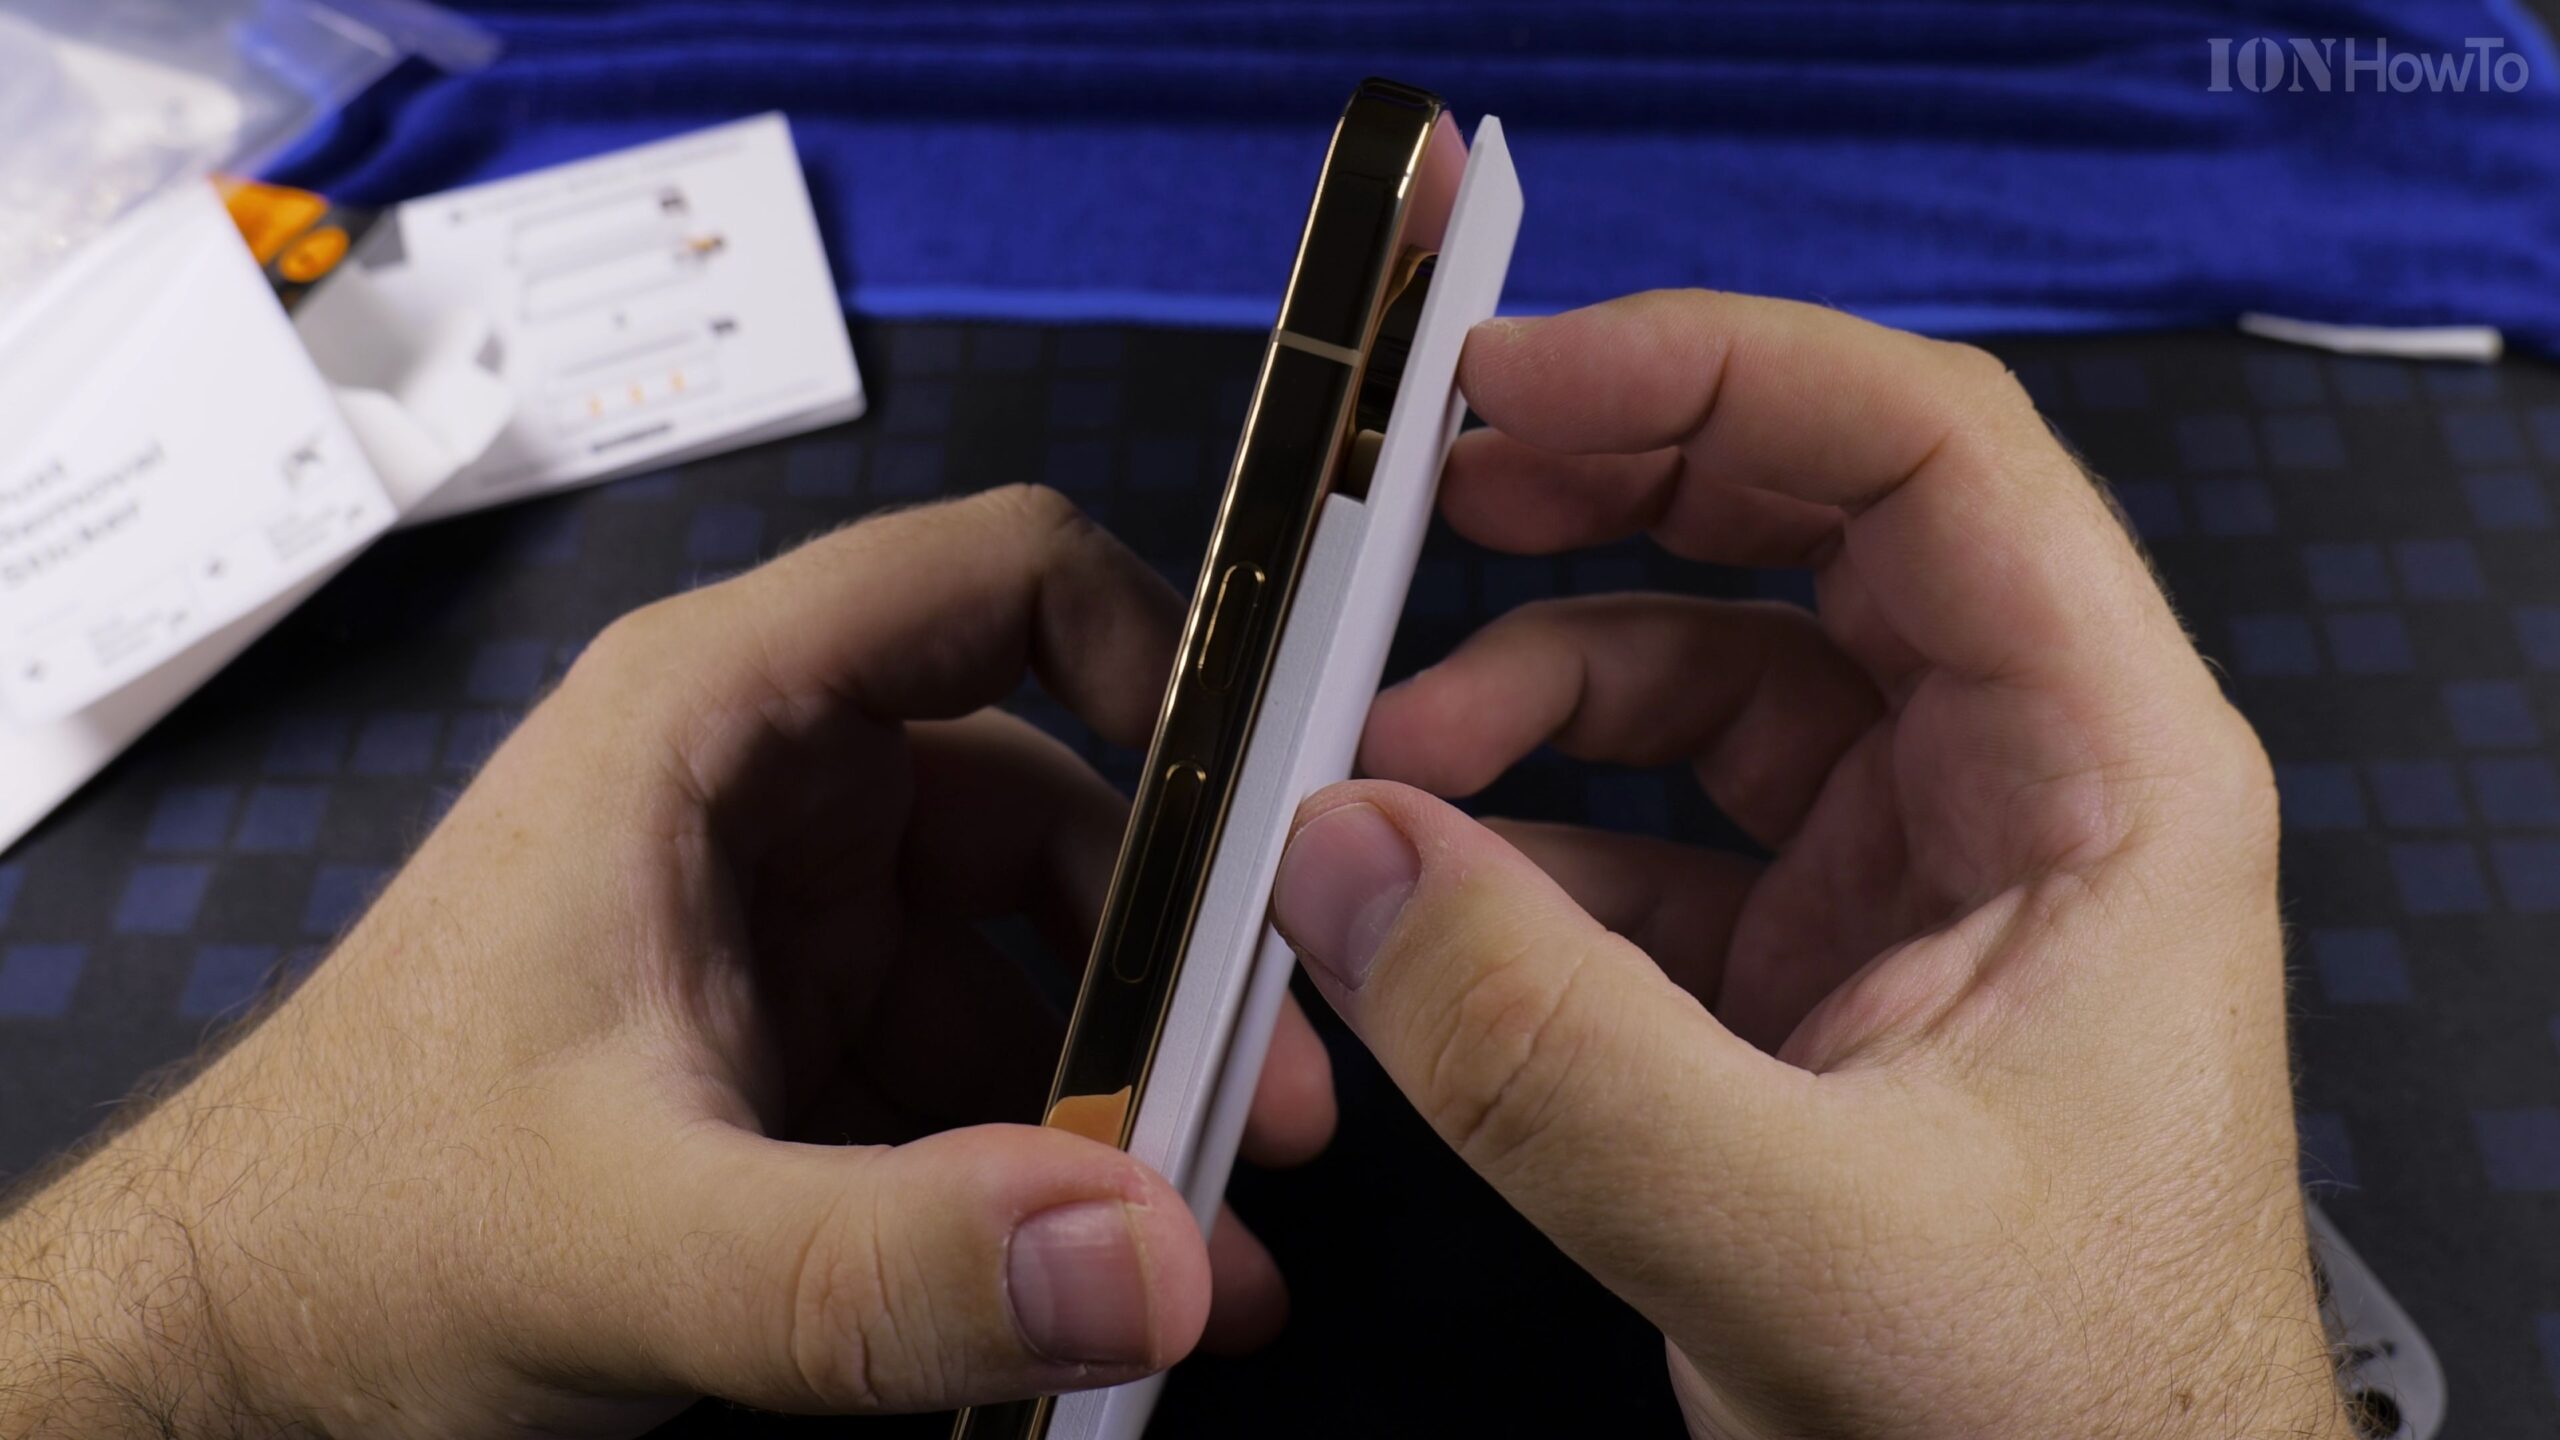
Step 4: Press and Slide to Bond the Glass
Press your finger firmly into the central cutout and slide down along the arrow for ten seconds. Wait thirty seconds while the silicone adhesive spreads across the display.
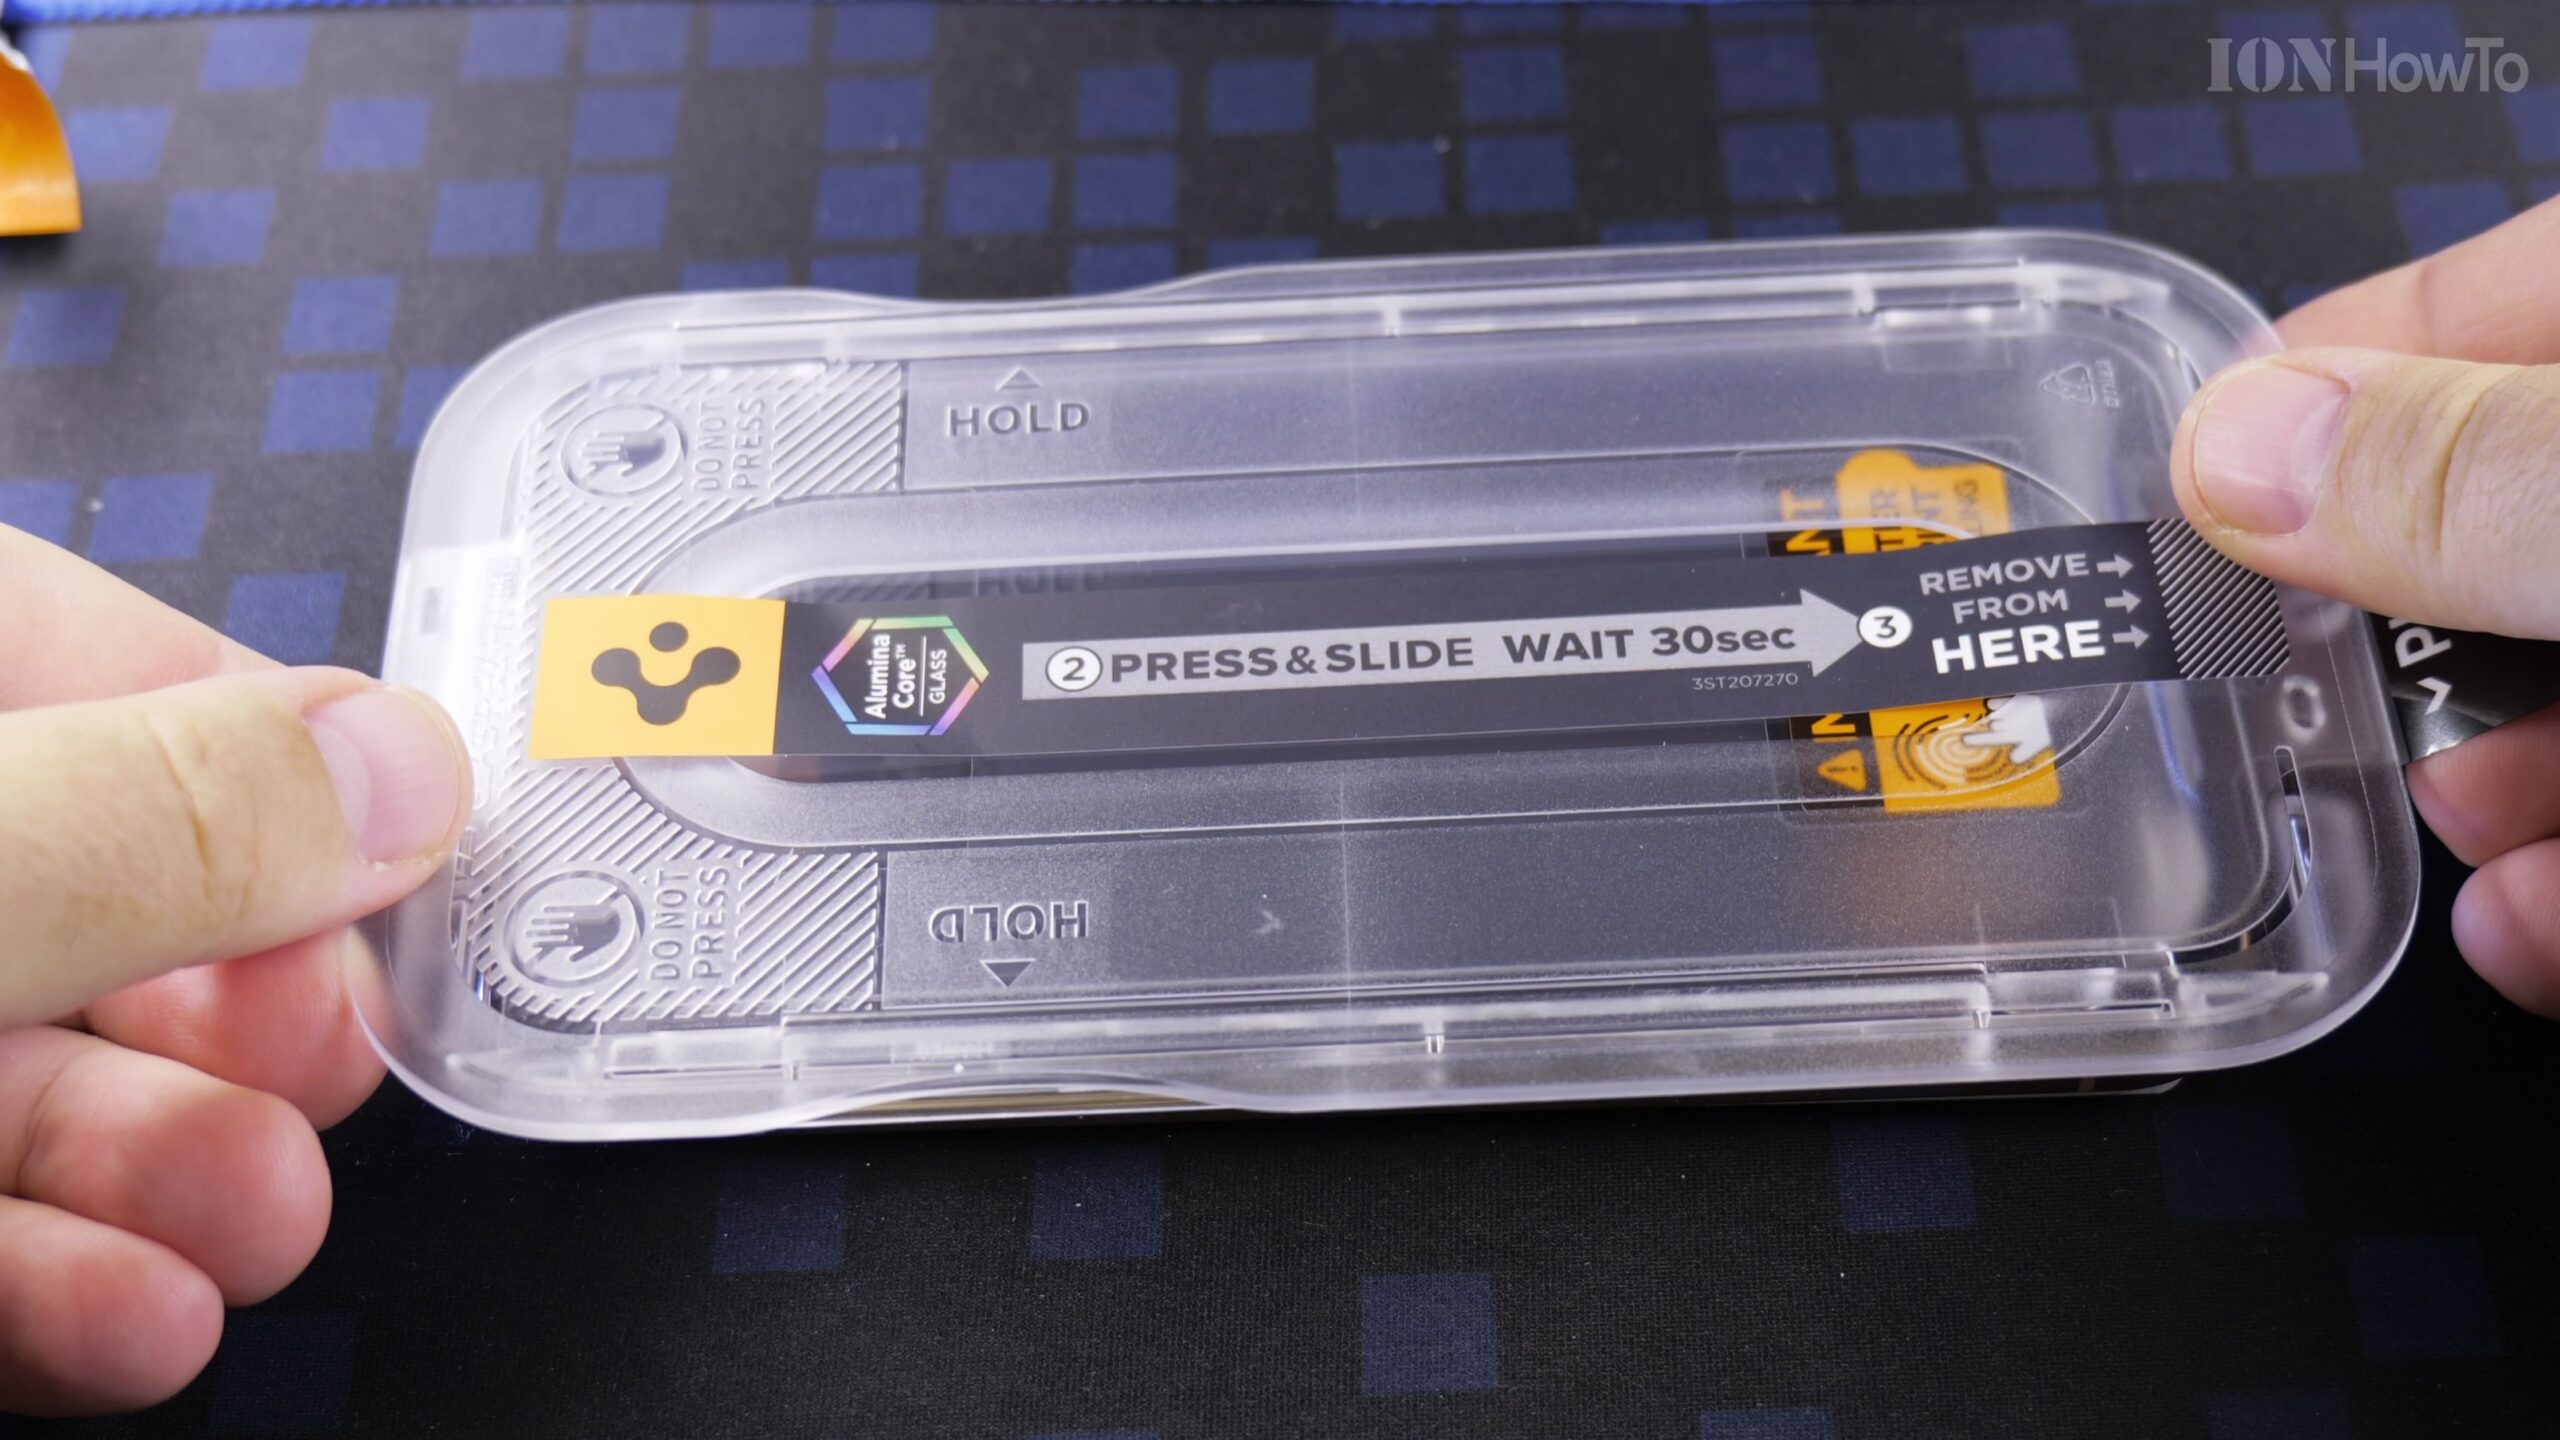
Step 5: Remove the Tray and Re-Register Fingerprints
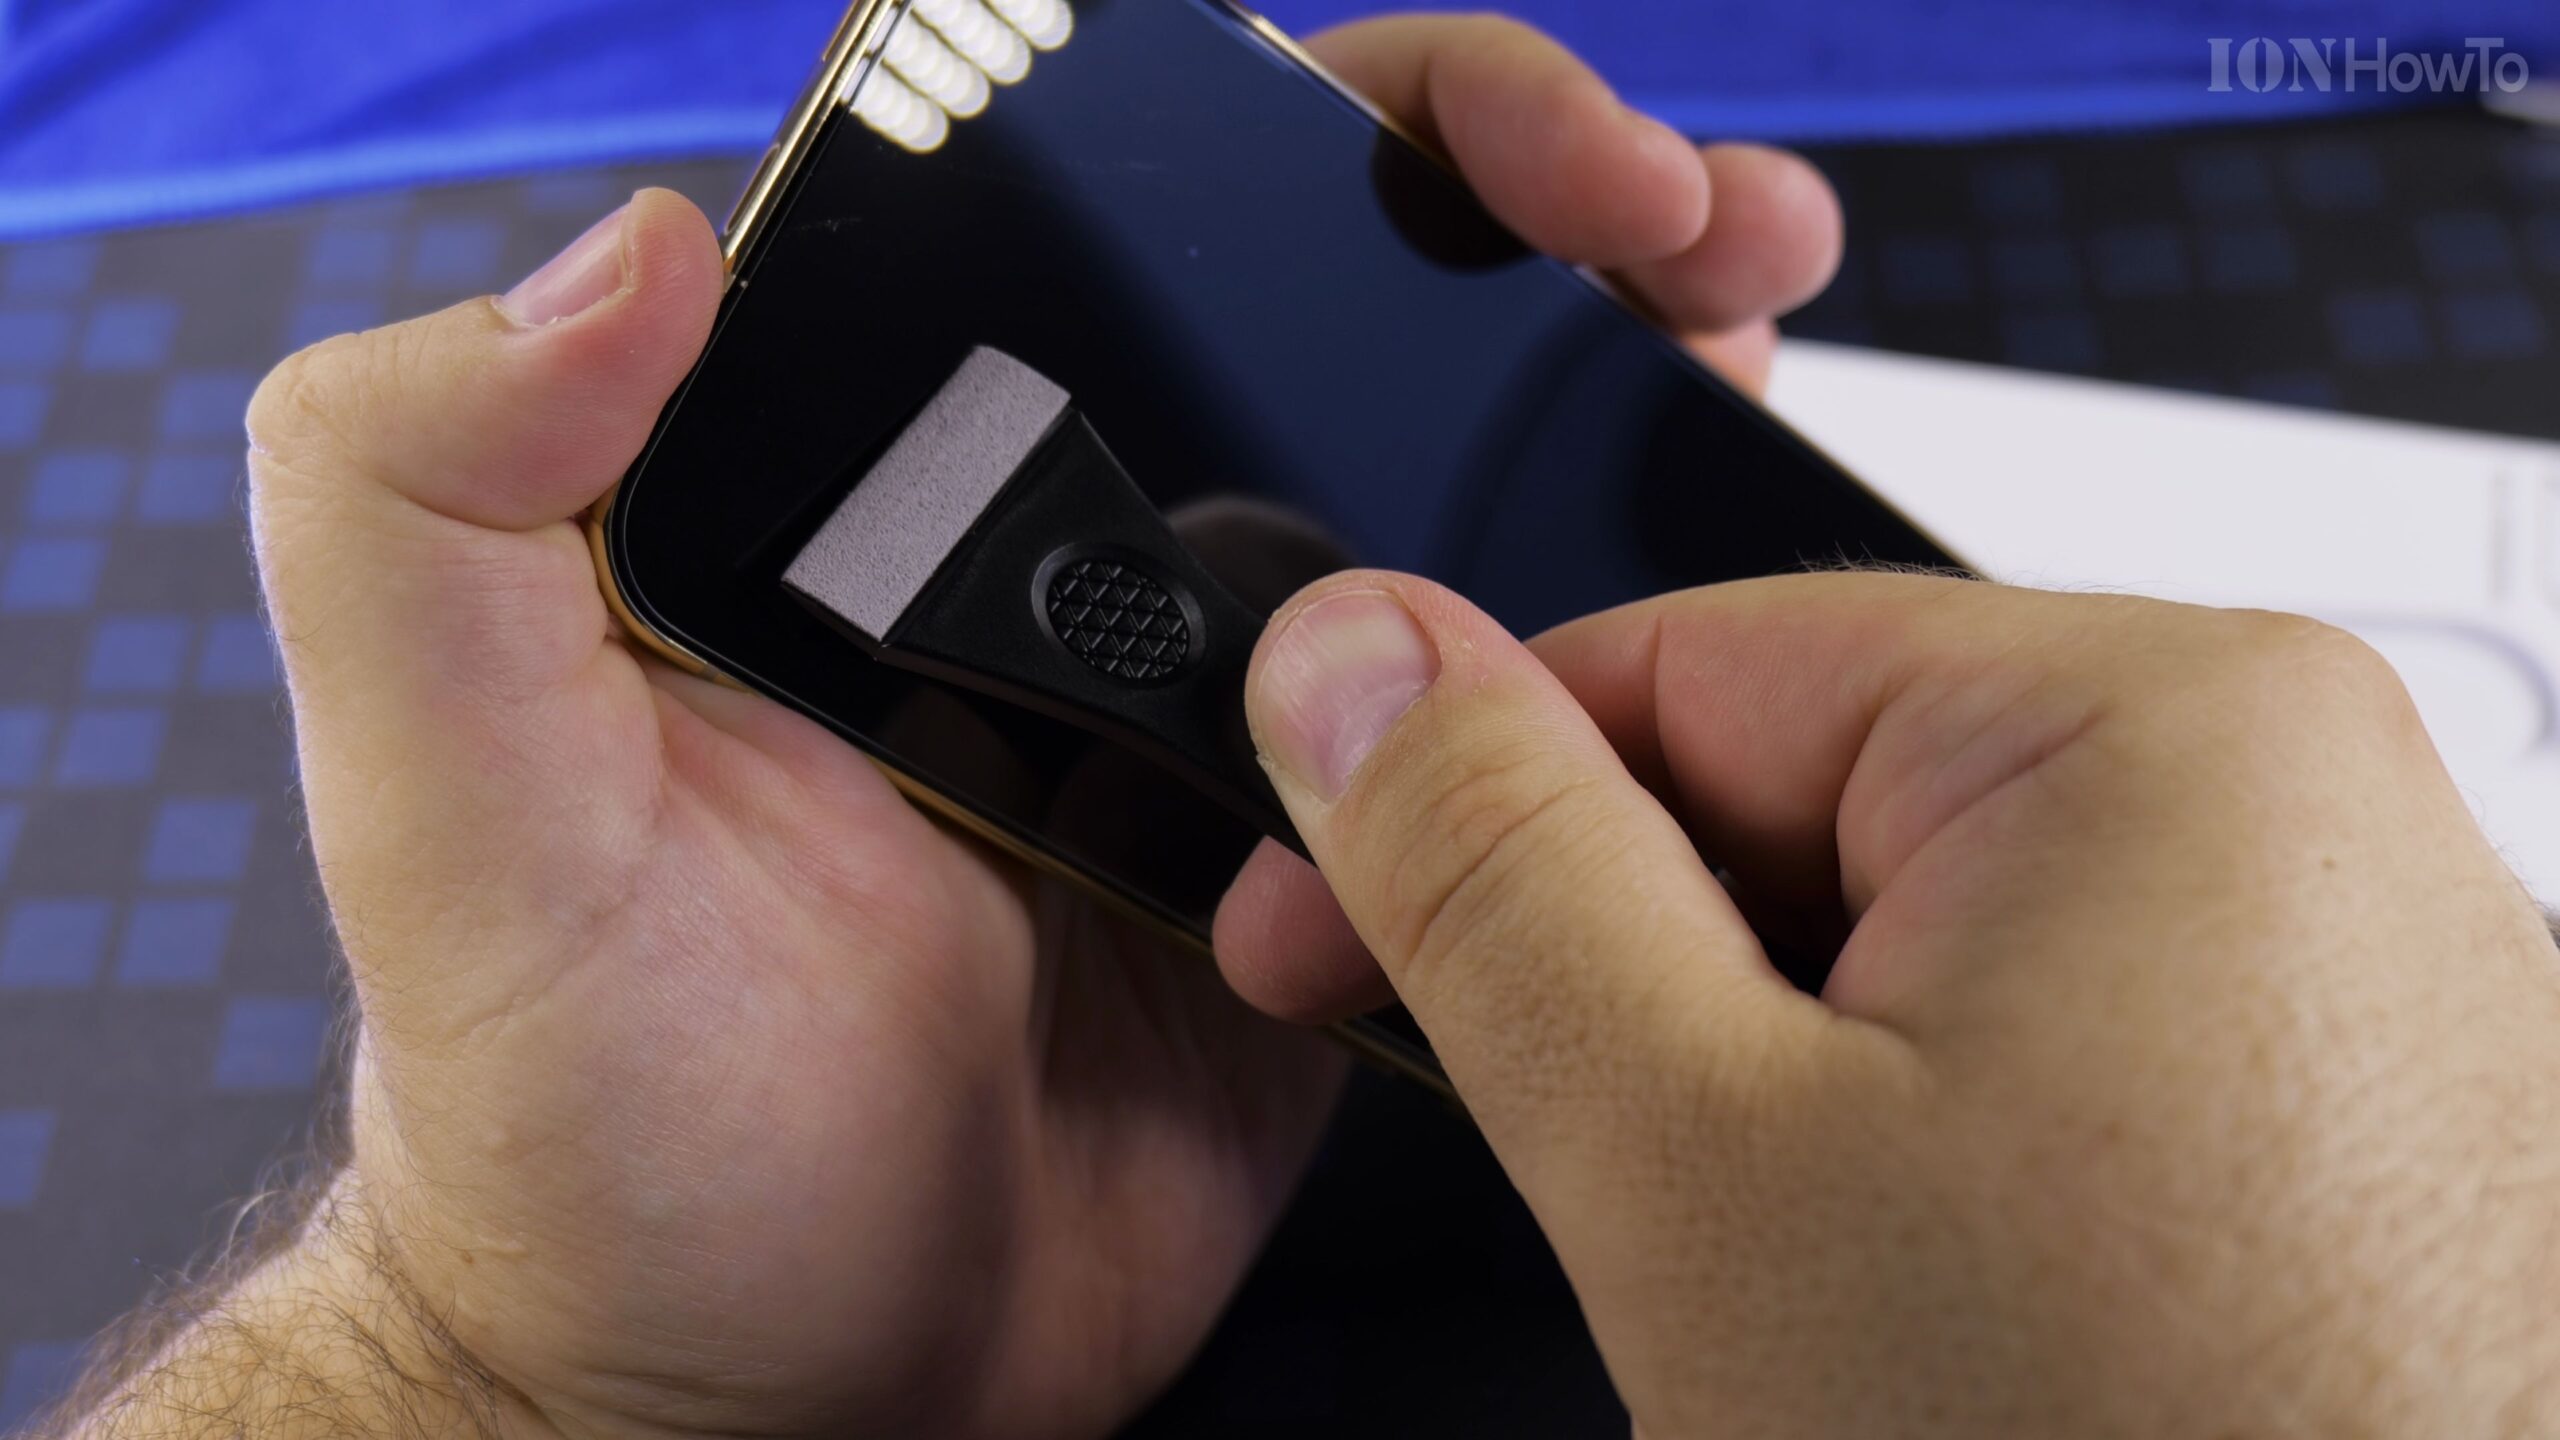
Lift the plastic frame off the phone. Use the squeegee to smooth out any small bubbles toward the perimeter. Finally, open Settings > Security & Privacy > Screen Lock and re-register your fingerprints with Screen Protector Mode turned ON.
Helpful Tips and Related Tutorials
For more practical tutorials and setup guides, discover how to IKEA USB-C fast charging cables reviewed, explore how to add a phone password or PIN on Android, or browse our complete collection of Android tips.


Leave a Reply