
Downloading albums and playlists for offline listening is convenient, but uncompressed audio files can consume tens of gigabytes of phone memory. Here is how to safely remove downloaded songs from your device without deleting them from your music library.
1. Open Apple Music and Tap the Library Tab
Launch Apple Music on your iPhone or iPad and tap the Library icon in the bottom navigation bar.

2. Tap the Downloaded Section to View Local Files
In your library list, tap ‘Downloaded’. This filter isolates only the albums, playlists, and songs currently saved directly onto your device storage.

3. Locate the Album, Playlist, or Song You Want to Remove
Navigate into the playlist or album taking up excessive space. Tap the circular three-dot menu icon in the upper-right corner.
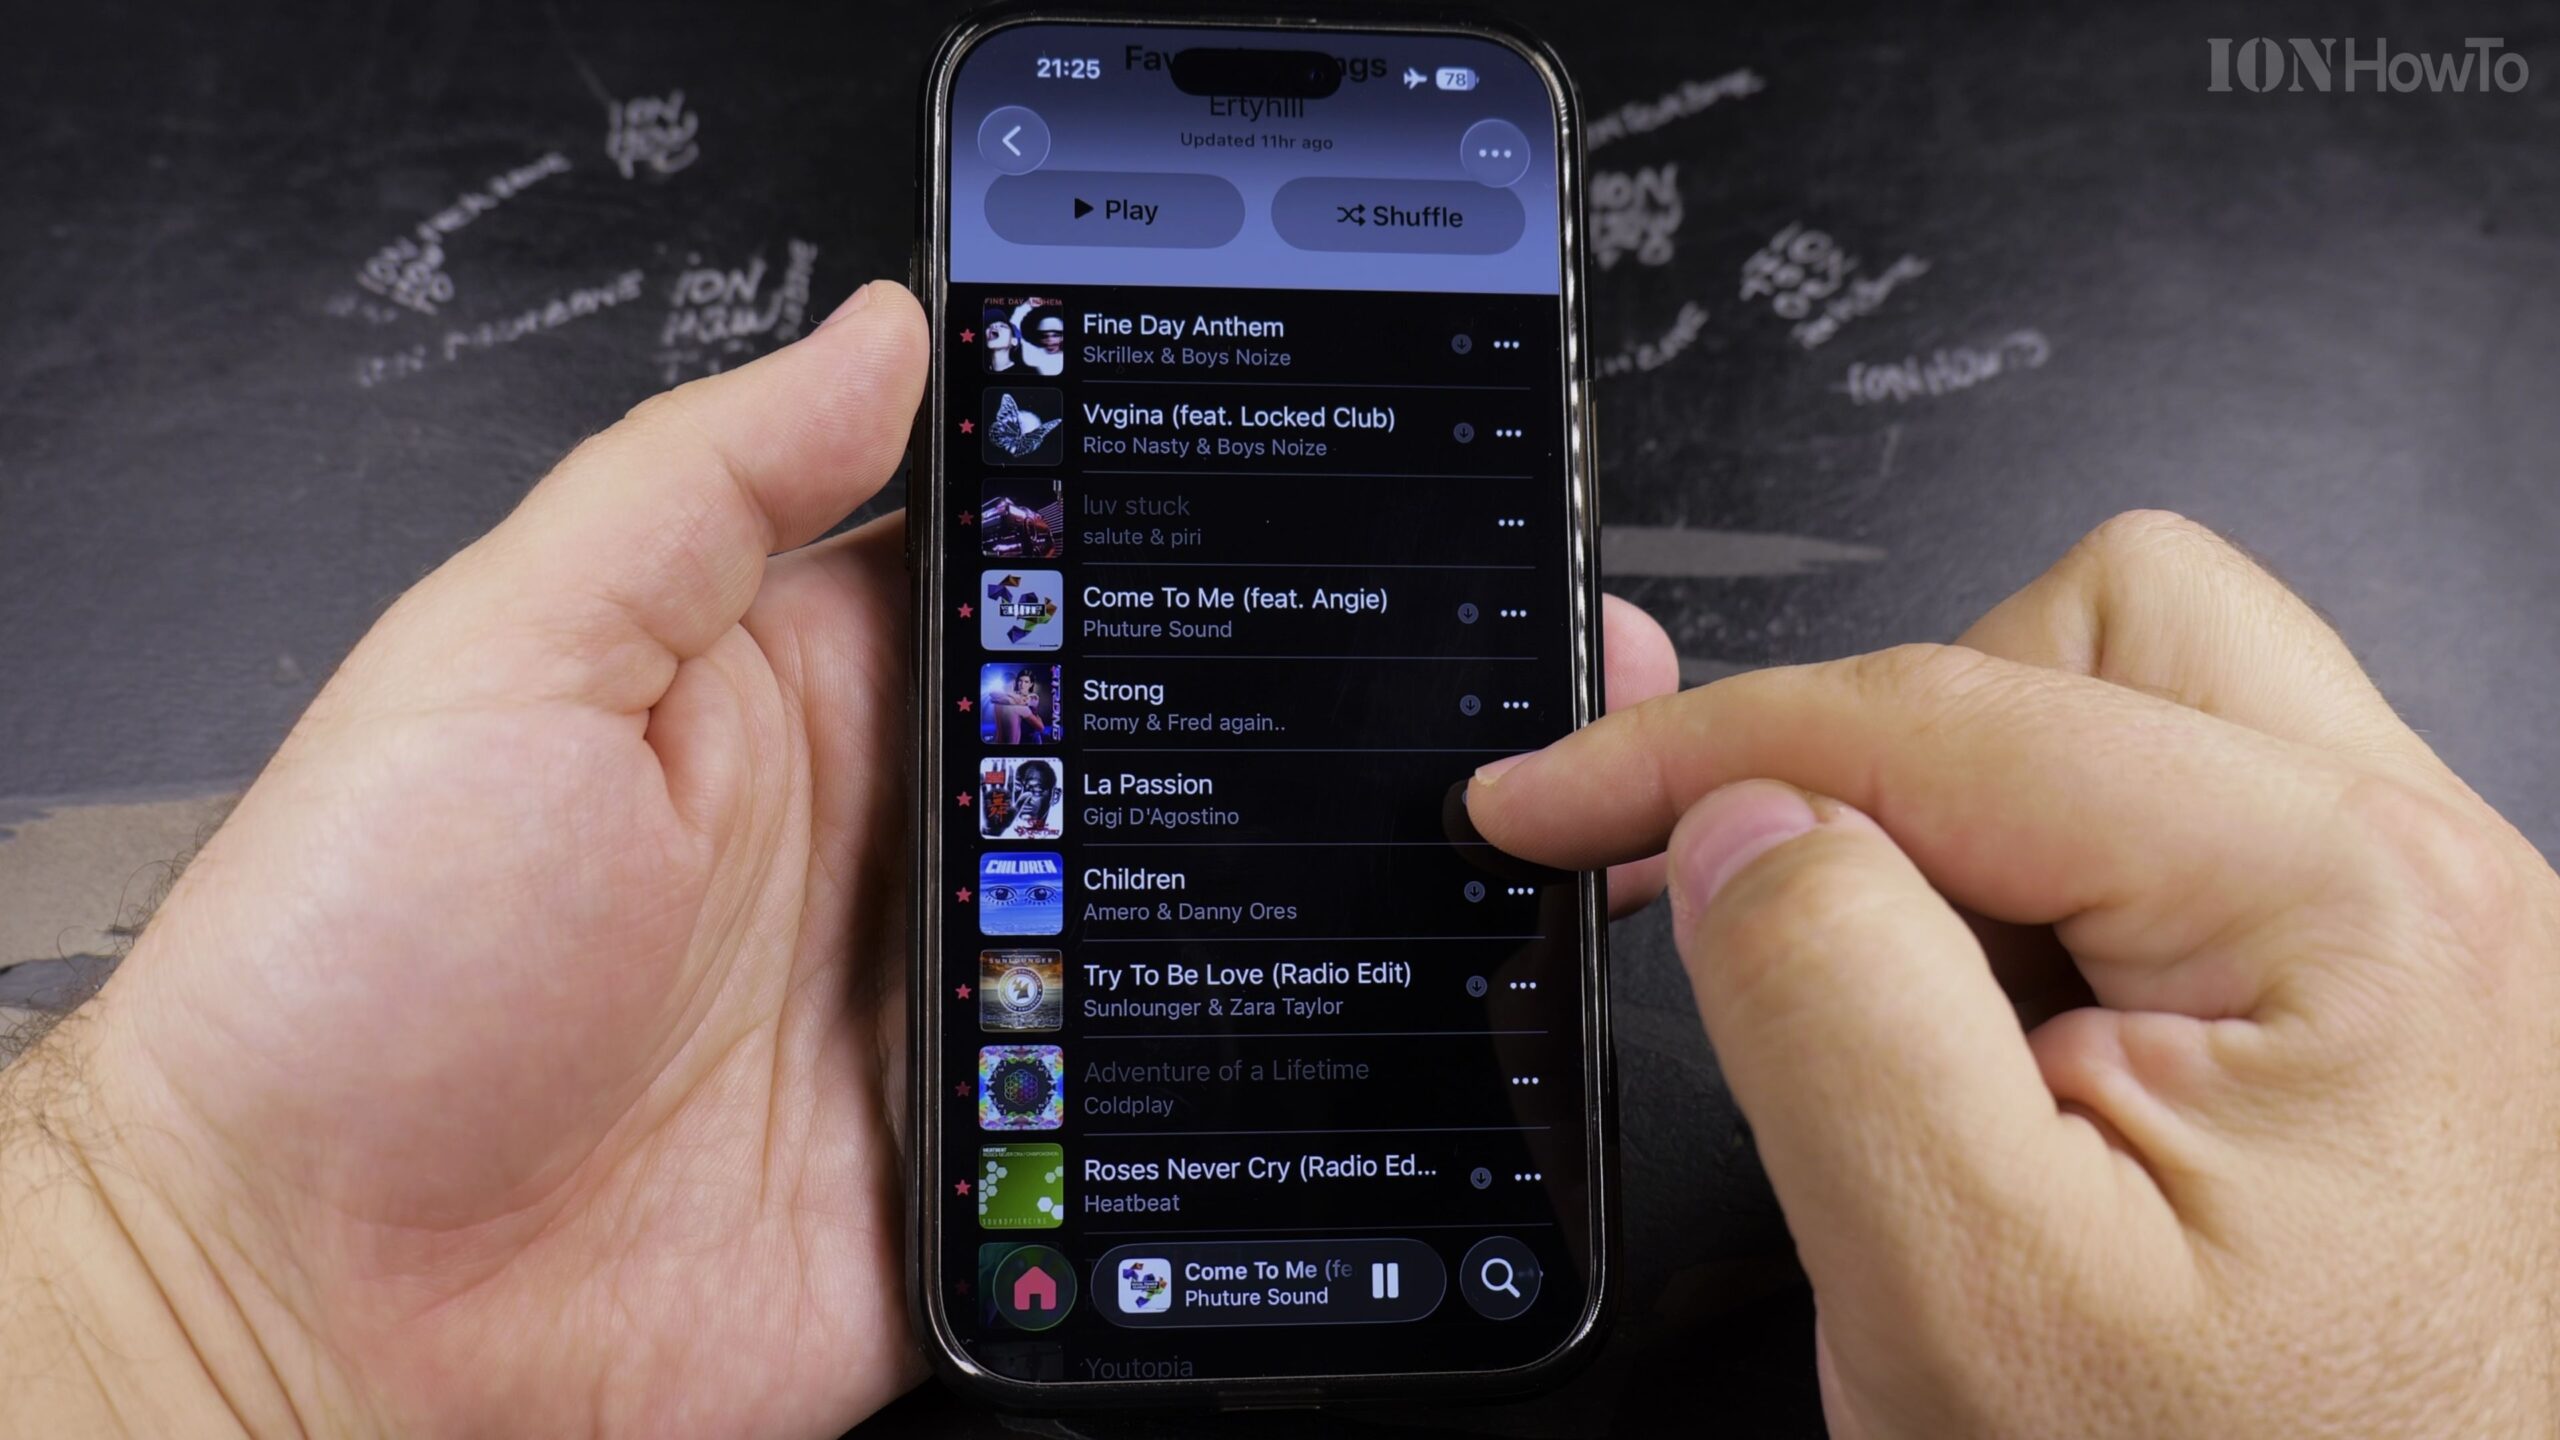
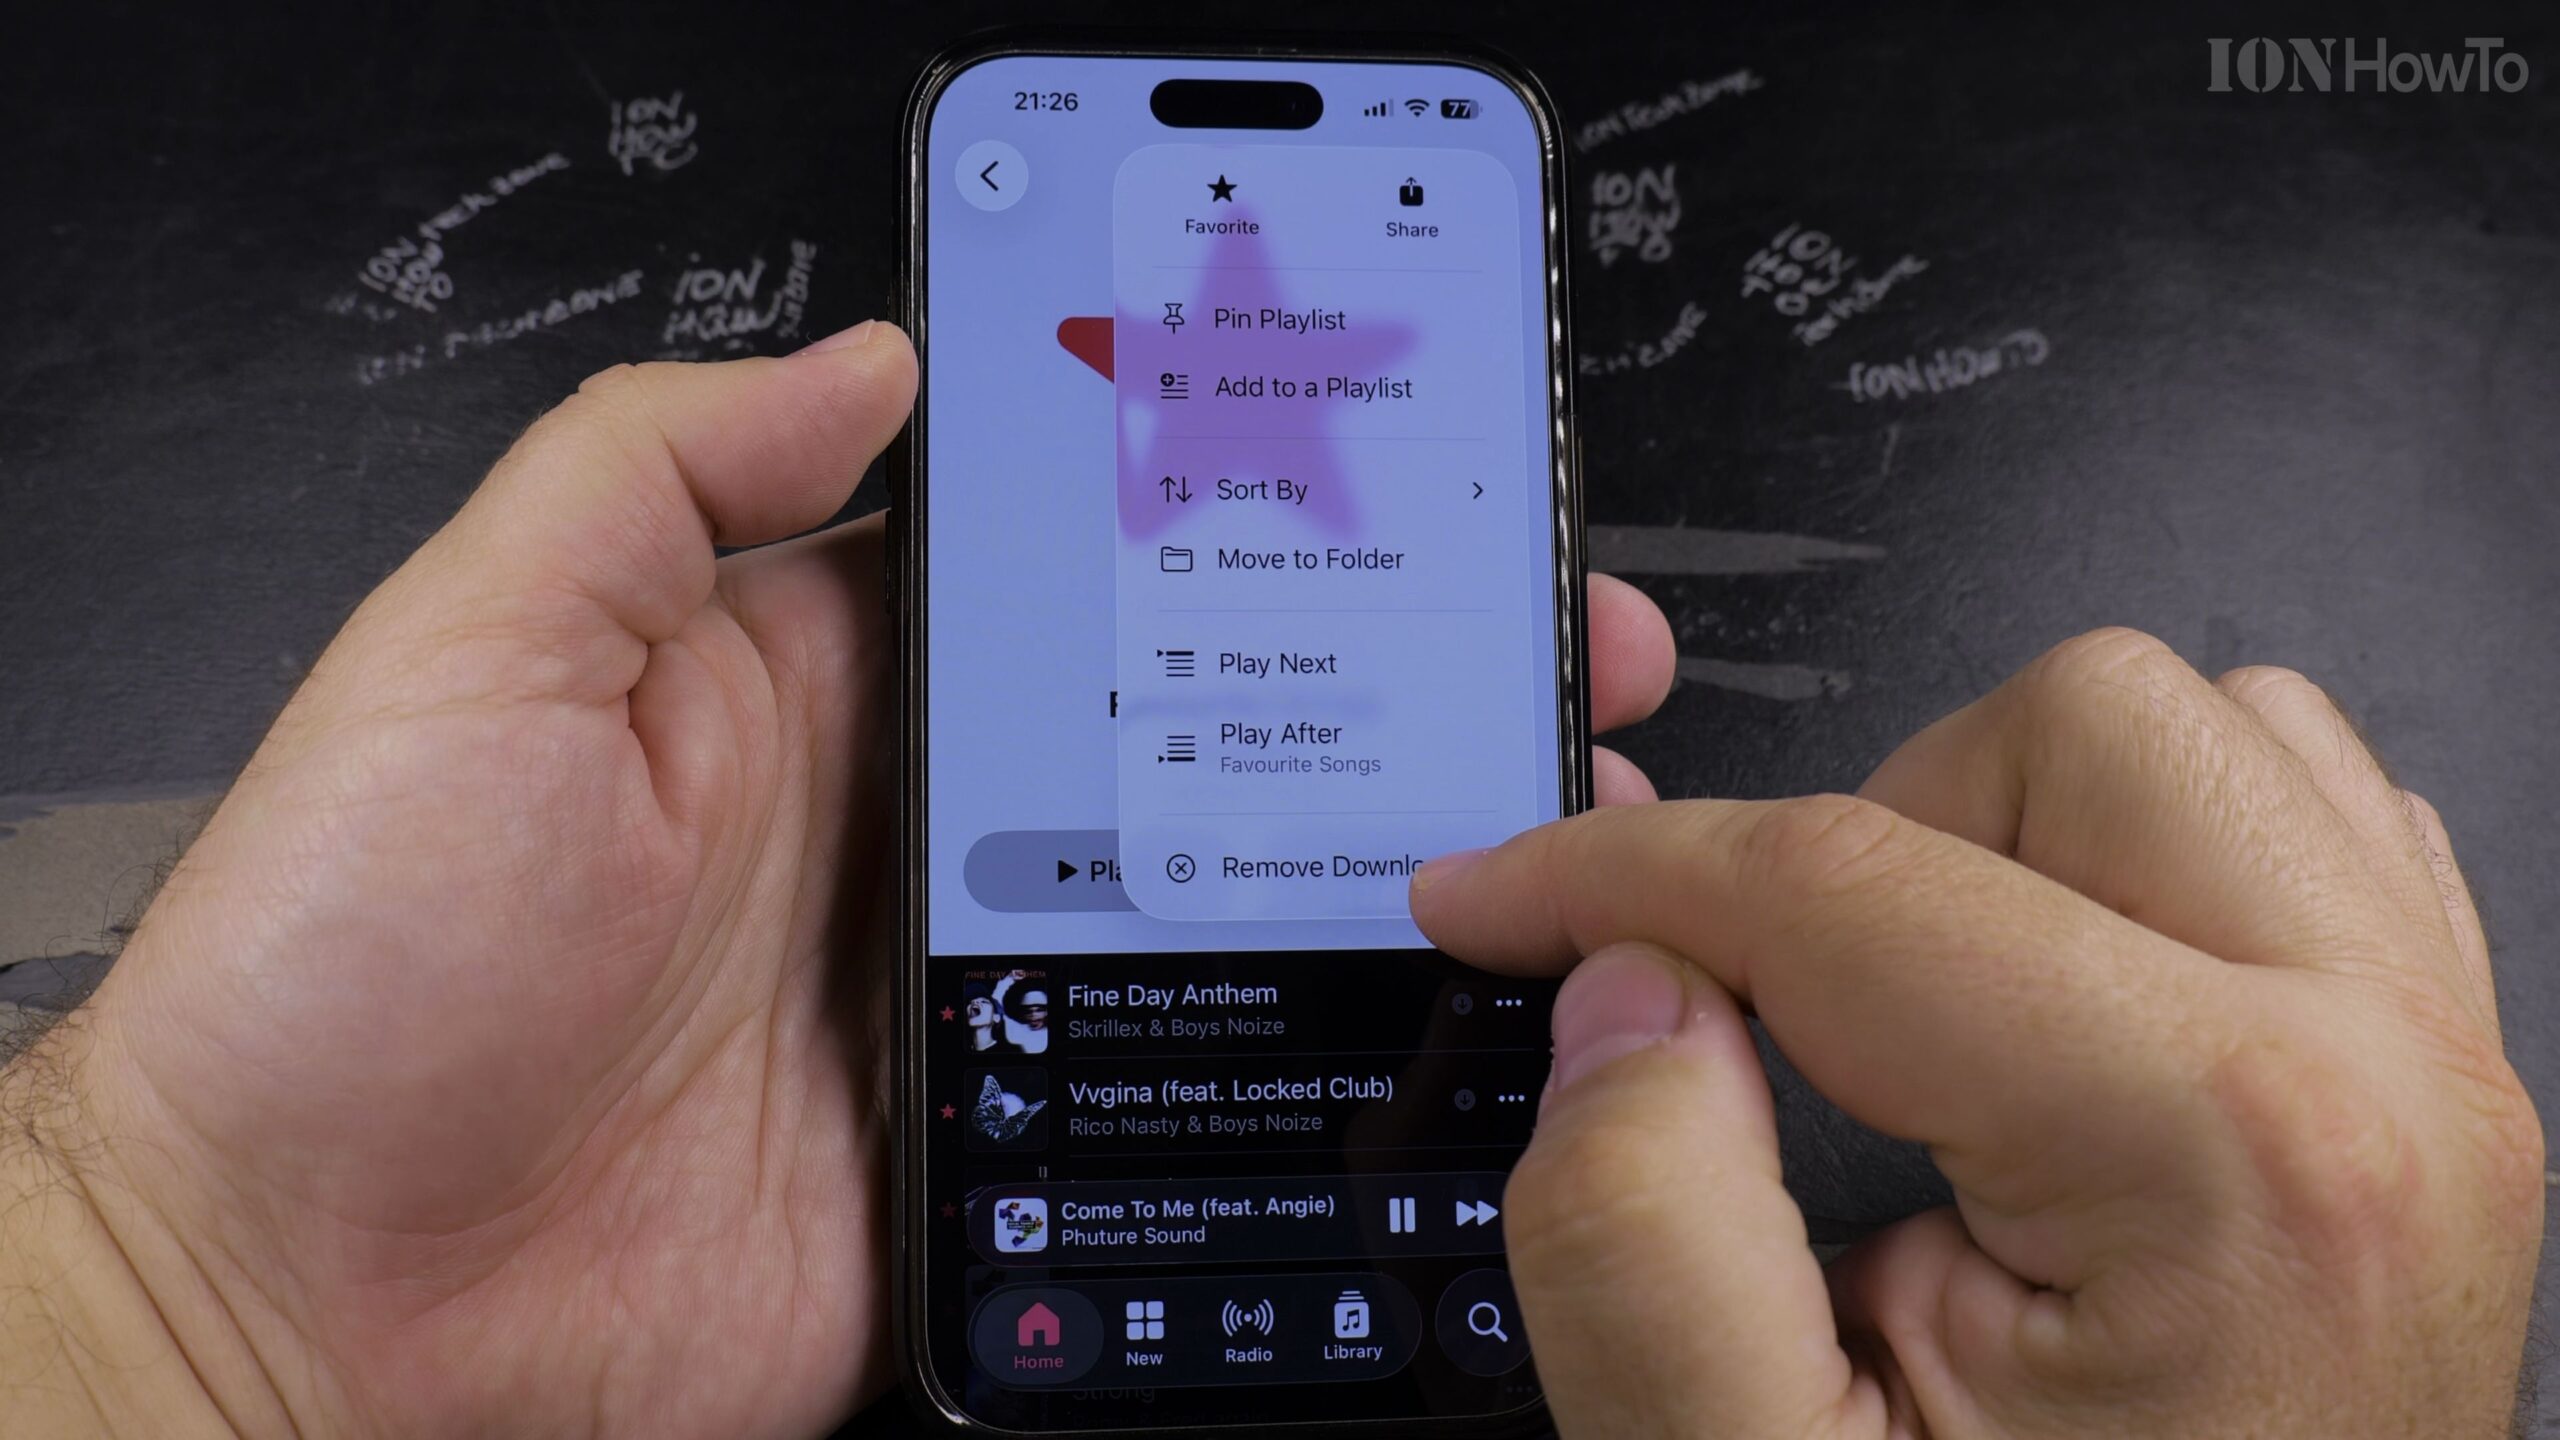
4. Select Remove and Tap Remove Downloads
Tap ‘Remove’ from the menu options. Be sure to select ‘Remove Download’ rather than ‘Delete from Library’ so the music stays in your cloud collection.
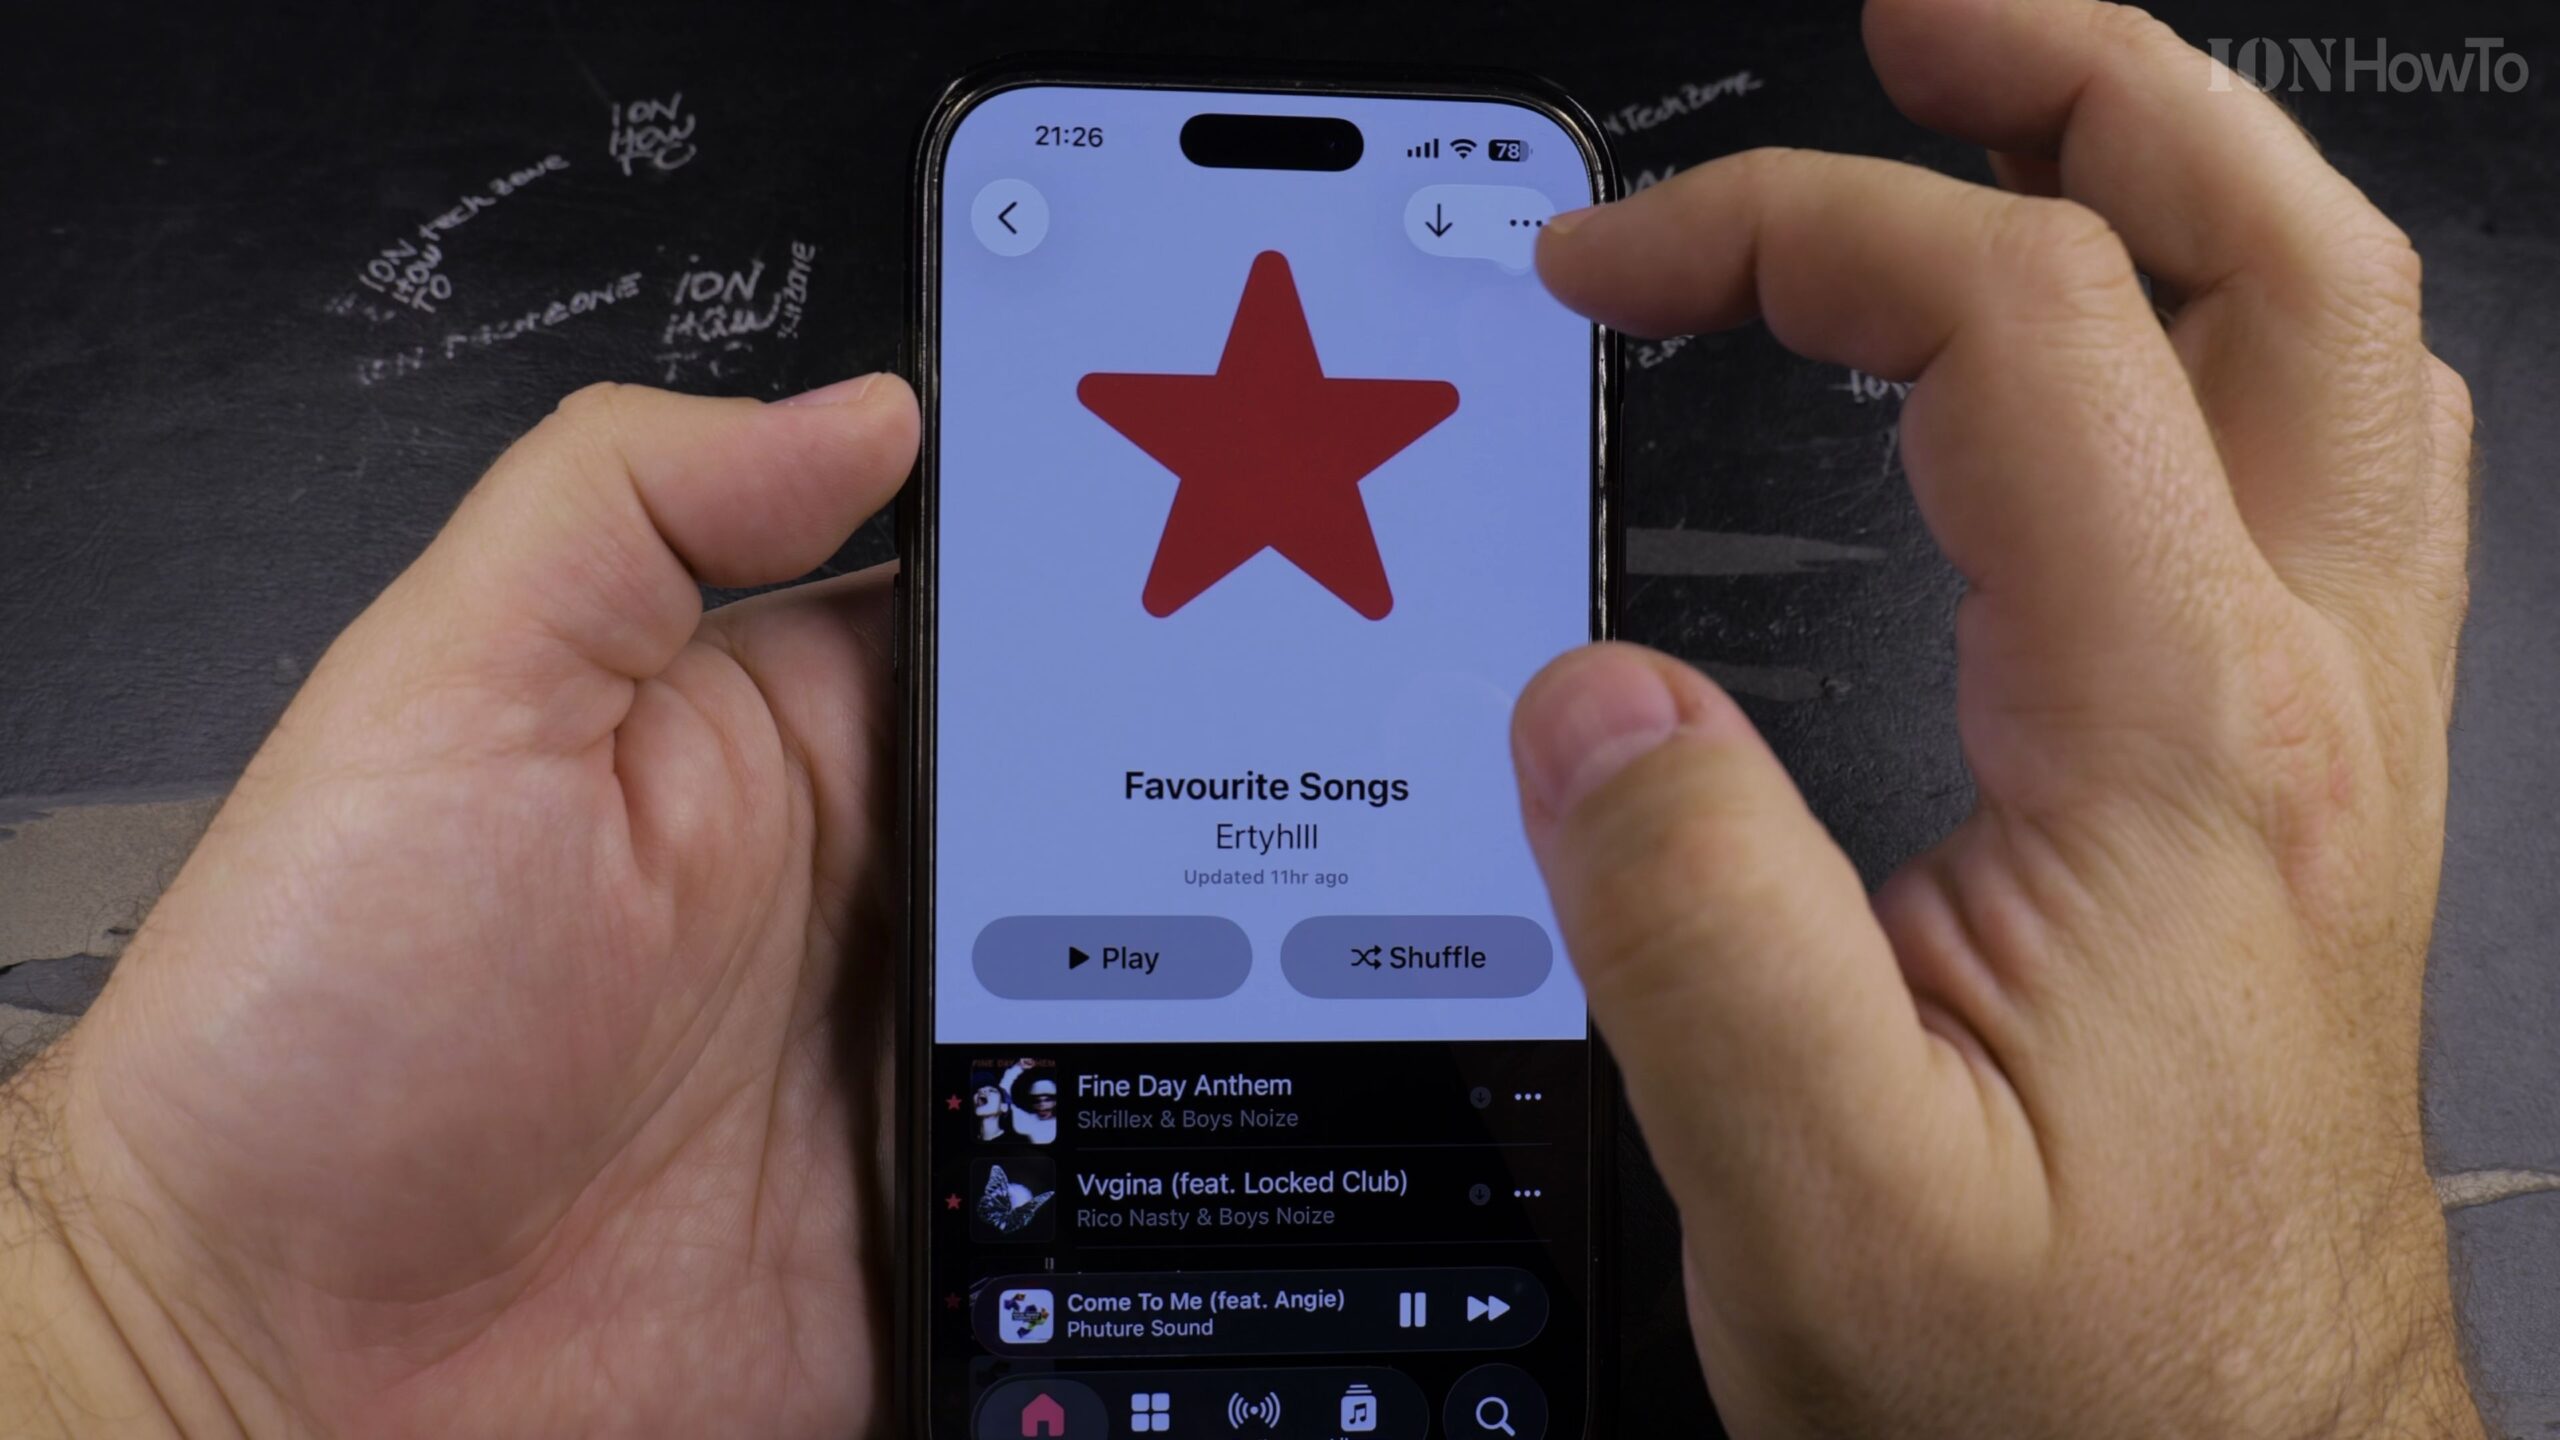
5. Manage All Offline Music in iPhone Settings Storage
To clear gigabytes at once, open iPhone Settings > General > iPhone Storage > Music, where you can swipe to delete entire artist discographies with a single tap.
Helpful Tips and Related Guides
Turning on ‘Optimize Storage’ under Settings > Music automatically removes older downloaded tracks when your iPhone begins running low on disk space. Learn more tips in our Apple Music & Audio category, check our guide on Finding Playlists in Apple Music, or visit iPhone Guides.


Leave a Reply