
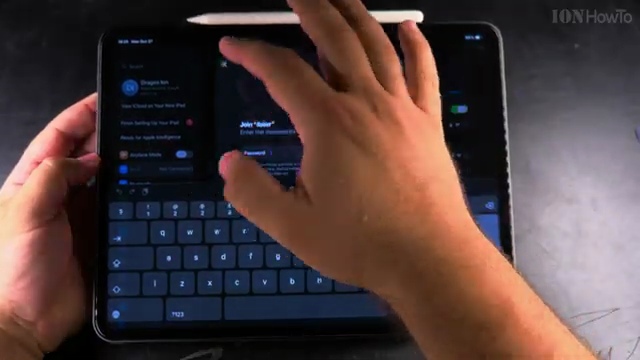
If typing long Wi-Fi passwords with special characters is frustrating, your iPad can join networks by simply scanning a QR code. I’ll show you how to point your camera at a Wi-Fi QR code and connect in one tap.
1. Display the Wi-Fi QR Code
Have your friend open their phone’s Wi-Fi settings to display their network QR code, or locate the QR code sticker on the bottom of your home router.
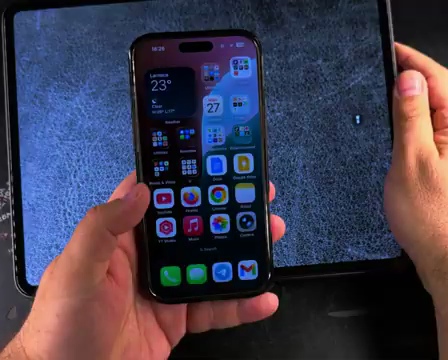
2. Open the iPad Camera App
Tap the gray **Camera** icon on your home screen or swipe down to open Control Center and tap Camera.
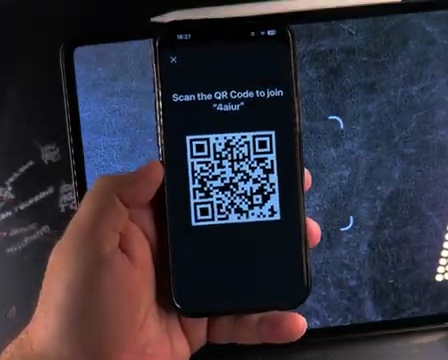
3. Aim Your Camera at the QR Code
Hold your iPad steady so the QR code appears within the yellow viewfinder brackets on your screen.
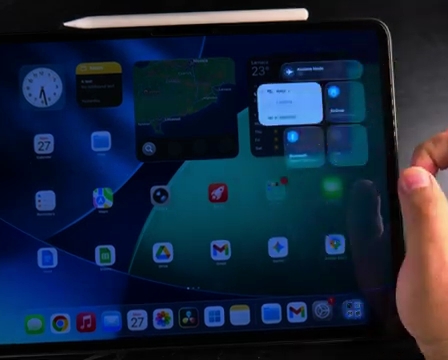
4. Tap the Yellow Join Network Banner
A yellow button will pop up directly beneath the QR code reading **Join [Network Name] Network**. Tap it with your finger.
5. Confirm Your Wireless Connection
A confirmation prompt will ask if you want to join. Tap **Join** to connect immediately without entering any password.
Helpful Tips
Ensure the room has adequate lighting so the camera can focus on the QR pattern instantly. If you need to share your connection or customize screen shortcuts, check our guide on how to enable swipe to open camera on iPad lock screen.


Leave a Reply