
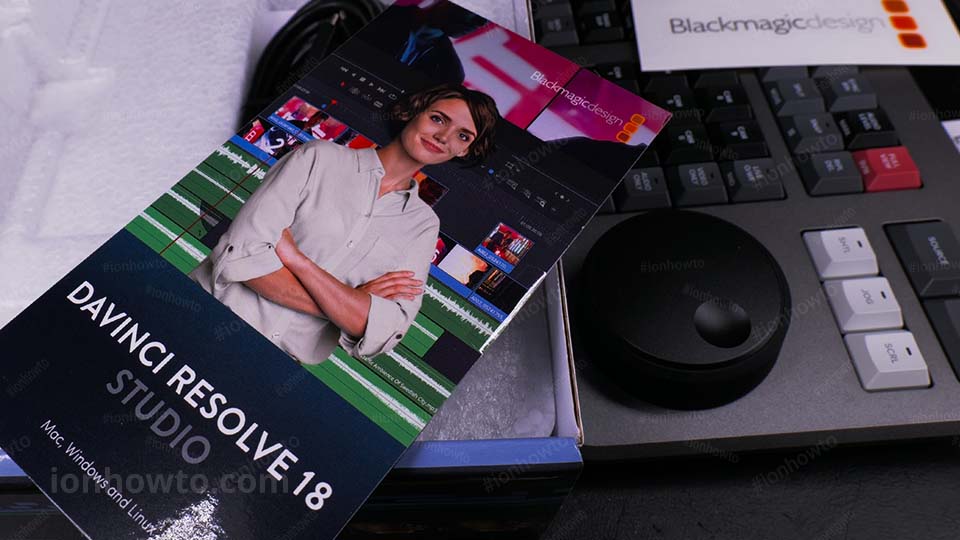
In this video, I will show you how to sync audio tracks in DaVinci Resolve automatically with one click or one keyboard shortcut. It’s actually a few clicks now in DaVinci Resolve Studio 19.
I believe this also works on DaVinci Resolve 19 free version but I’m not sure.
When you’re working with multiple cameras, audio recorders, or microphones, syncing audio and video tracks is needed for the editing and the final video product.
How to do it
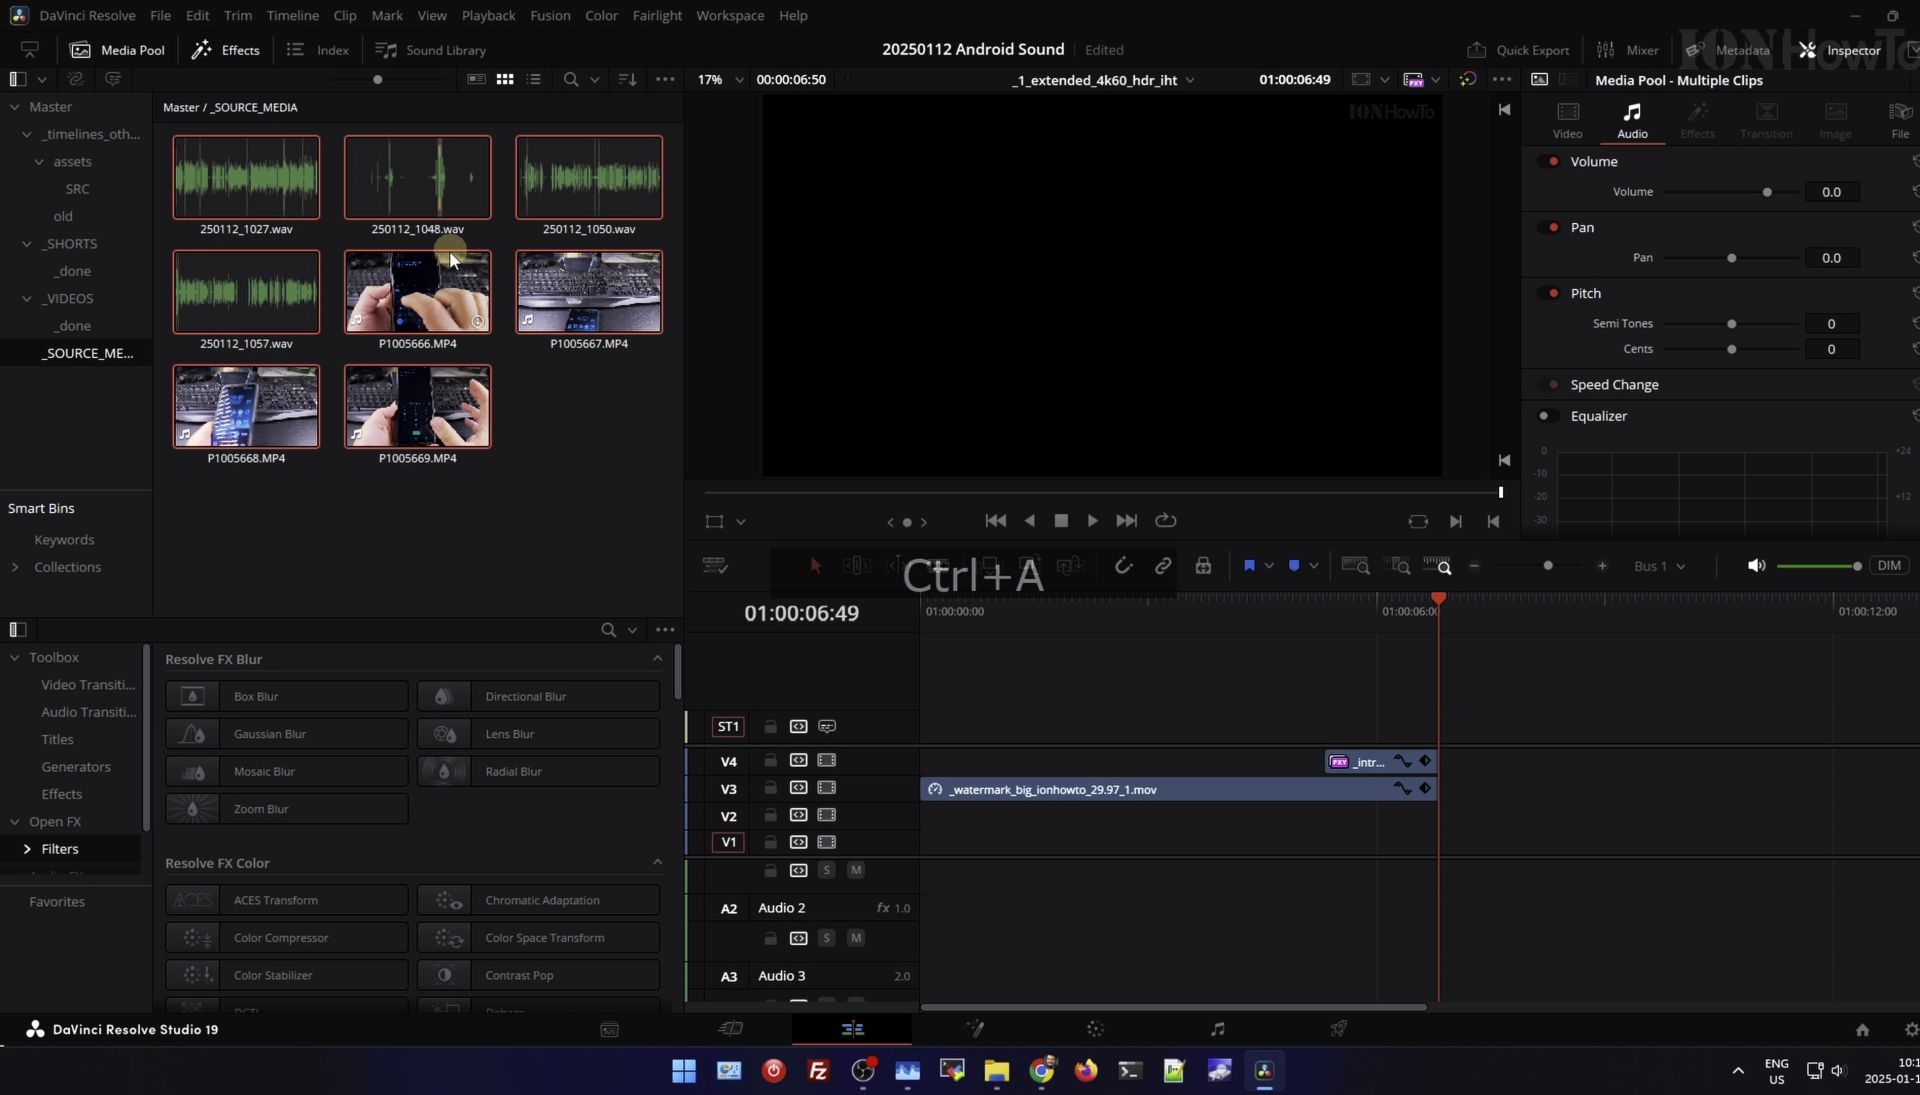
How to access the Edit tab and import your media files.
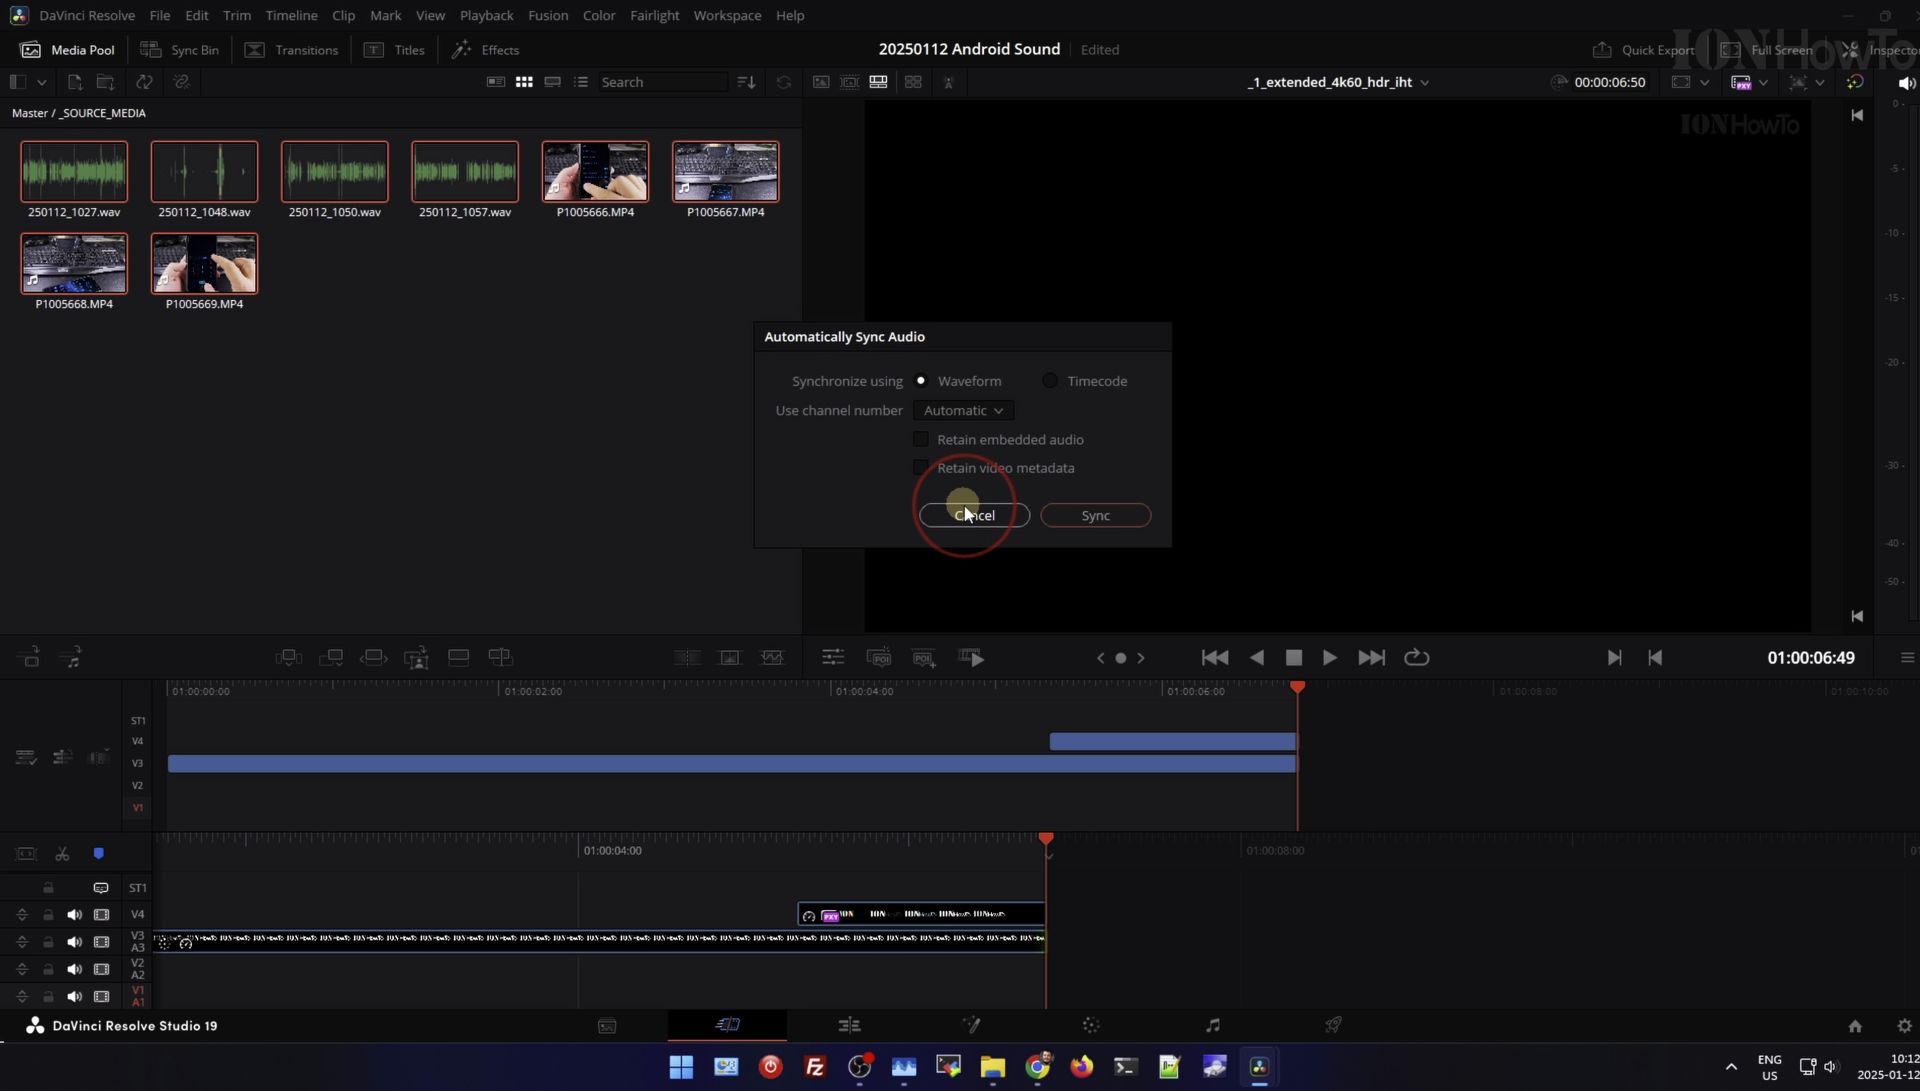
How to use the “Auto Sync Audio” feature based on waveform or timecode. And Append audio tracks or replace the original track.
Quick Steps and Scenarios Overview
| What You Need to Do | Quick Jump |
|---|---|
| How to do it | Jump to Step 1 |
| Cut Page Auto Sync | Jump to Step 2 |
When recording, you should do a clap or snap your fingers at some point during the recording while both camera and external audio are recording. If you don’t do a clap Resolve might not have enough data to sync the tracks automatically and you will have to manually sync audio and video tracks using visual cues and waveform analysis.
You can link and unlink clips to ensure proper synchronization.
In addition to resolving sync audio tracks, I will also share some tips on optimizing your workflow in DaVinci Resolve. Importing clips video and audio, using the media pool for efficient organization, and customizing your project settings for better performance.
Cut Page Auto Sync
Normally the Audio Sync option shown only in the edit page not on the cut page but I show you in the video how to make the Audio Sync feature work in the Cut page too!
Helpful Tips
Check all labels, connections, and power ratings before starting so everything fits safely and securely. If any detail looks slightly different on your model, pause the embedded video above for a clear closeup view.
Related Guides
- RTX5080 in PCIe 4.0 Motherboard Tests Furmark and DaVinci Resolve – If you are upgrading to an NVIDIA GeForce RTX 5080 and wondering if a PCIe 4.0 motherboard holds back performance…
- MacBook Air M5 DaVinci Resolve 21 Render Test vs RTX 5080 Desktop PC (Thermal & Cooling Results) – How well does a fanless 13-inch MacBook Air M5 handle heavy 4K video rendering in DaVinci Resolve 21 compared to a high-end…
- DaVinci Resolve Studio 21 Update – The DaVinci Resolve Studio 21 Update is Here.
- DaVinci Resolve Tutorials – Browse more tutorials and practical guides in this section.


Leave a Reply