
When Wi-Fi is spotty or you need zero-latency internet for gaming, video calls, or large file transfers, connecting your iPad directly to an Ethernet cable gives you a blazing-fast wired connection. Here is how to connect and configure Ethernet on an iPad using a USB-C network adapter.
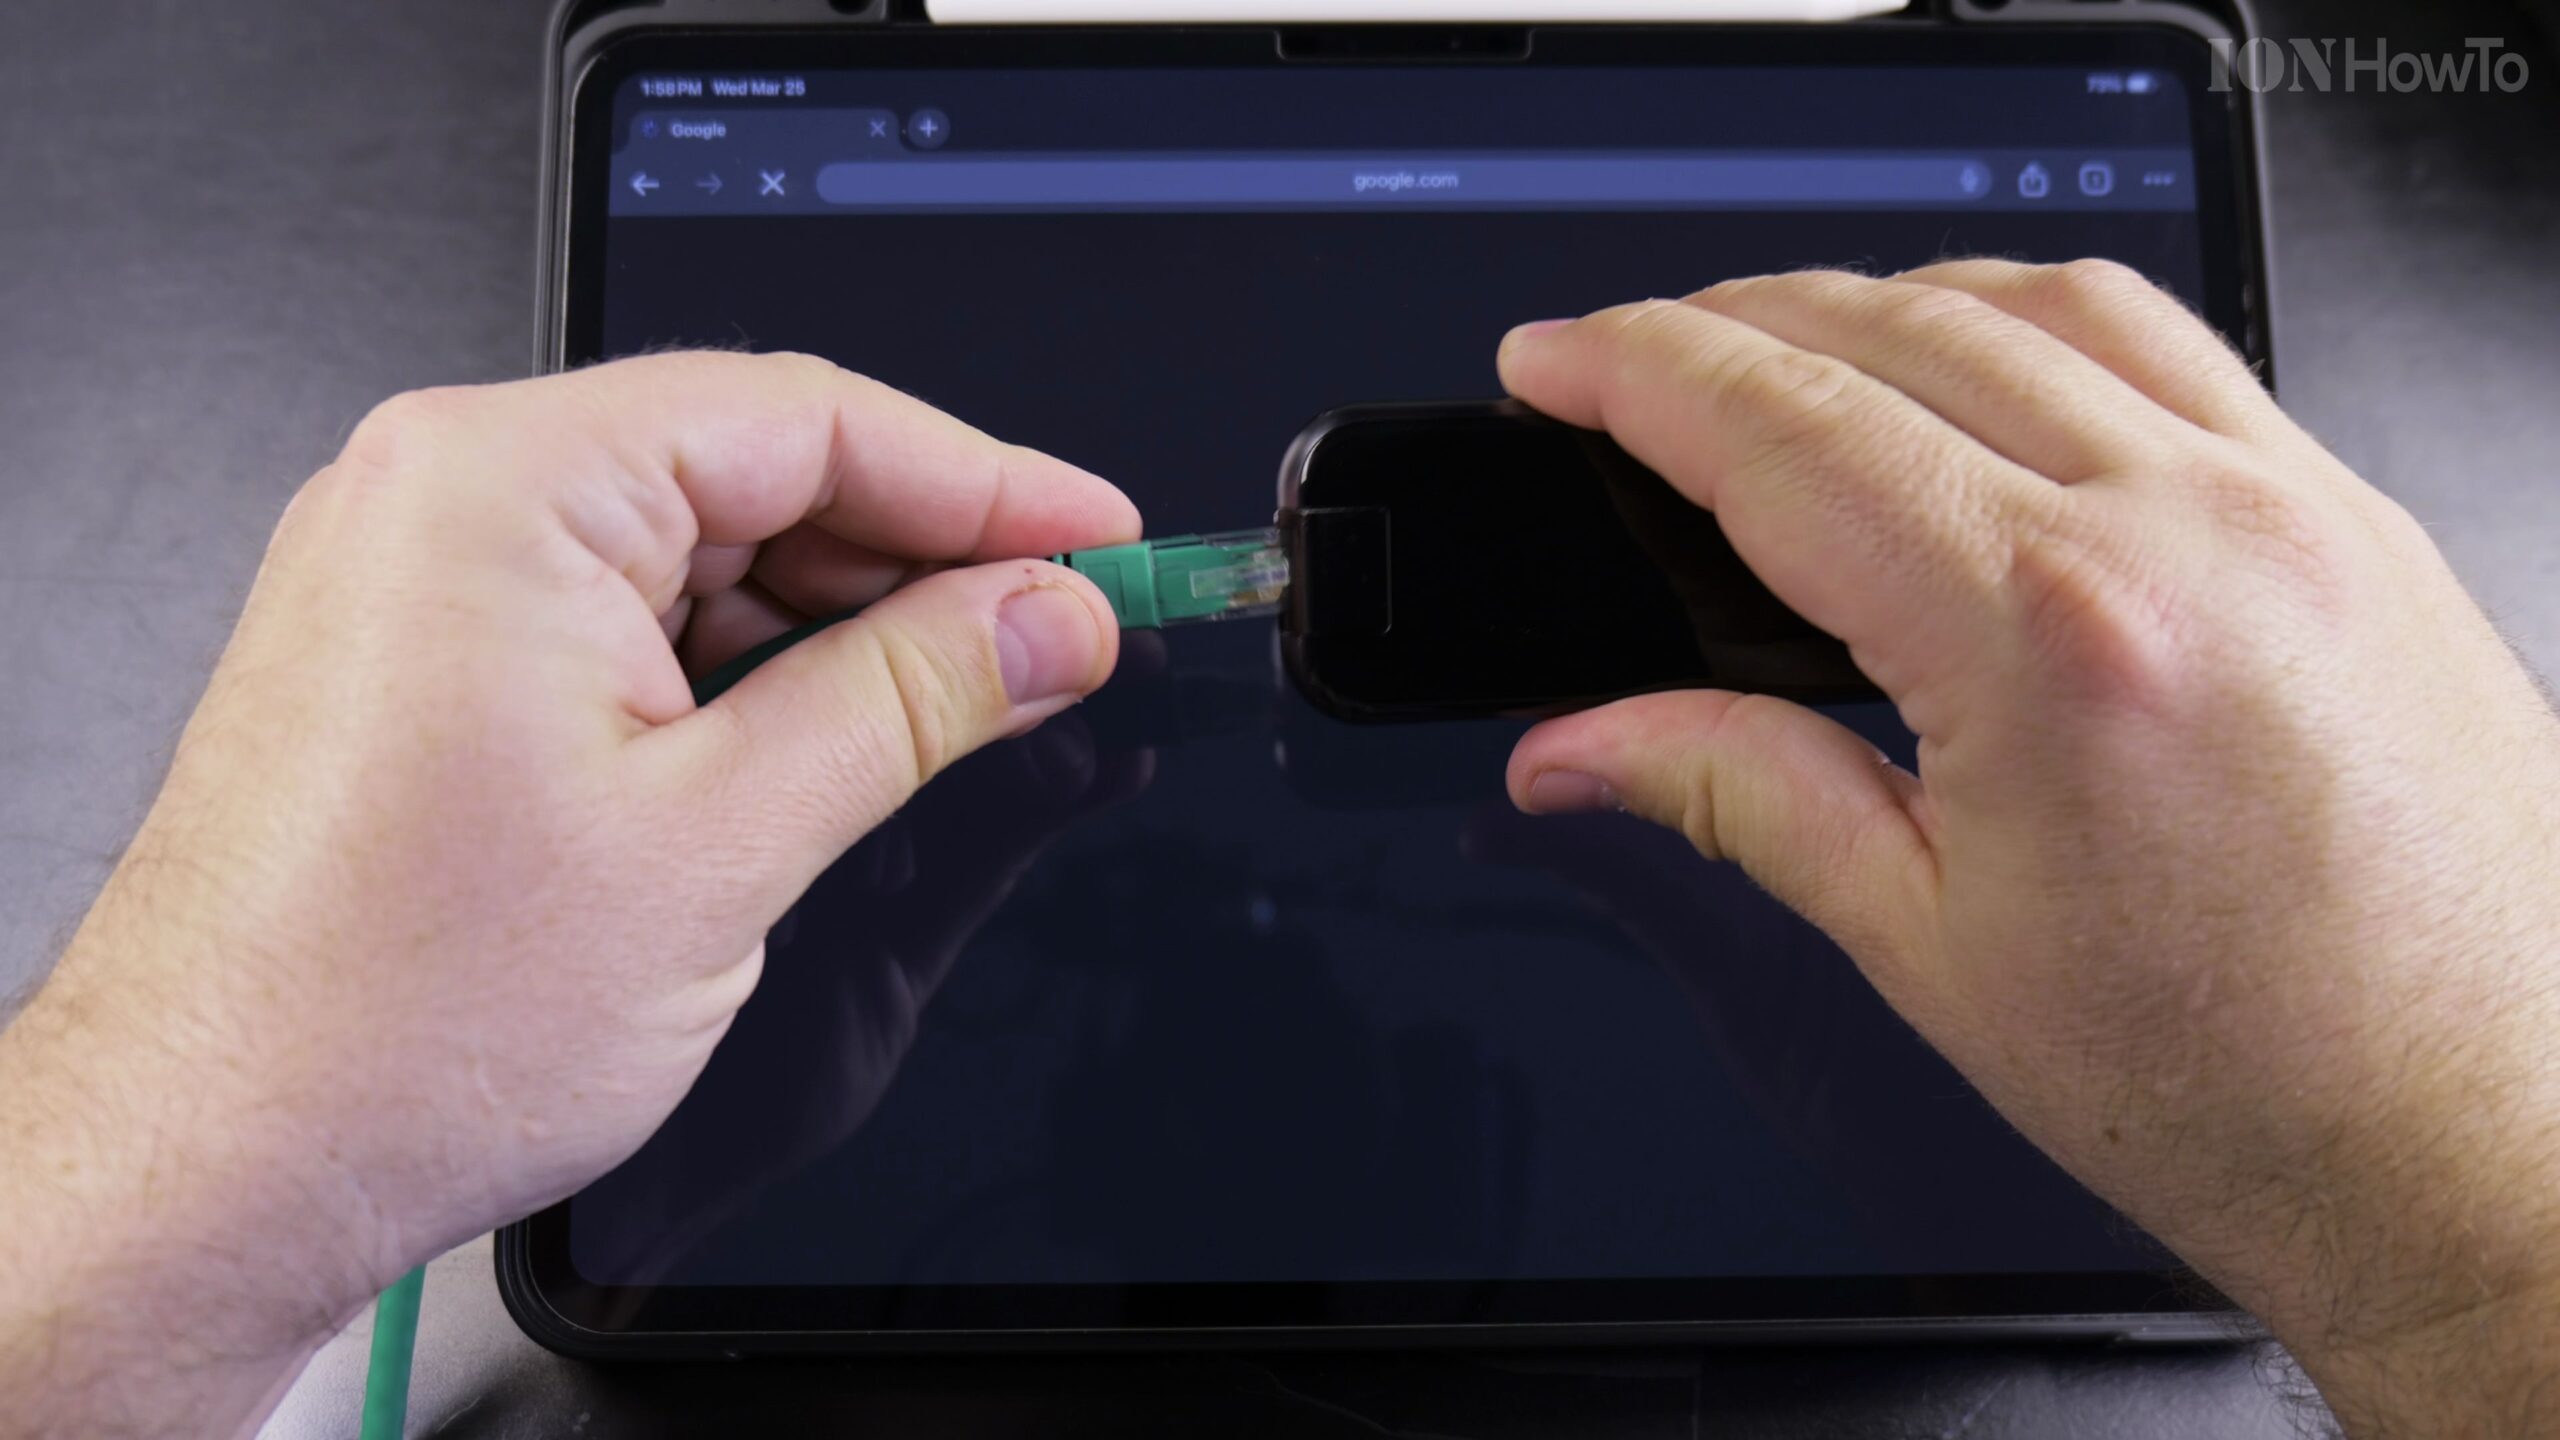
Plug an RJ45 Ethernet Cable into a USB-C Adapter or Hub
Take an RJ45 Ethernet network cable connected to your home router or wall port and click it into the Ethernet port of a USB-C multi-port hub or dedicated USB-C to Ethernet adapter.
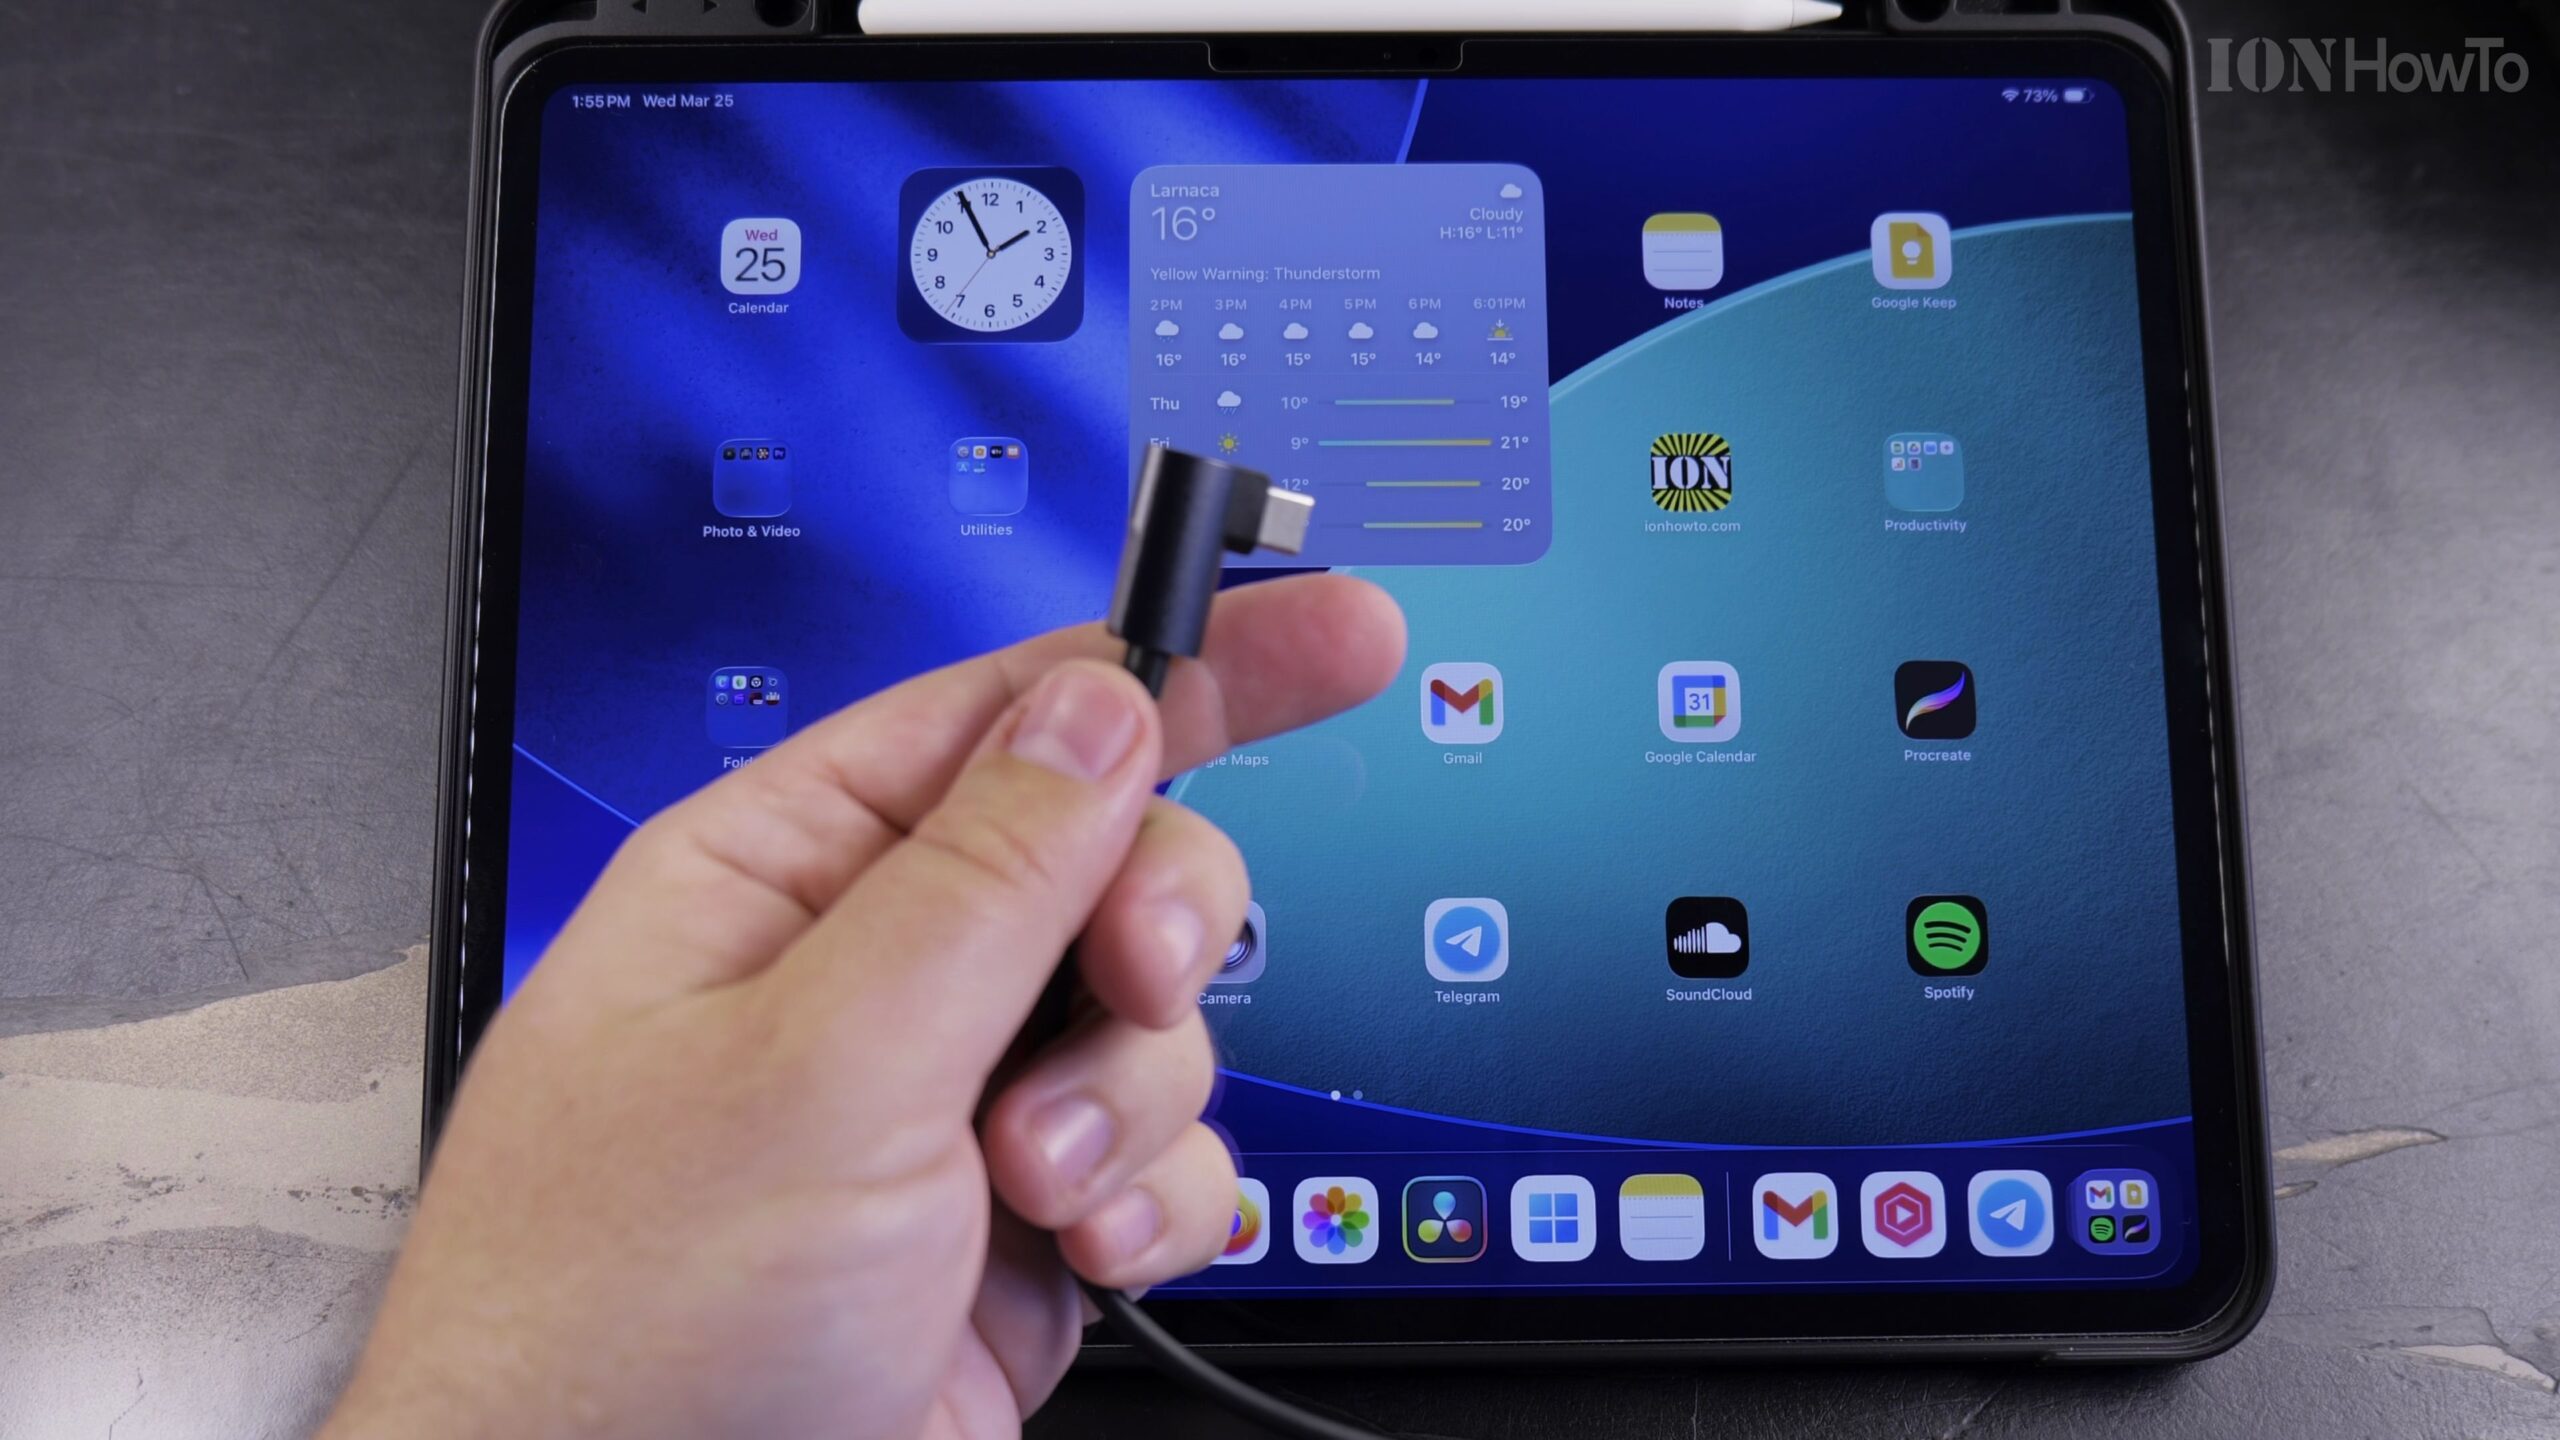
Connect the USB-C Adapter Directly to Your iPad Port
Insert the USB-C connector into the bottom port of your iPad Pro, iPad Air, or standard iPad. The adapter’s green link LED will illuminate, showing active network communication.
Open iPad Settings and Verify the New Ethernet Menu
Open the Settings app on your iPad. A few seconds after plugging in the cable, a dedicated Ethernet menu entry automatically appears right between Wi-Fi and Bluetooth.
Inspect IP Address, Subnet Mask, and Router Details
Tap Ethernet in Settings to confirm that your local network router assigned an IP address via DHCP. You can configure manual IP settings or DNS servers here if needed.
Turn Off Wi-Fi to Test Your High-Speed Wired Connection
Toggle Wi-Fi off in Settings or Control Center. Open Safari or run a speed test to verify that your iPad is running entirely over high-speed, stable wired Ethernet.
Helpful Tips and Related Guides
Using a USB-C hub with Power Delivery pass-through lets you charge your iPad while simultaneously using wired Ethernet and external USB drives. Explore more tutorials in our Apple iPad category, visit our Apple archive, or read our guide on Moving Files into Folders in iPad Files App.


Leave a Reply