
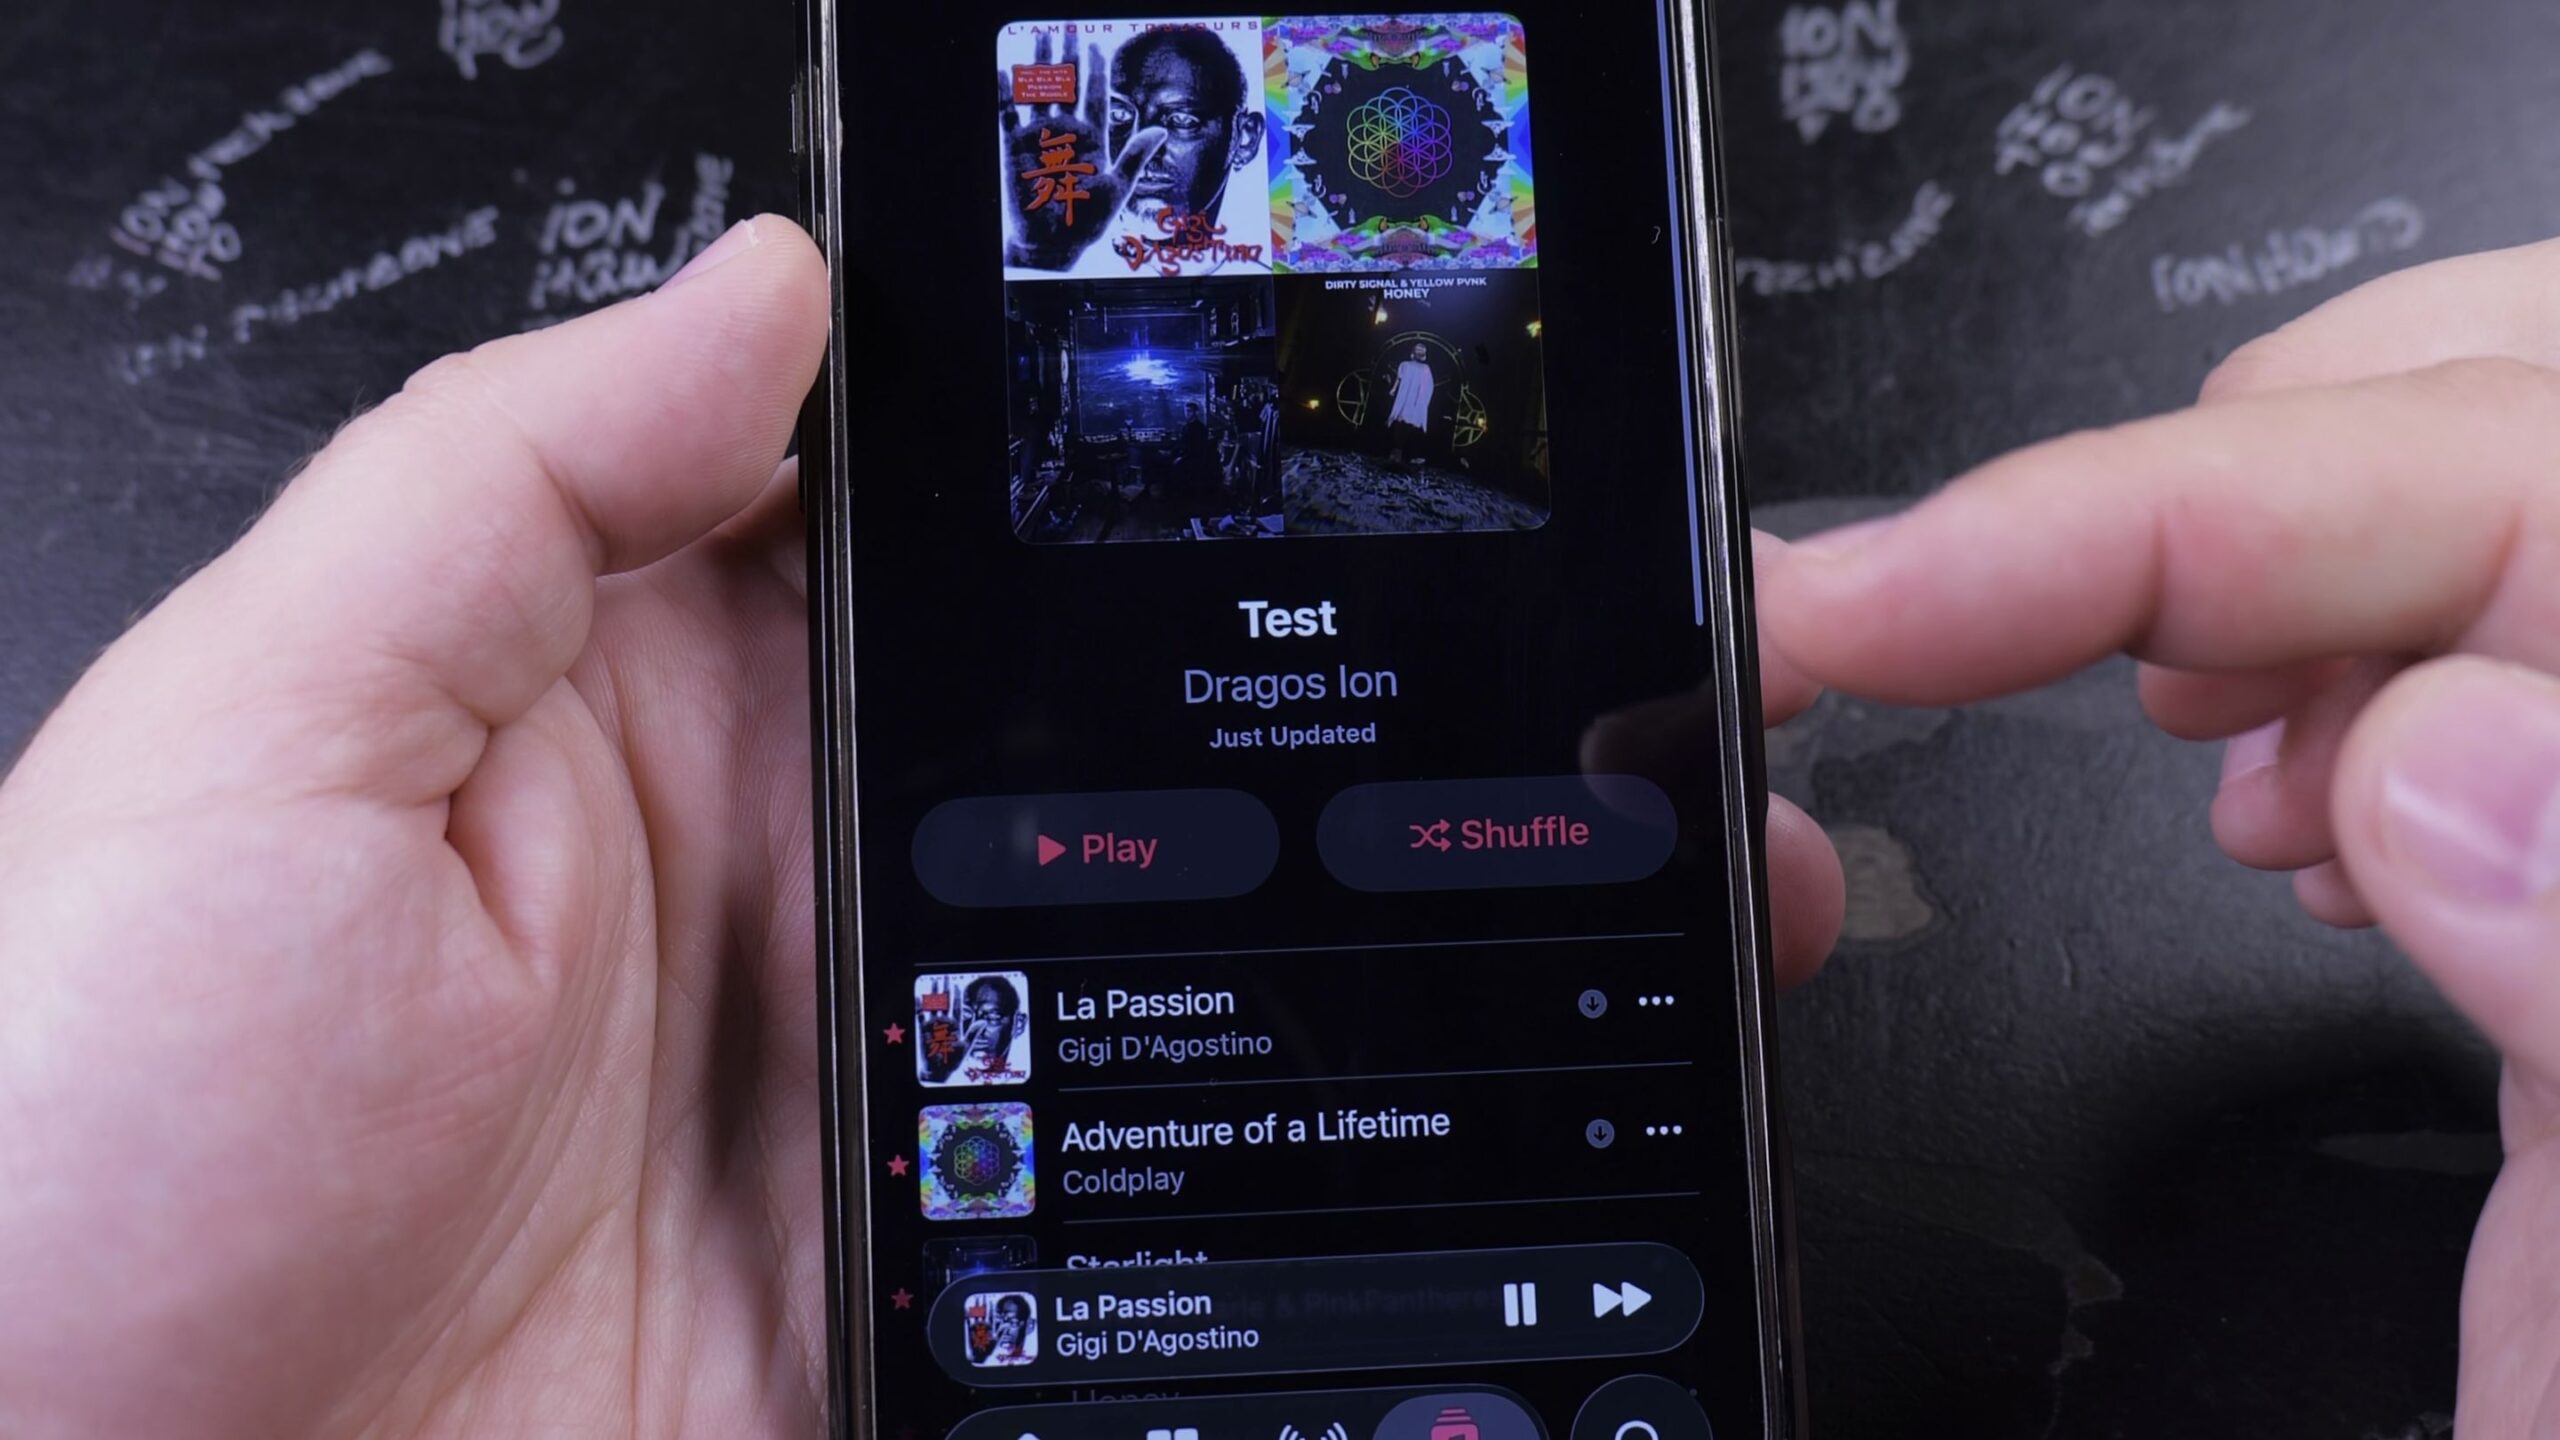
If you want to organize your favorite songs into custom collections for workouts or relaxing, creating a playlist keeps them in one convenient spot. I’ll show you how to create a playlist in Apple Music on your iPhone in just a few taps.
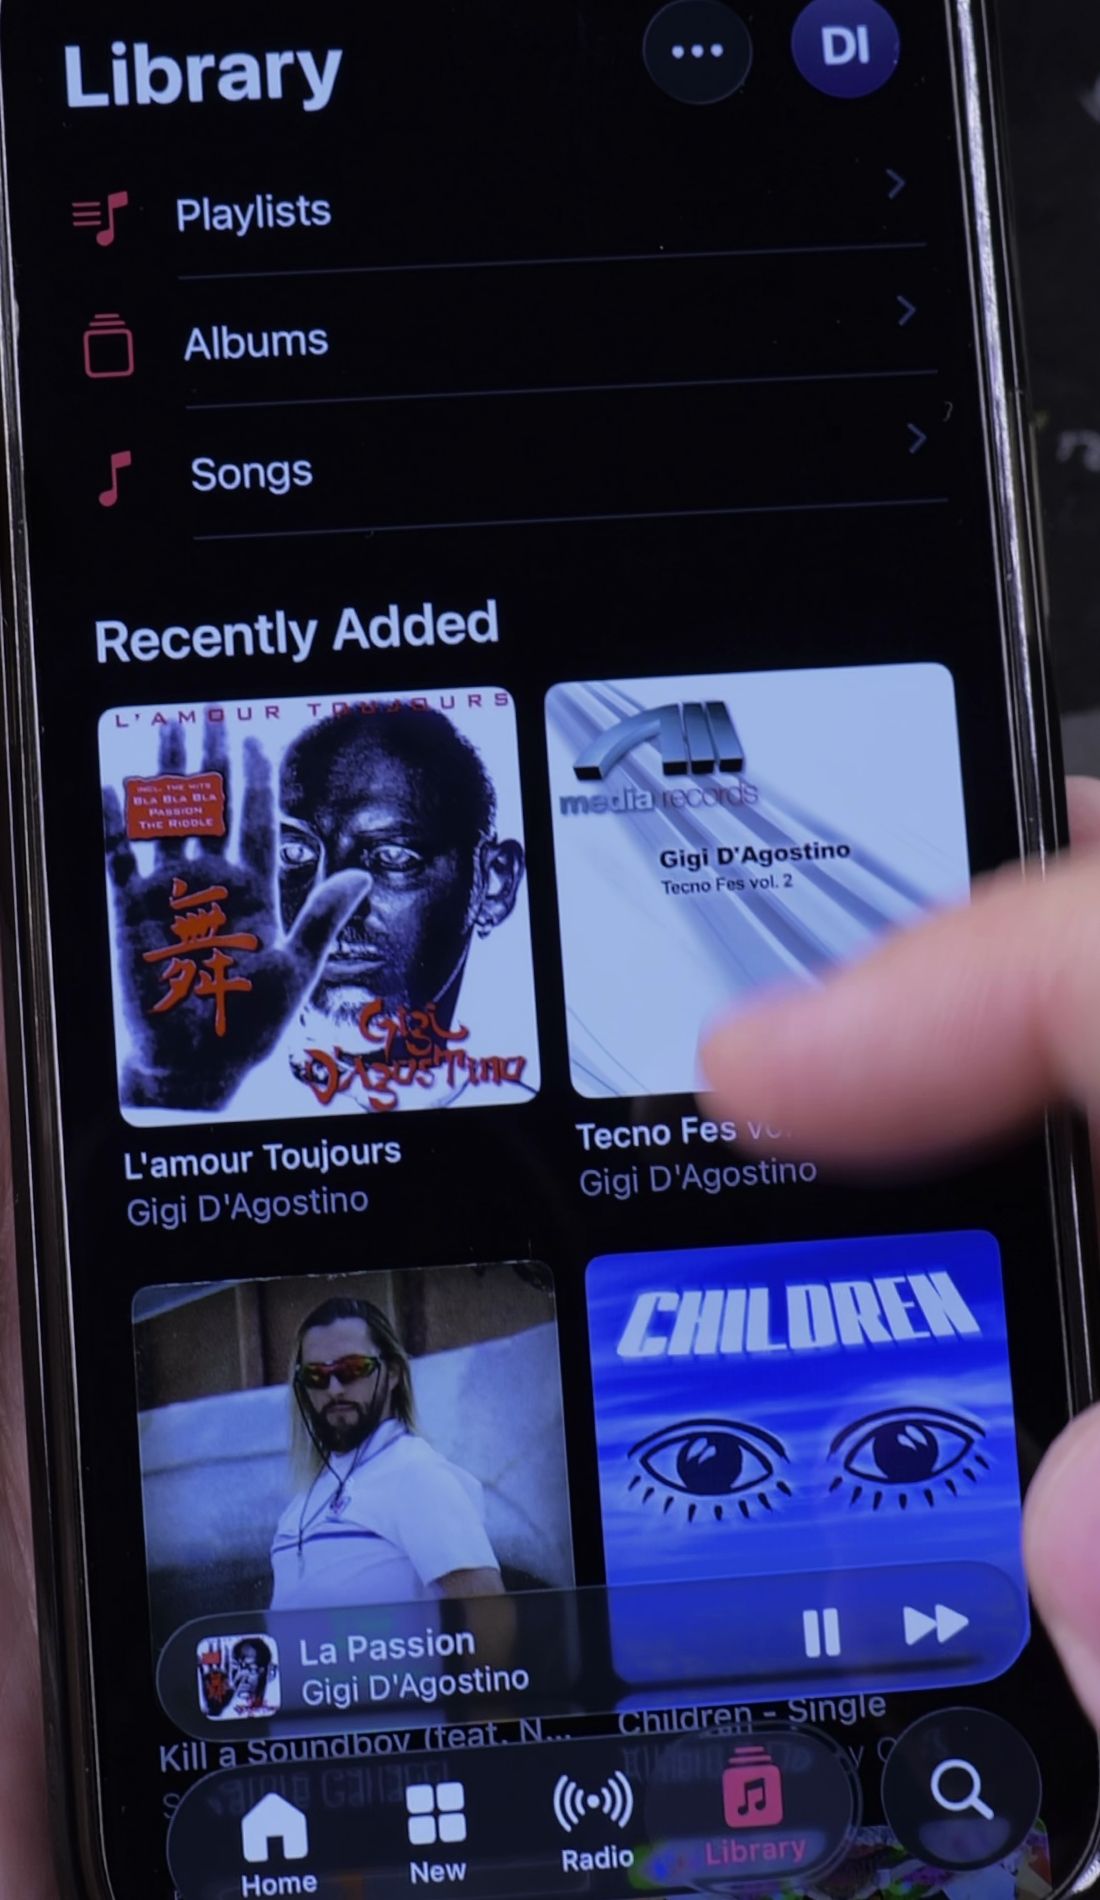
1. Open Library and Tap Playlists
Open the Music app on your iPhone. Look at the bottom menu bar.
Tap the Library tab. Near the top of your library list, tap Playlists.
2. Name Your Playlist and Choose Privacy
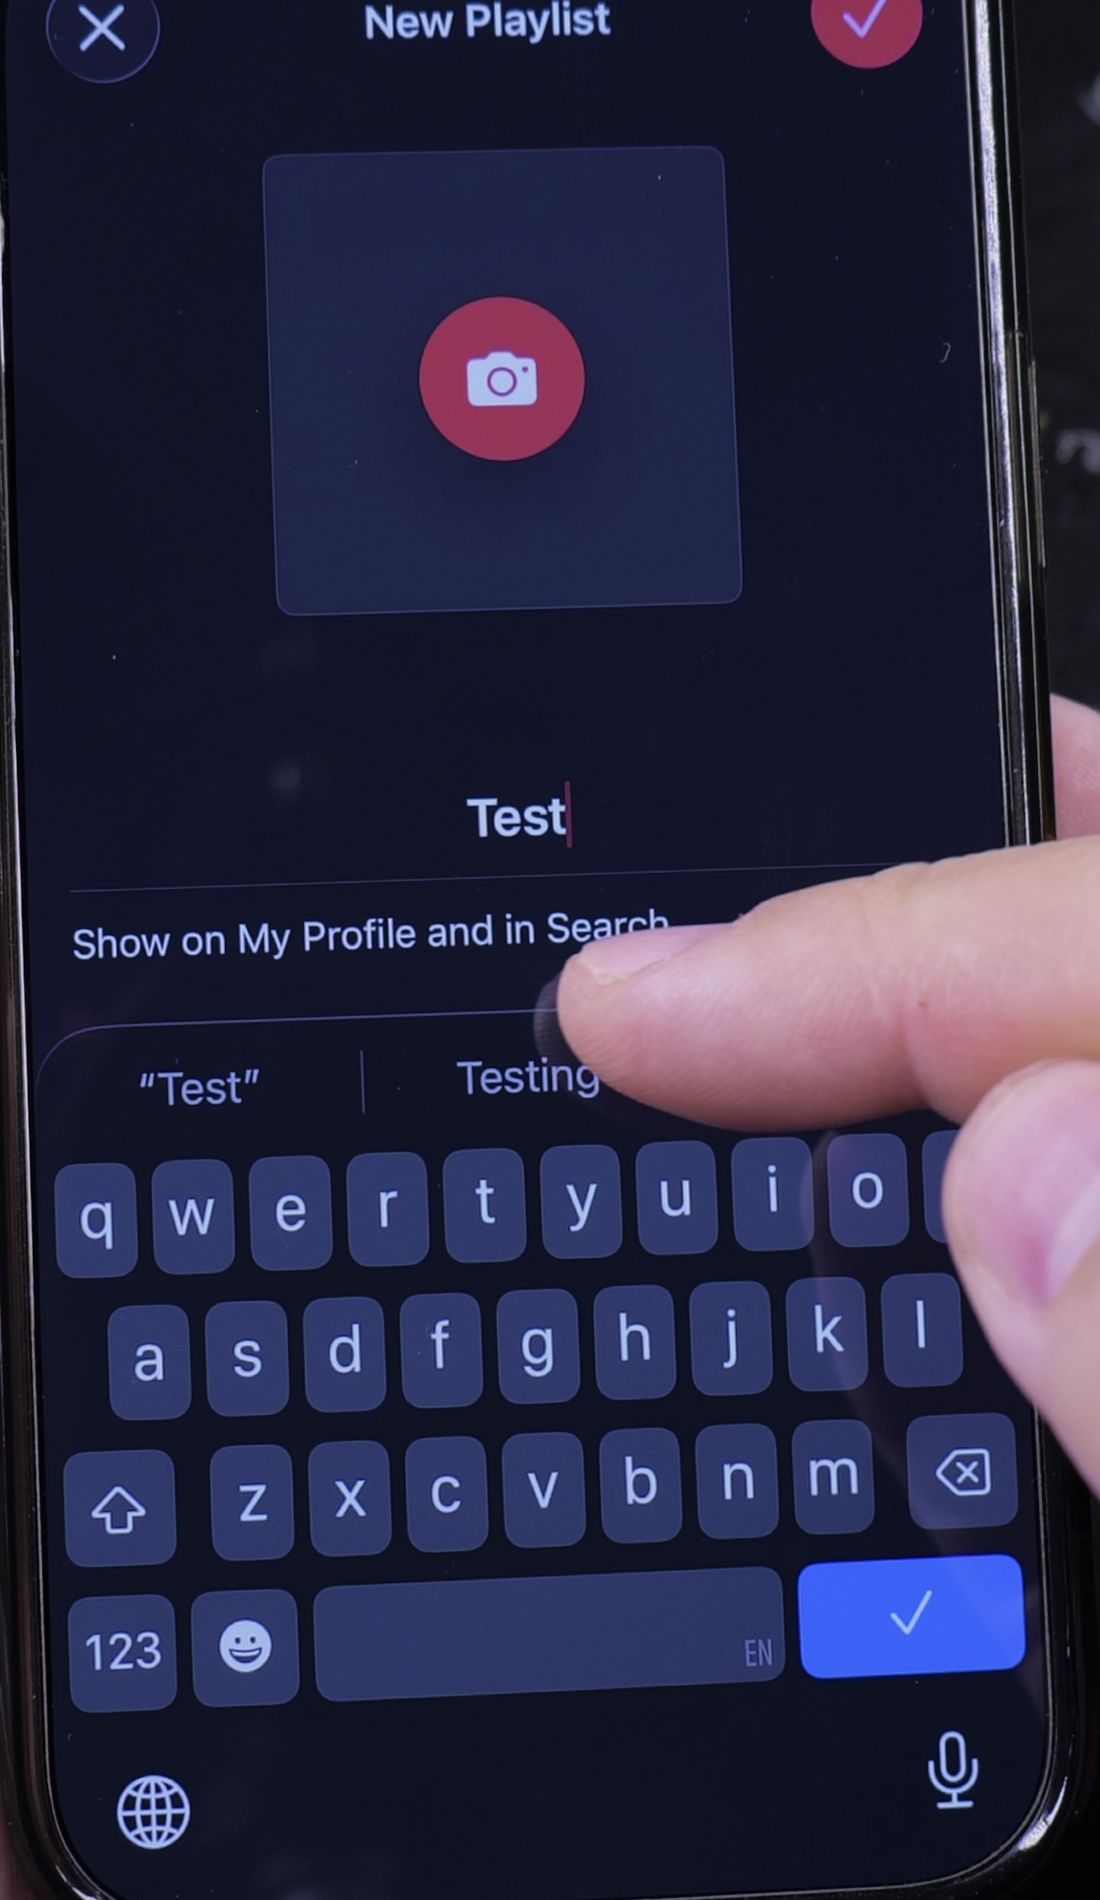
Tap New Playlist at the top of the screen.
Type a name for your playlist in the title box. You can also tap the camera icon to pick custom artwork.
Look below the title for the switch labeled Show on My Profile and in Search. Turn this switch Off if you want your playlist to remain private.
3. Tap Add Music and Pick Your Songs
Tap the green plus button labeled Add Music.
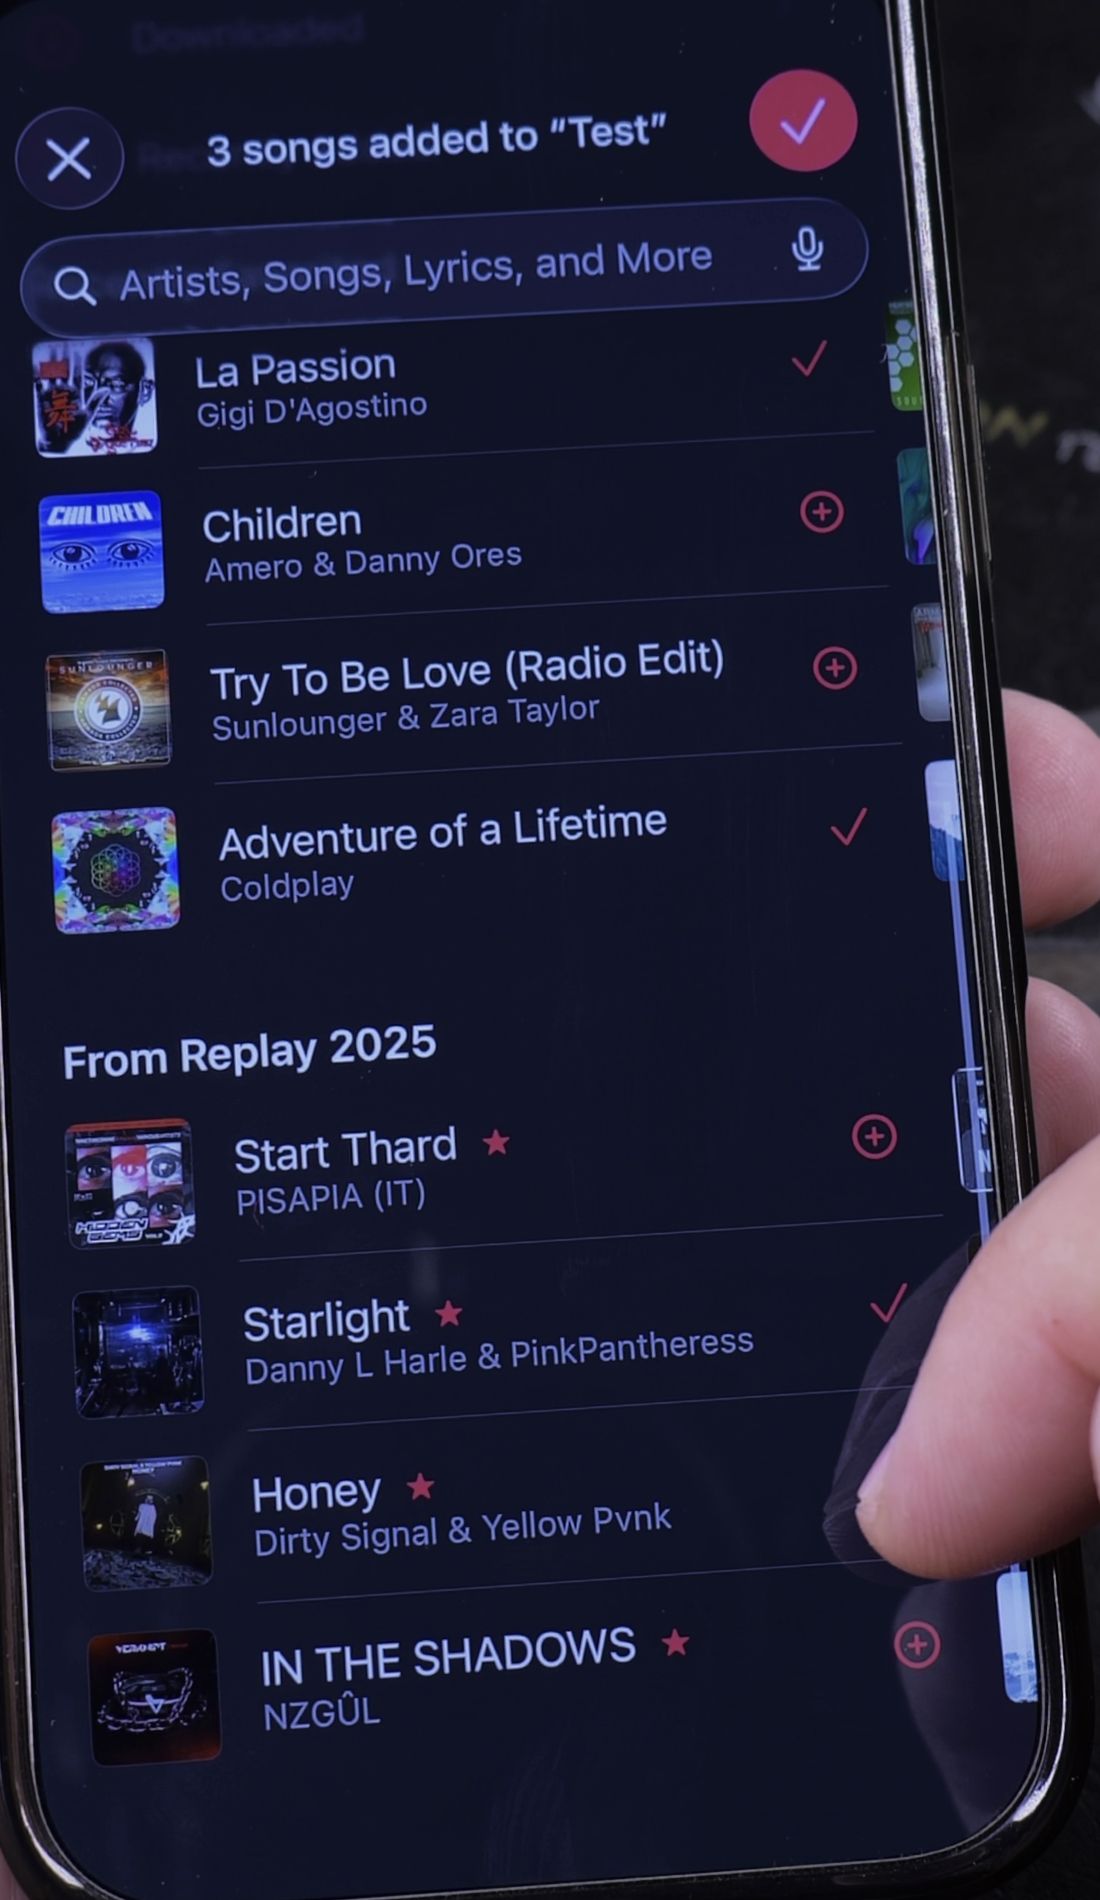
Browse through your library or search for specific tracks. Tap the plus icon next to each song you want to include.
When you finish choosing tracks, tap Done in the top-right corner.
4. Save and Start Listening
Tap Done again in the top-right corner to save your new collection.
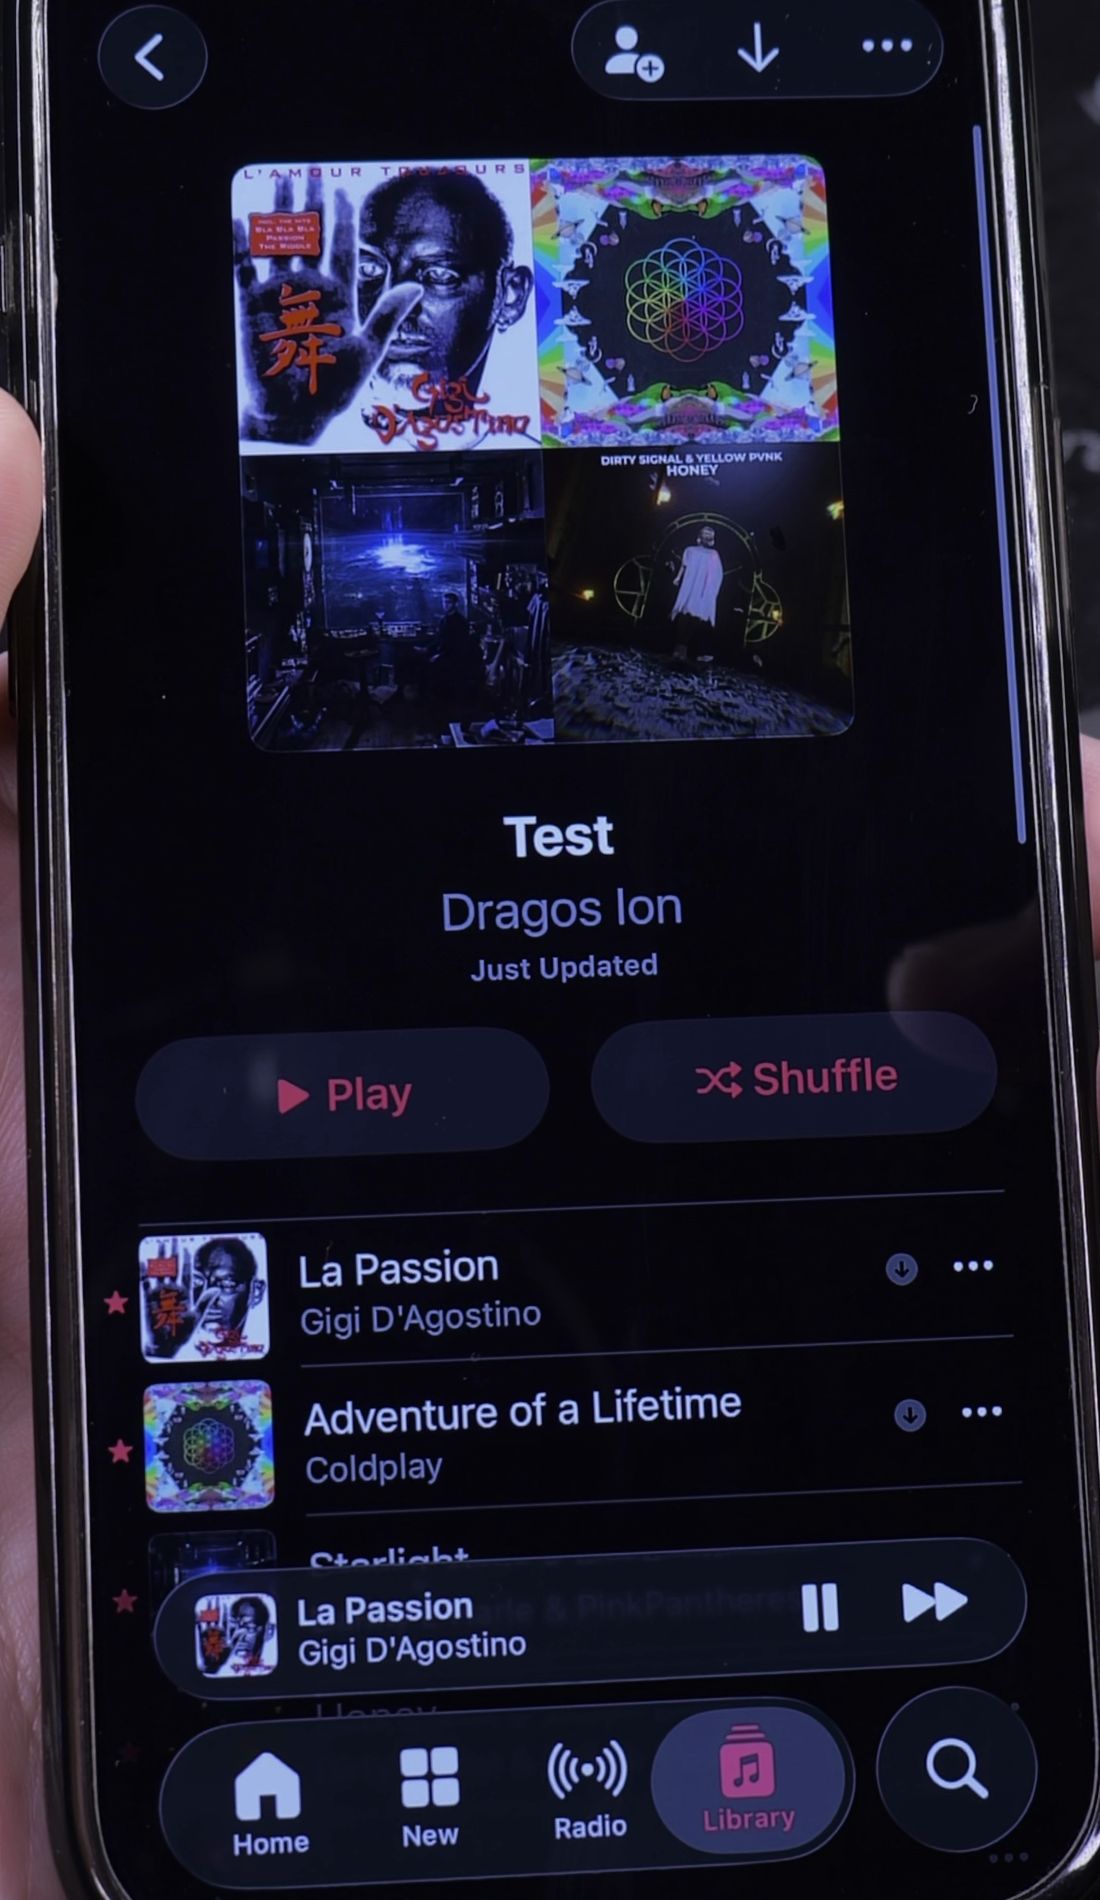
Your new playlist appears in your Library immediately. Tap the red Play button to start listening from the top, or tap Shuffle for random order.
Helpful Tips
To rearrange the order of tracks later, tap the three dots in the top-right corner and select Edit. You can drag tracks up or down by holding the three horizontal lines on the right side.
If you want your music to play continuously, check our guide on how to repeat a playlist in Apple Music. You can also learn how to set a sleep timer for Apple Music, or explore our full collection of Apple Music guides for more tips.


Leave a Reply