
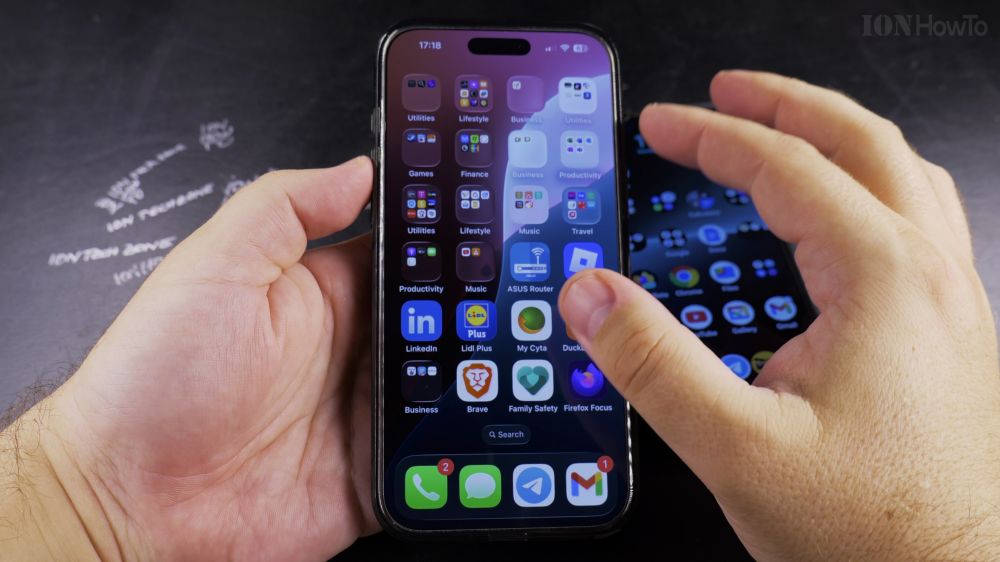
If you want a second line for travel or work, you don’t need to insert a physical plastic card into your iPhone. I’ll show you how to scan your carrier’s QR code and activate an eSIM in a few easy steps.
1. Open Settings
Open the **Settings** app on your iPhone.
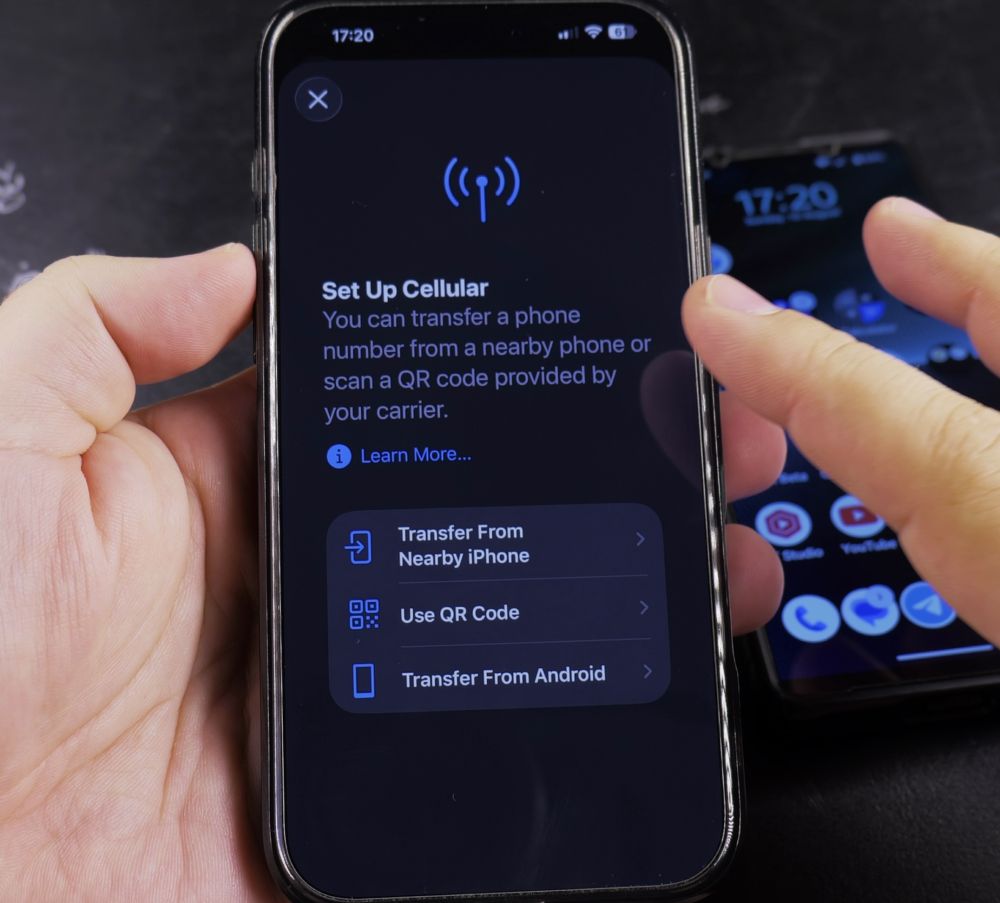
2. Tap Cellular
Tap **Cellular** (or **Mobile Service** in certain countries).
3. Tap Add eSIM
Scroll down below your existing carrier plans and tap **Add eSIM**.
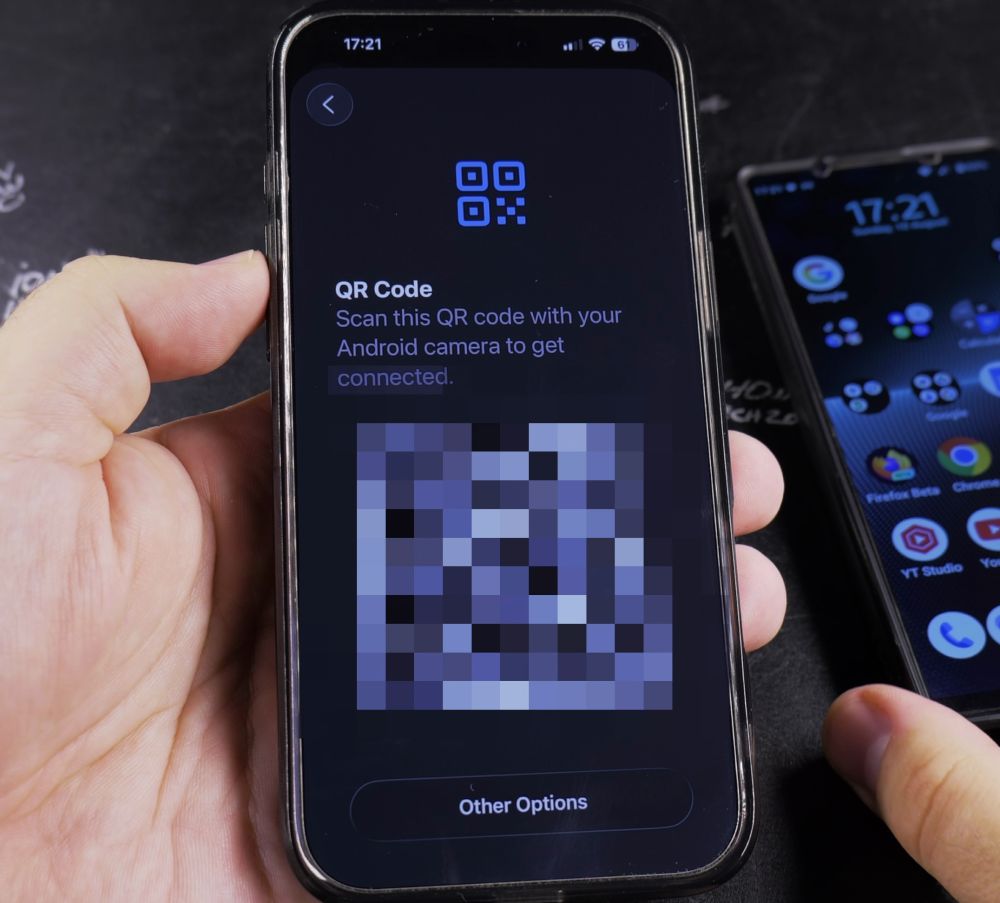
4. Choose Use QR Code
On the setup screen, tap **Use QR Code** to launch the camera scanner.
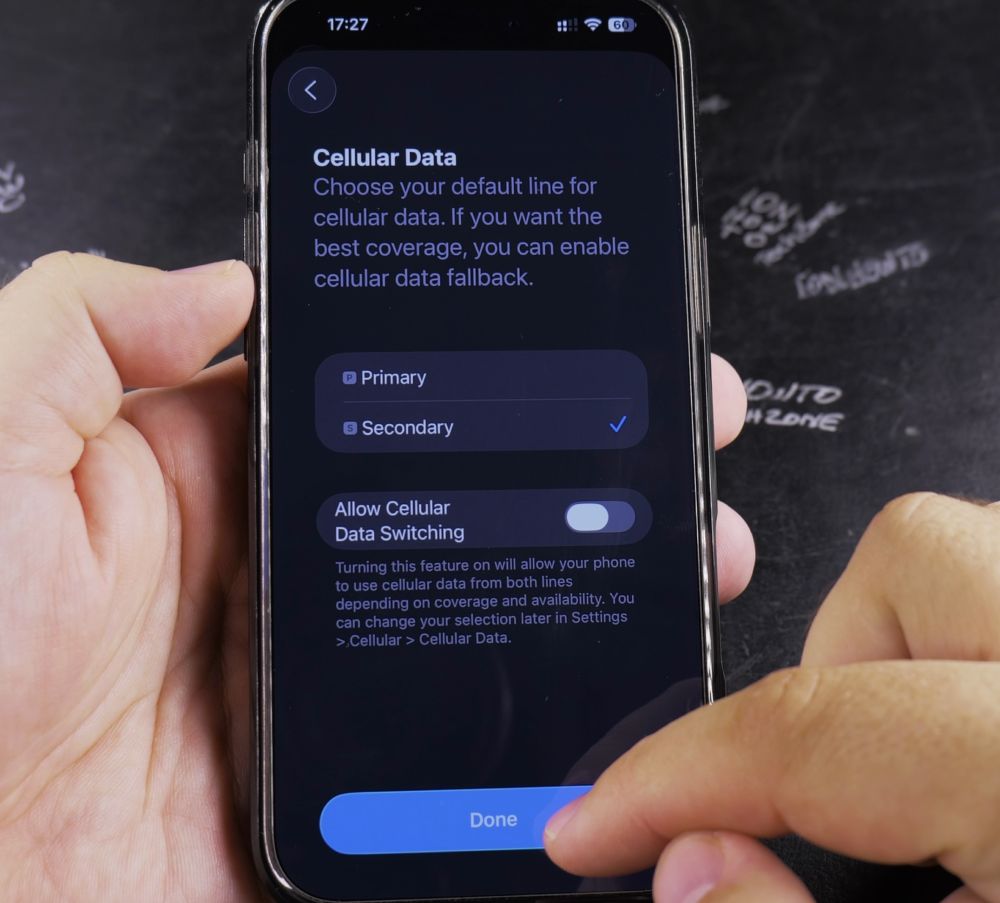
5. Scan the QR Code
Hold your iPhone camera over the QR code provided by your network provider until it recognizes it.
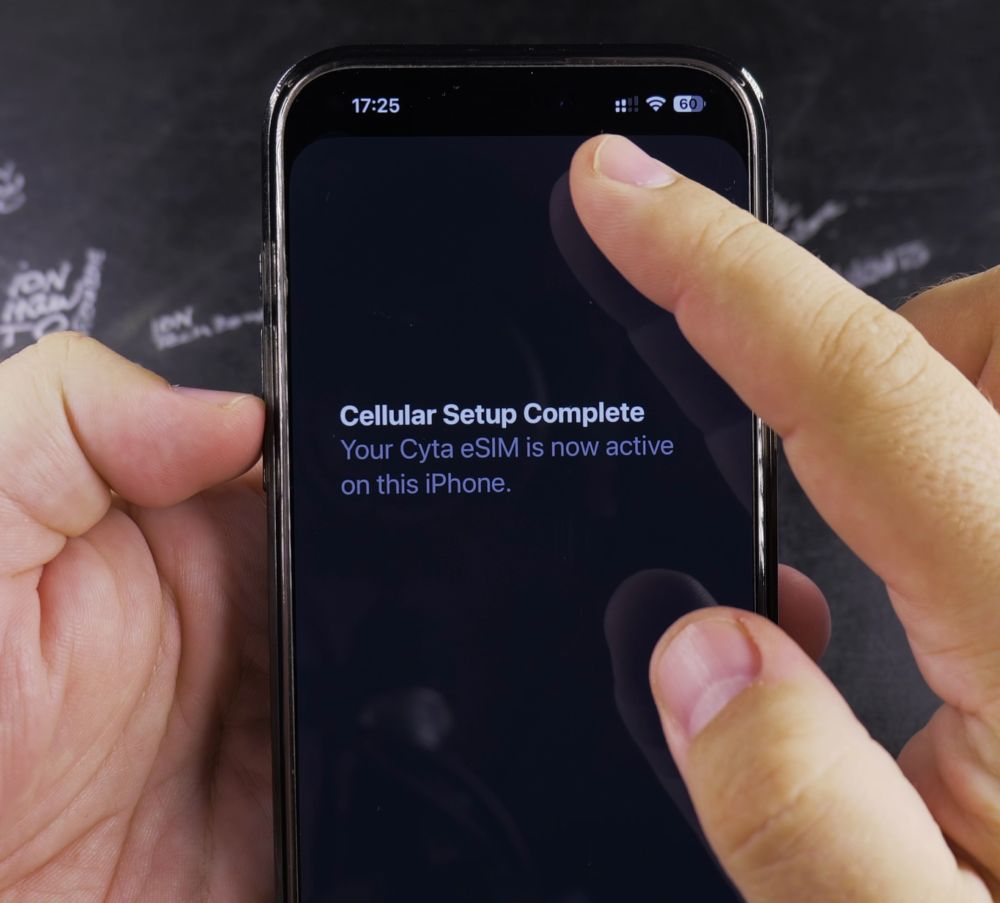
6. Label Your New Line
Tap **Continue**, then choose a label for your new line (such as **Personal**, **Business**, or **Travel**) to complete setup.
Helpful Tips
If your QR code is displayed on your iPhone screen itself, take a screenshot, open the Photos app, long-press the QR code in the image, and tap ‘Add eSIM’. For more iOS tutorials, check out our iPhone Guides collection.


Leave a Reply